


Micro Four Thirds Depth of Field Explained
Hold on to your hats folks, because this weeks' post is a long and technical post! But In recent weeks I've seen quite a lot of misinformation going around when it comes to Aperture and Depth of Field with Micro Four Thirds Cameras. So today I want to put a stake in the ground and set out in the simplest of terms exactly what impact a Micro Four Thirds Sensor (and an APS-C crop sensor for that matter) has on Aperture, Depth of Field and Effective Focal Range.
If you're in a position to listen then go ahead and hit play on the audio player below, if not, scroll down a little further and you can read through today's post in your own time. Either way, the audio is the same as the text to make sure you're not missing out. After hitting play give it about 5 - 10 seconds to start:
I spoke briefly about this in a post I wrote called 'Why Olympus' in which I looked to demystify many of the myths about the MFT format. But the subjects of Depth of Field (or, an apparent lack of according to some) and the focal lengths of lenses are debates I have seen come up again and again.
I expect many people who subscribe to my blog to already be familiar with the concepts of crop factors and the impact they have on a lens and a resulting image, but for those of you who are very new to photography; my aim is to make this as clear as I possibly can and to start with the very basics. Here I'll explain aperture and focal lengths in as basic a way I can.
If at any point you don't understand please do get in touch with me via email or message me on Facebook - I'm always happy to chat directly.
Before I start I want to make a few things clear:
- A mirrorless camera is not a worse or lesser camera than a DSLR
- The fact that a camera has no internal mirror in front of the sensor doesn't mean it is 'lacking' something. This is by design and gives the camera a series of benefits over a DSLR. It arguably also represents some challenges too, but these are mostly things of the past now.
- The inclusion or exclusion of a mirror does not affect Depth of Field.
- Depth of Field is affected by the lens and the sensor
Sensor Sizes
In recent years (in the digital age at least) the three most common sensor types found inside cameras that the masses of photographers use, are:
- Full Frame Sensors. This includes such cameras as:
- APS-C Sensors. Cameras include:
- Micro Four Thirds Sensors. Cameras include:
In order of size from largest to smallest in the list above, it is Full Frame, APS-C, MFT.
There are a series of other sensor sizes too, such as Medium Format etc, but if you're reading this post you're most likely interested in one of the three above. For the sake of this post, I will only be looking at these.
Full Frame vs APS-C vs MFT - Affects on lenses
Quite simply, a sensor size will affect all of the properties of a lens; it's aperture and it's focal range.
When you buy a lens it will have both a focal range and an aperture. These will be written on the box and also on the lens itself (most of the time). For example, let's look at the Canon 24-70mm f/2.8: with this lens, the '24-70mm' part denotes its' focal range or, if you like, its' zoom range: the smaller the number the wider the field of view. The larger the number - the longer it is able to reach. The Aperture is then reflected as 'f/2.8'. The lower aperture number is; the shallower the depth of field (again in simple terms lets say that a lower number will give you a blurrier background. For example the Canon 50mm f/1.8 will give you a really blurry background...)
Our example lens; the 24-70mm f/2.8 will fit and work on both Full Frame Canon camera bodies and also their Crop sensor bodies. BUT, these cameras have different sized sensors and so the lens will behave differently on each system. This is due to what is called the Crop Factor. IF these lenses could somehow fit an MFT camera (they won't, unless you use an adaptor), the lenses would again take on different characteristics. The different effects that these sensors cause is due to their 'Crop Factor'
Again, trying to use the simplest terms possible, the crop factor is, if you like, effectively the magnification rating. (this isn't technically entirely accurate, but, if you're new to this concept then this will help to explain).
A Full Frame has a crop factor of x1, an APS-C has a crop factor of x1.6* and a Micro Four Thirds Sensor has a crop factor of x2.
*The APS-C sensors from Canon and Nikon are actually slightly different sizes and therefore have slightly different crop factors. See the table below for more details.
How Crop Affects Focal Range
What you may already be aware of is that the differing sensor sizes and as such crop factors actually change the effective focal range of a lens. This is worked out by very simply multiplying the lens' focal range by its crop factor. For example, on a Full Frame Body, a 100mm lens is multiplied by a crop factor of 1. Therefore, the focal range remains 100mm.
On an APS-C sensor, that same 100mm lens will be multiplied by 1.6. 100 x 1.6 = 160mm
It's even easier with a Micro Four Thirds sensor as the crop factor is x2. So, without much thought at all, you could work out that a 100mm lens then takes on an effective field of view of 200mm.
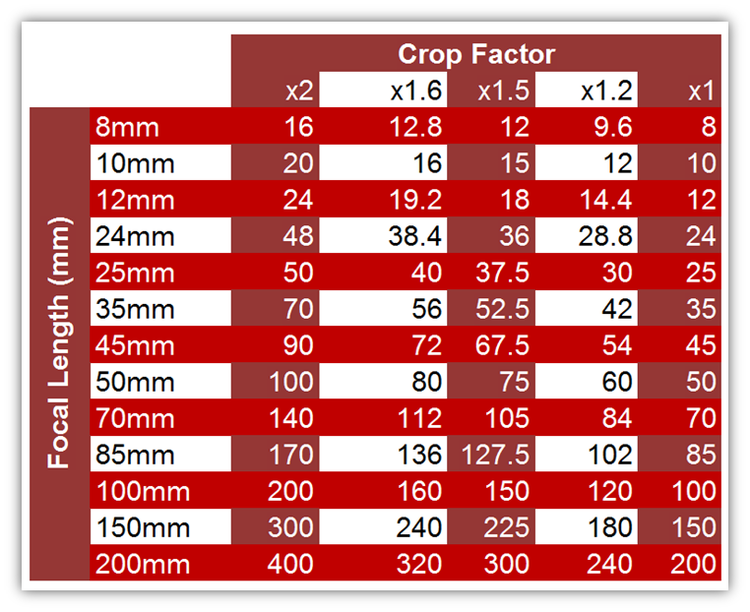
This table below sets out a series of common focal ranges with their respective, inherent effective focal ranges when used on each of the different sized sensors
X2 = Micro Four Thirds
x1.6 = Canon APS-C
X1.5 = Nikon APS-C and Fuji X Series
x1 = Full Frame Cameras
Your initial thought could simply be that surely a smaller sensor is a good thing right? After all, you get more zoom from a lens! To many this certainly is an advantage of APS-C over Full Frame as it can negate the need for you to buy a longer lens. However, it isn't always the case that this extra reach is wanted; those ultra wide lenses you can buy then become slightly less ultra wide.
Secondly, the effective aperture is also affected too:
How Crop Affects Aperture
In continuation of keeping this very basic, I won't explain in full exactly what aperture is, but rather I'll explain the things it affects. Put simply it affects the blur of the background in an image (Depth of Field) AND it determines how much light is let through the lens to hit the sensor. The second part is important because the more light that comes through to the sensor will mean that an image can potentially be less noisy and grainy.
Depth of Field
Again, sticking with the idea that I am explaining this in it's simplest form; Depth of Field is basically this: From the point of sharp focus on your subject how much immediately after does the scene or subject begin to blur and how blurry is that blur. Experienced photographers may be reading this cringing with this description, but remember I'm trying to keep this is as simple as possible. You can look up a better definition of Aperture and Depth of Field on Google. I'm not here to explain that, I'm trying to explain how a lens affects this property: So, remember how the focal range was multiplied by the crop factor to give a new focal range? Well, we do the exact same thing with the aperture to give us our new values: f/1.8 will become f/3.6 on a Micro Four Thirds Sensor (1.8 x 2 = 3.6) . F/2.8 will become f/5.6 on a Micro Four Thirds Sensor (2.8 x 2 becomes 5.6) and f/4 will become f/8 (4 x 2 = 8) and so on. You can work out the APS-C Aperture difference by multiplying those same details by 1.6 too. So let's again say that f/1.8 x 1.6 = 2.88 (or 2.9 if we round up).
Now, if you know anything about aperture you will know that the lower the f number, the blurrier the background and the shallower the depth of field (the amount of your subject that is in focus). So, if you buy an f/1.8 lens you need to know that it will less shallow on an ASP-C than it would, were that same lens on a Full Frame camera.
The Martin Bailey Podcast Companion App, with DoF calculator
If you want to learn more about Depth of Field I strongly advise you look at Martin Bailey's eBook 'Sharp Shooter', available through Craft & Vision. In this book, Martin goes into great depth about aperture and it's effect on an image. Martin runs a superbly educational podcast and is an excellent photographer to boot! If you're interested in listening that podcast you can subscribe via iTunes or download Martin's Podcast Companion App from the App Store. Handily, this app also includes a Depth of Field Calculator, so when you're learning about Depth of Field you will be able to use this to help.
The relationship of Aperture & Speed
Often, when we talk about lenses with low f numbers, such as f/1.8, f/1.4 or f/1.2 you may hear photographers referring to them as 'Fast' lenses. The reason for this is that these lenses let a lot of light through them, which will afford you the use of a lower ISO or a higher shutter speed. A lower ISO will invariably give you a cleaner, less noisy image and a faster shutter speed will aid you in freezing fast moving subjects and potentially sharper images. Now you may assume at this stage, give that the focal range and depth of field properties have been impacted by the sensor size, that the amount of light a lens can gather is also affected. This is not true.
In terms of depth of field yes - an f/1.8 lens on a Full Frame sensor will give a shallower DoF than if it were mounted to a Micro Four Thirds sensor. That I think we have established now. But, the lens' aperture rating in terms of its ability to let through light remains the same regardless of the sensor it is paired with. The 'speed' remains the same.
So, now that we know that your camera (or rather its' sensor) will have an effect on the lenses you're using, this should aid you in choosing the right lenses for the right job...
DSLR Lenses - One Lens - Multiple Sensor Sizes
When it comes to DSLR's from Canon and Nikon, the best lenses are typically designed to work best with their Full Frame models. Even now you know that an f/2.8 lens is not the same on an APS-C as it is on a Full Frame sensor, they are still advertised and sold as an f/2.8. (they don't tell you that a 100mm will become a 150mm or a 160mm for example). You're left to work this out for yourself. But, this is to be expected; these companies develop lenses that can be mounted to two different sensor formats.
Fuji & MFT - Lenses designed to take crop factor into account
When it comes to Fuji and Micro Four Thirds lenses are developed to take the crop factor into account. Each lens for a Fuji Camera, for example, will only fit (natively) onto a Fuji X-Series camera, meaning at the point of designing the lens they know it will be affected by a 1.5 crop factor.
The same is true of Micro Four Thirds, hence the reason Panasonic lenses fit Olympus bodies (and vice-versa). These lenses are optimised for one size of sensor. The crop factor is embraced!
You may be more familiar with the more traditional and mature lens stables from Canon or Nikon. If that is the case then some of the focal ranges on offer from Fuji, Panasonic and Olympus may seem odd at first, and the number of f/1.2 & f/1.4 lenses on offer may seem quite 'exotic' too, but these odd focal ranges and exotic apertures (a 23mm or a 27mm for example) are intentional.
Going back to our crop factor multiplications from earlier, let's look at some of the lenses on offer from Fuji, Panasonic and Olympus to see why these lenses have literally odd numbers...
Olympus Lenses
We'll start with Olympus purely because these are the lenses I am most familiar with.
In the process of moving from Canon to Olympus, I sought out similar focal ranges in the system in an effort to more seamlessly replace my Canon System. My favourite lenses were my Canon 70-200mm f/2.8 and my 85mm f/1.8. Without being familiar with the topics in this post, it may at a glance appear that Olympus don't have their own equivalent lenses. But they do.
So, remembering that the crop factor is x2 on an Olympus camera, such as the OM-D E-M1 we know that the equivalent lens for Canon's 70-200mm f/2.8 is arguably the Olympus M.Zuiko 40-150mm f/2.8 (80-300mm equivalent field of view, remember?). (You can read my review of the 40-150mm f/2.8 right here by the way)
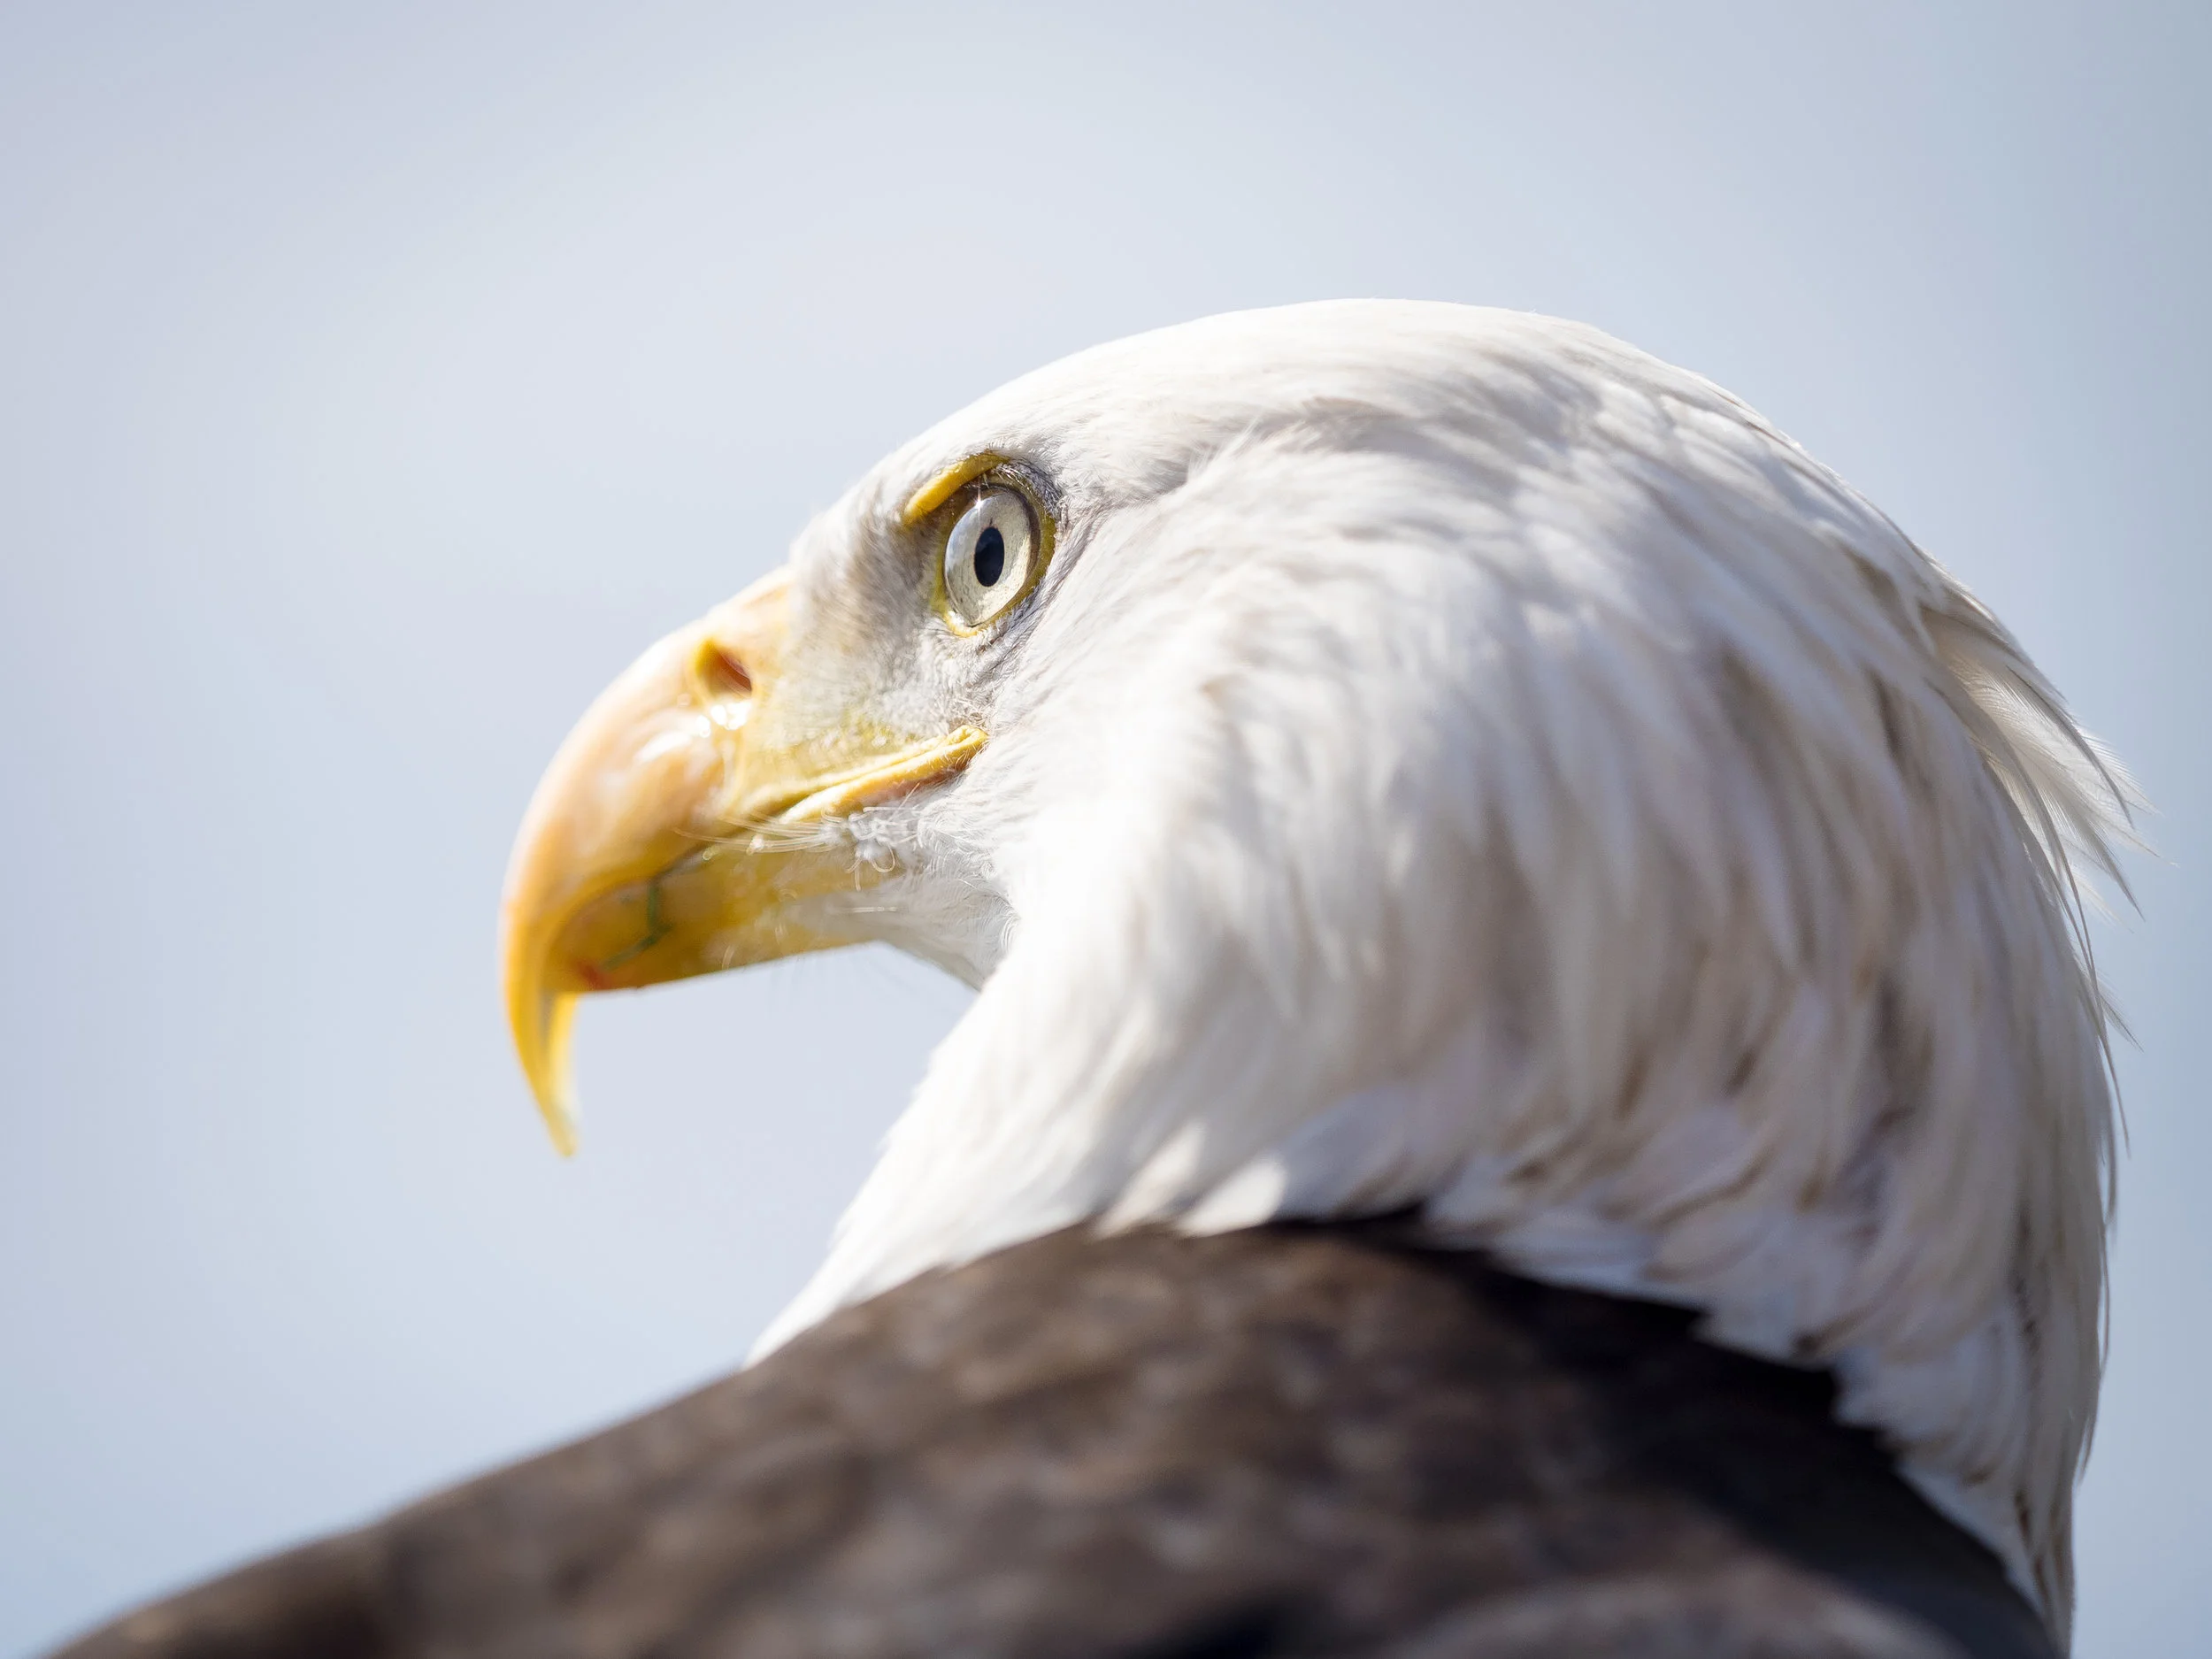
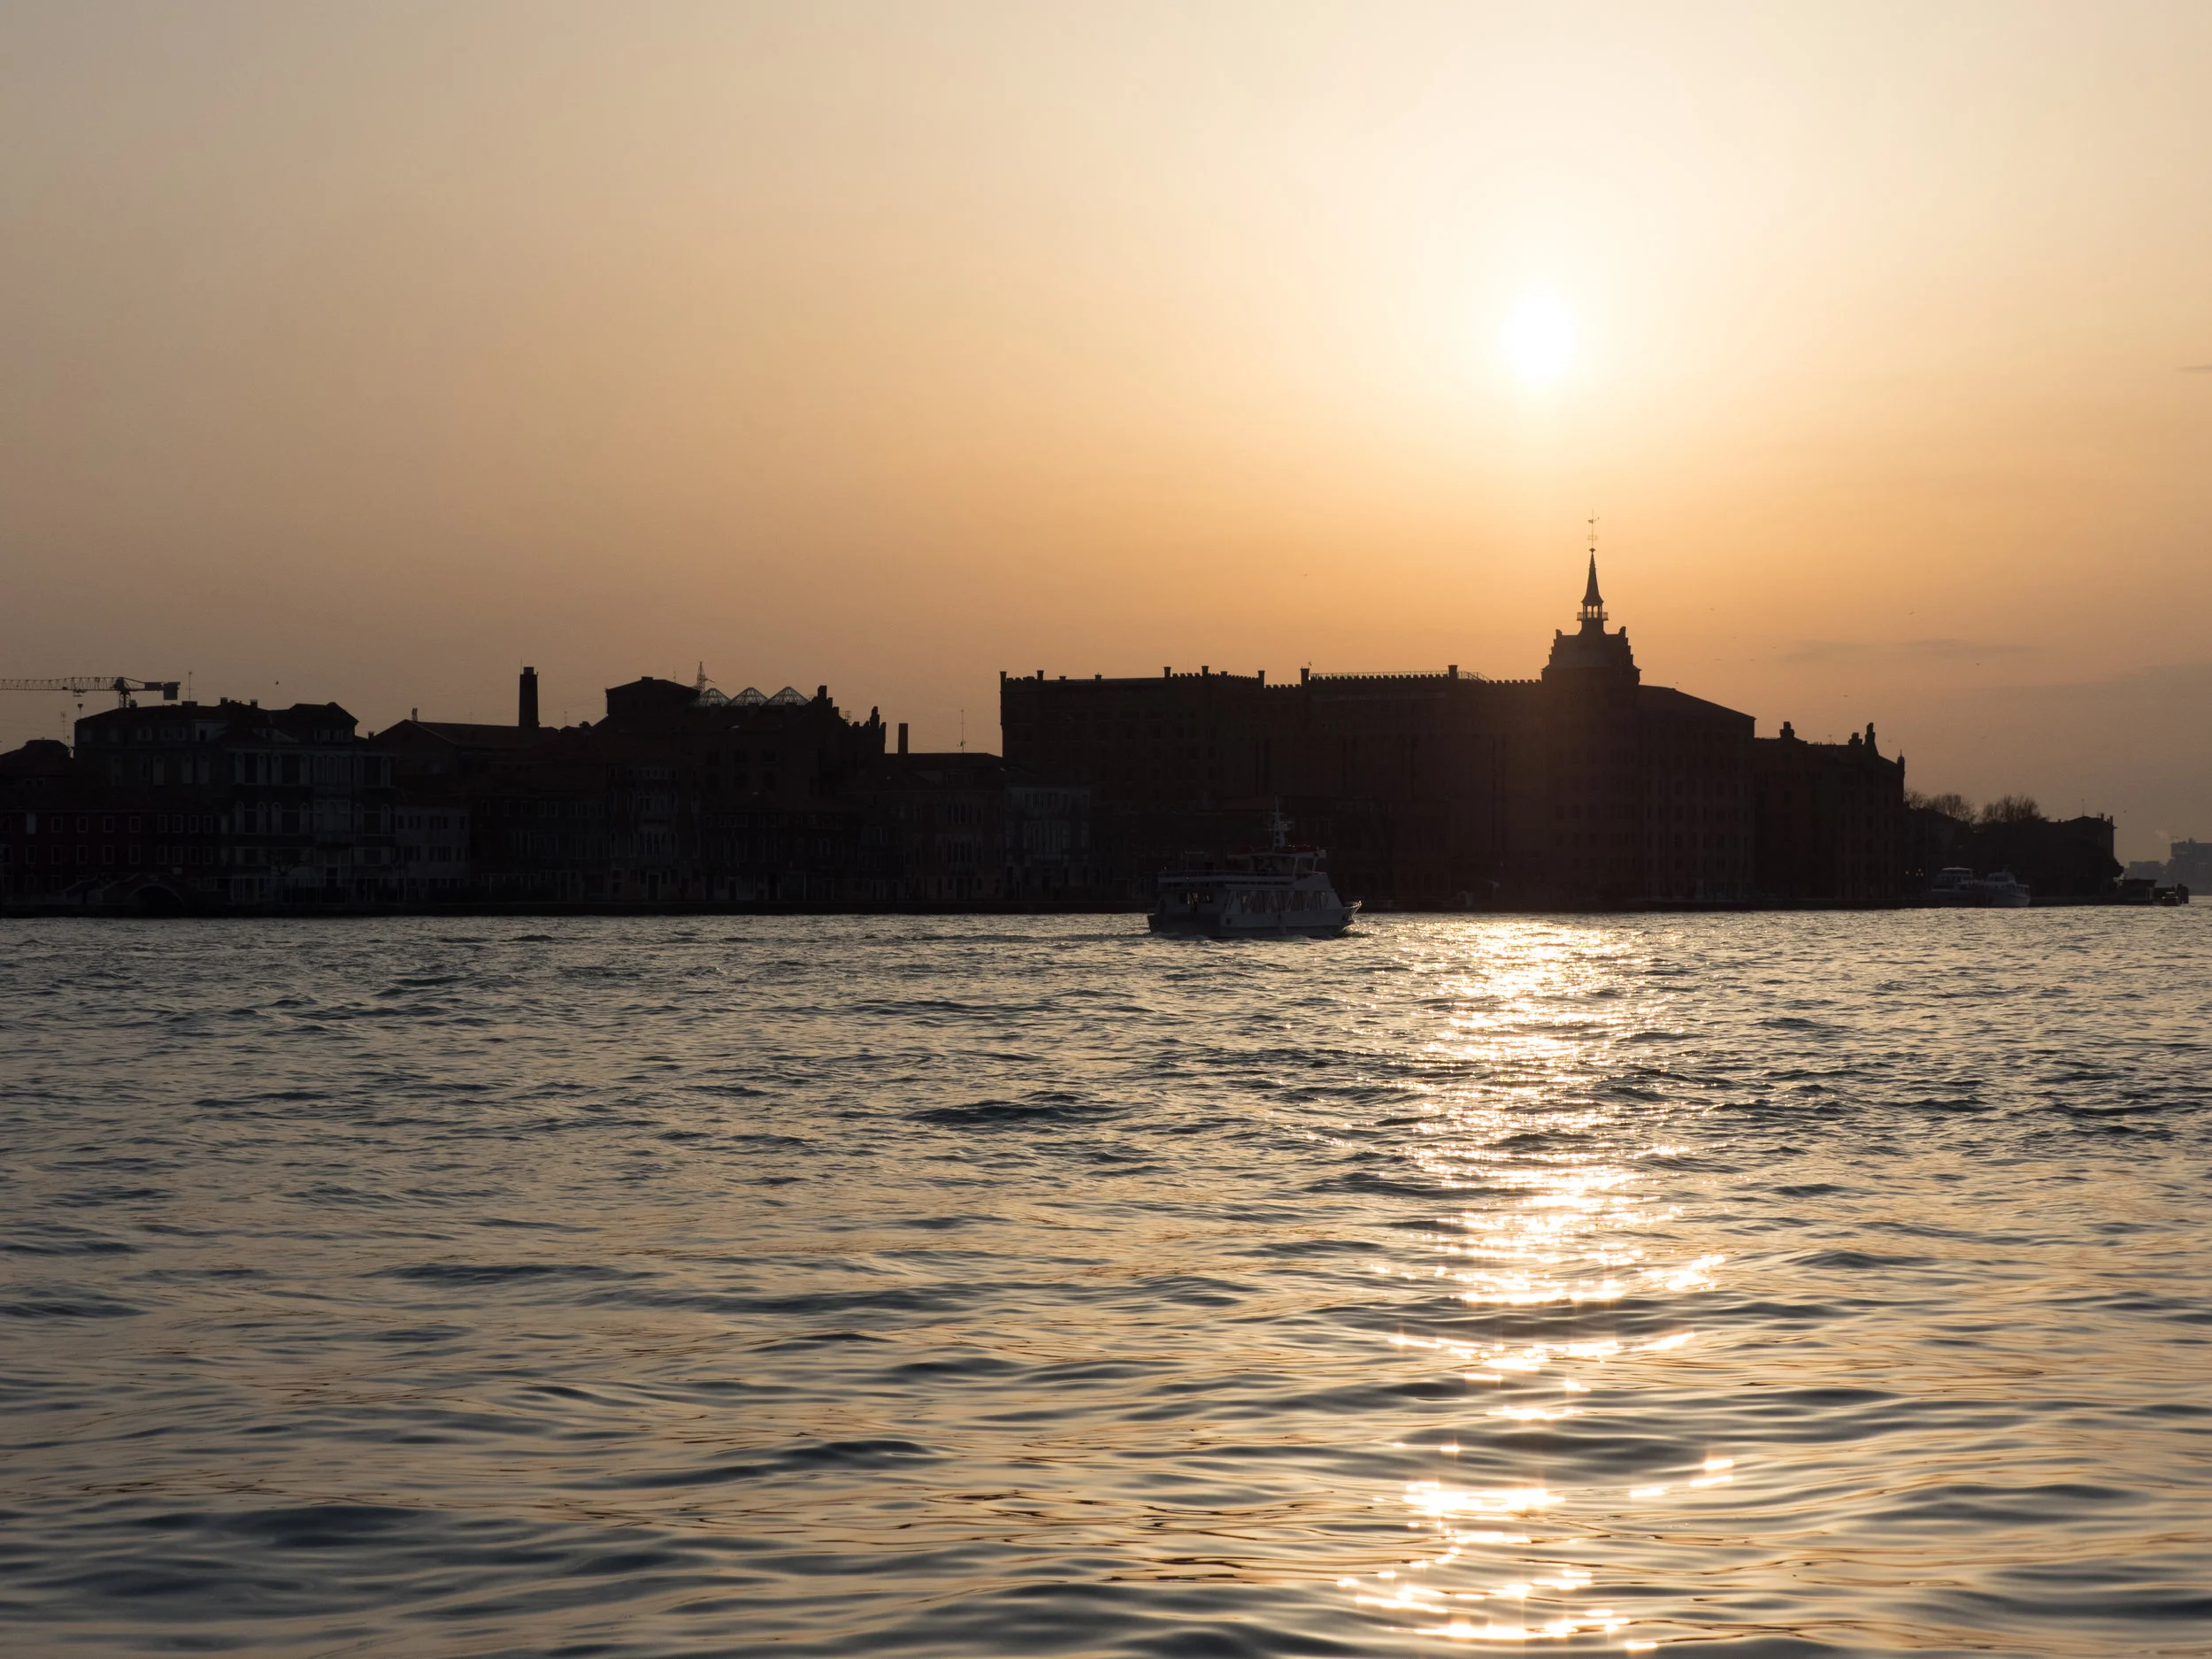
Here are a couple of images shot with my new favourite lens, the Olympus M.Zuiko 40-150mm f/2.8 PRO

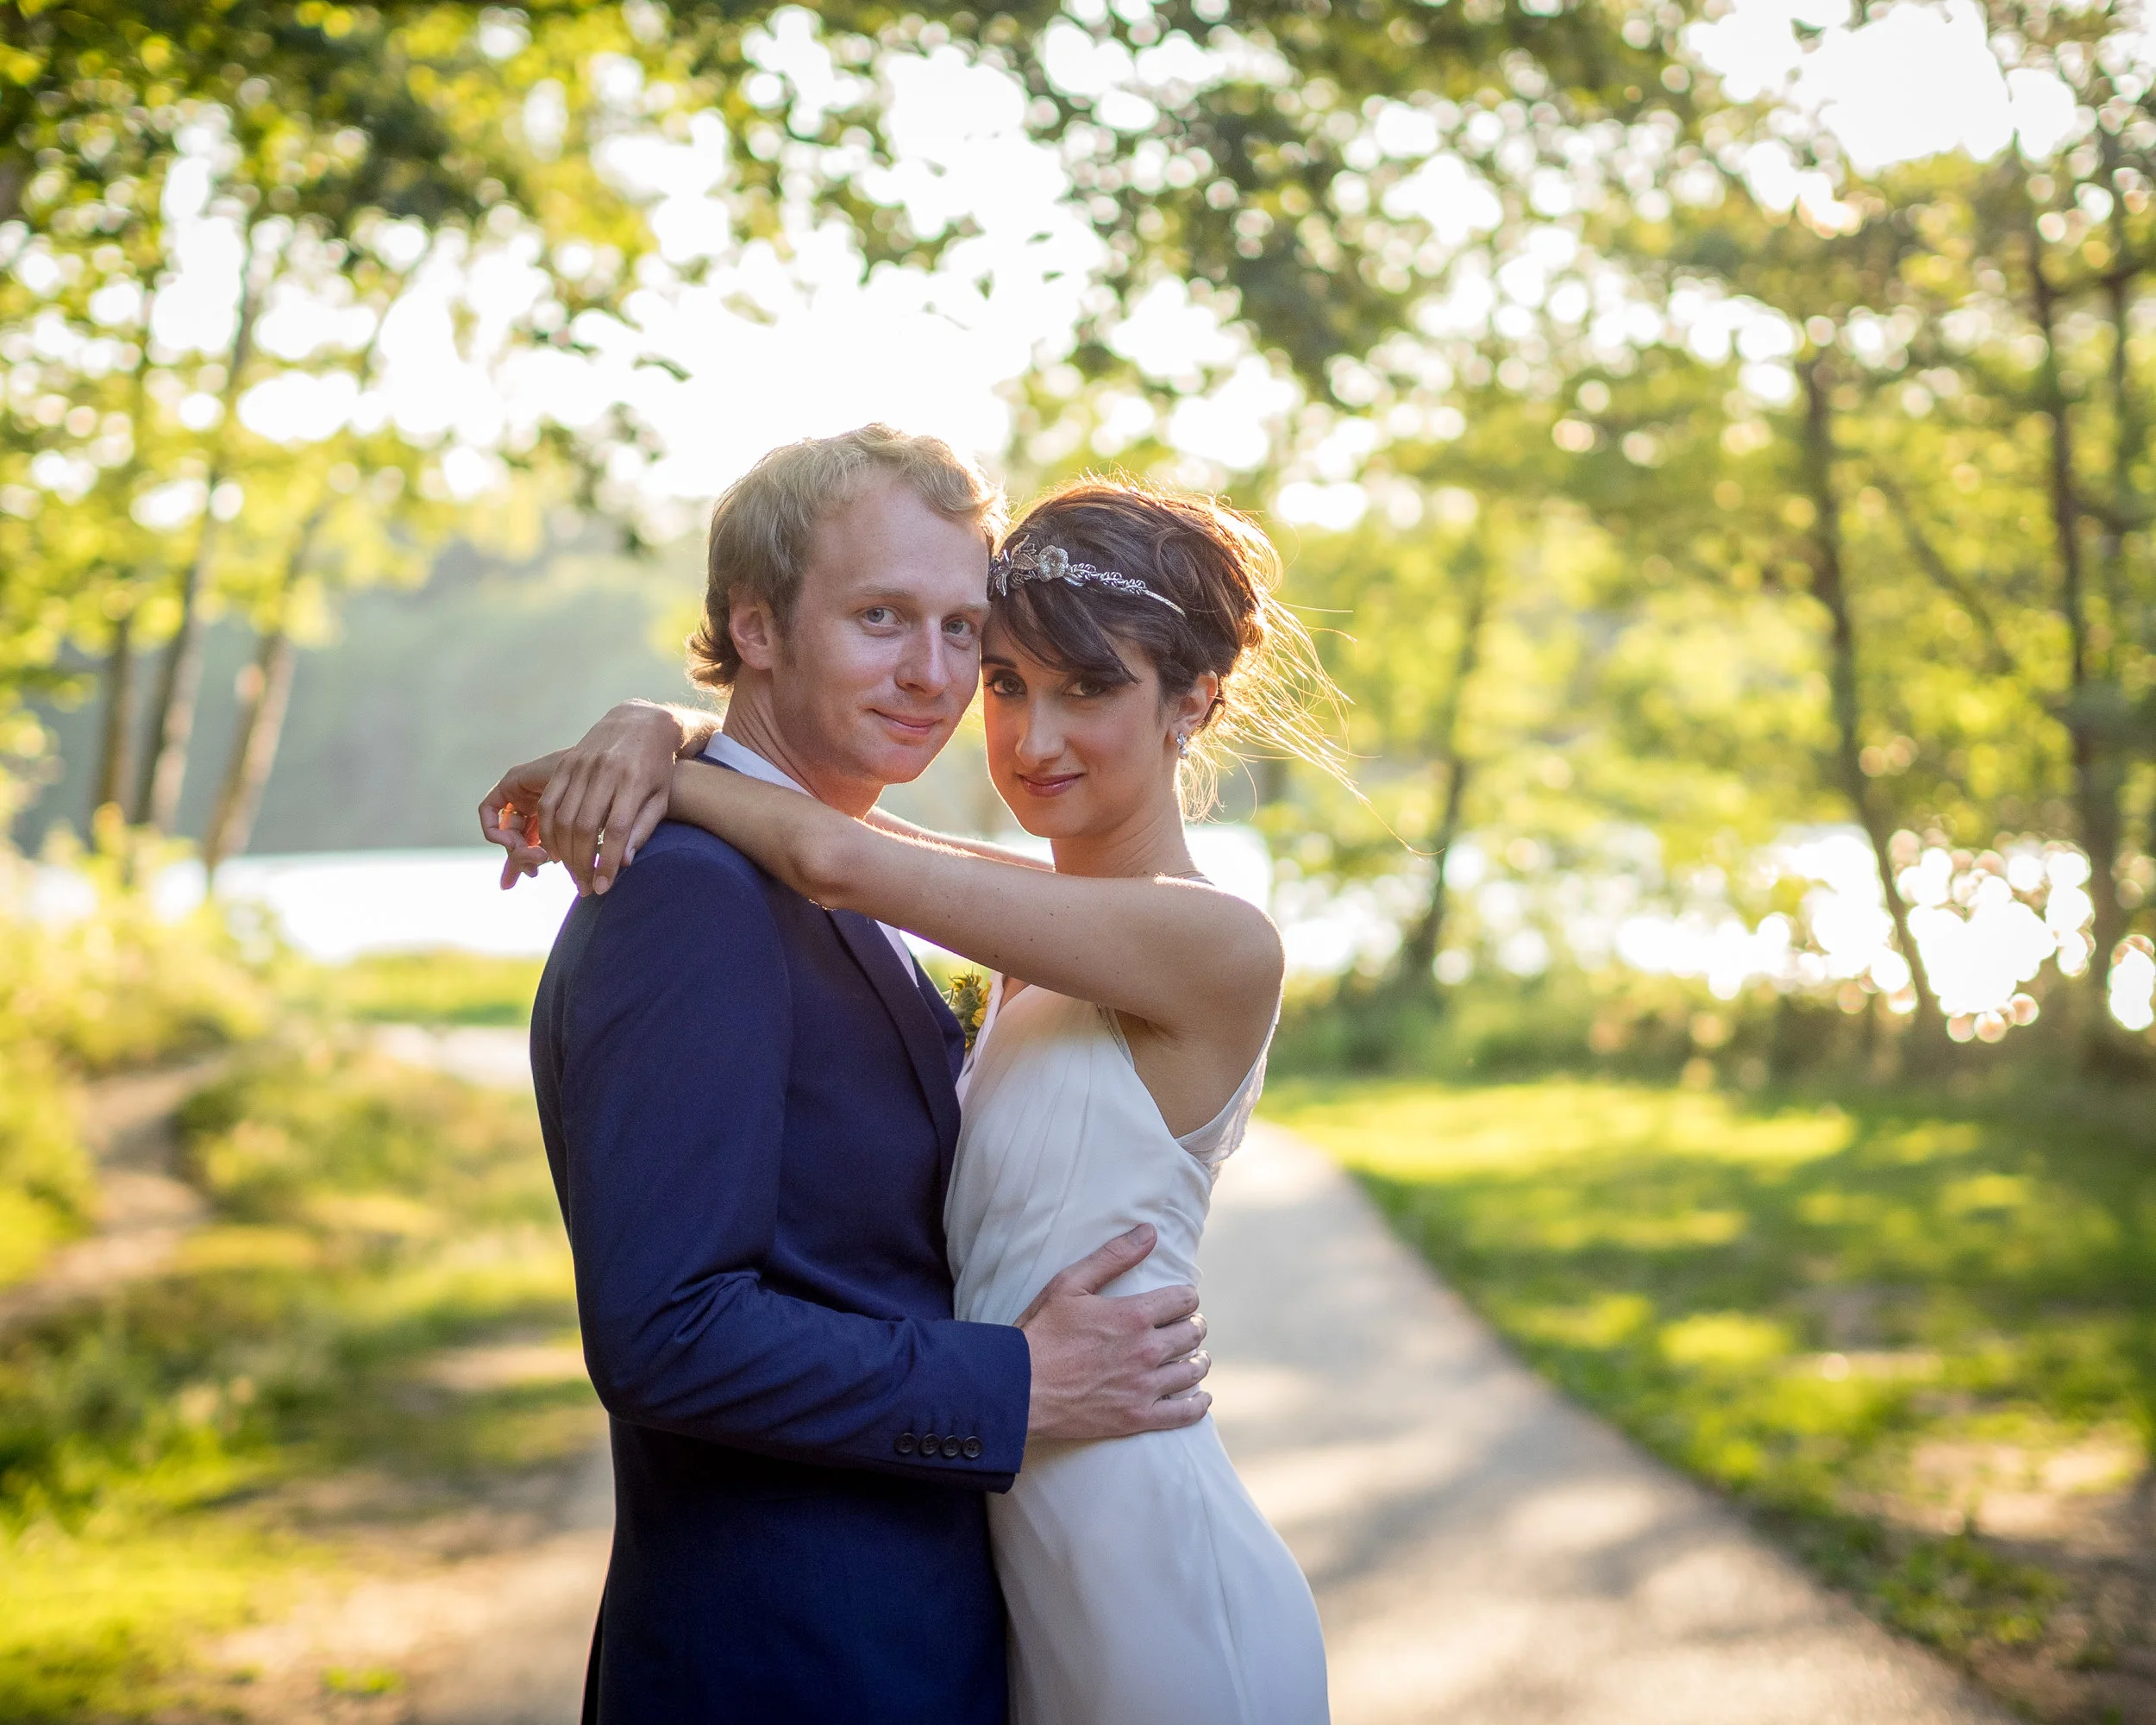
What about my favoured Canon 85mm portrait lens? Well, Olympus offer us the M.Zuiko 45mm f/1.8 (45 x 2 = 90mm of course).
The 90mm focal range is very versatile; from close up details, to head & shoulder portraits to wider portraits too. Great focal range coupled with shallow Depth of Field.


You may at this stage be thinking that the apertures simply aren't the same. If we apply that same x2 crop factor to the 40-150mm f/2.8 we effectively have an 80-300mm f/5.6 after all). Well, this is where you now have to weigh up whether that extra reach and compact system size are of more benefit to you than the difference in aperture. Remember, though, the DoF may be equivalent to f/5.6, but it is still an f/2.8 in terms of its speed, as per our lesson earlier in this post.
Fuji Lenses
When I first dipped my toe into Mirrorless this time round it was Fuji that I looked at. Initially, found the focal ranges quite odd at a glance, but again, if we apply the 1.5 crop factor that the Fuji X-Trans APS-C offers, the focal ranges actually equate to more 'traditional' ranges that we're likely to find with a DSLR. For example:
Fuji has the 23mm f/1.4 XF lens. Whoever heard of a 23mm lens? Why not 25mm? Well, if you do the same math as before, the 23mm f/1.4 works out to be a 34.5mm f/2.1 when mounted to a Fuji X-Series camera. It's near enough a 35mm f/2 equivalent.
Another example could be the 56mm f/1.2 XF Fujinon lens. Multiply that and you now have a fast and shallow portrait lens: 56 x 1.5 = 84mm. 1.2 x 1.5 = 1.8. So, let's agree that it is, in effect, an 85mm f/1.8 lens that would suitably replace the Canon 85mm I mentioned earlier.
The difference between 84mm and 85mm is so negligible that it hardly matters really.
Additional Reading and Factors affecting Depth of Field
I mentioned a few times at the start of this post: this post is written in an attempt to keep things as simple as possible. However, one thing that can't be left out is the factor of camera-to-subject-distance and the effect that has on Depth Field and Background separation. But, rather than me explaining this I would really encourage you to go and pick up Martin Bailey's book: 'Sharp Shooter'. In this, Martin discusses focal distances and how to calculate a depth of field. His explanation and illustrations are far better than I can explain!
Has this helped? Anything to Contribute? Let me know what you think
I hope that this post has helped to explain in some detail exactly how Aperture and Depth of Field are affected by sensor size. If you were unfamiliar with the lenses on offer from any of the camera manufacturers heavily invested in the mirrorless market then I also hope that this has helped to clarify the use of their focal ranges too. If this post has been helpful in any way at all please do remember to like, share and tell your friends. Oh, and please do leave a comment below. Feedback and contributions are always welcome!
For more great content just like this direct to your inbox - don't forget to subscribe!
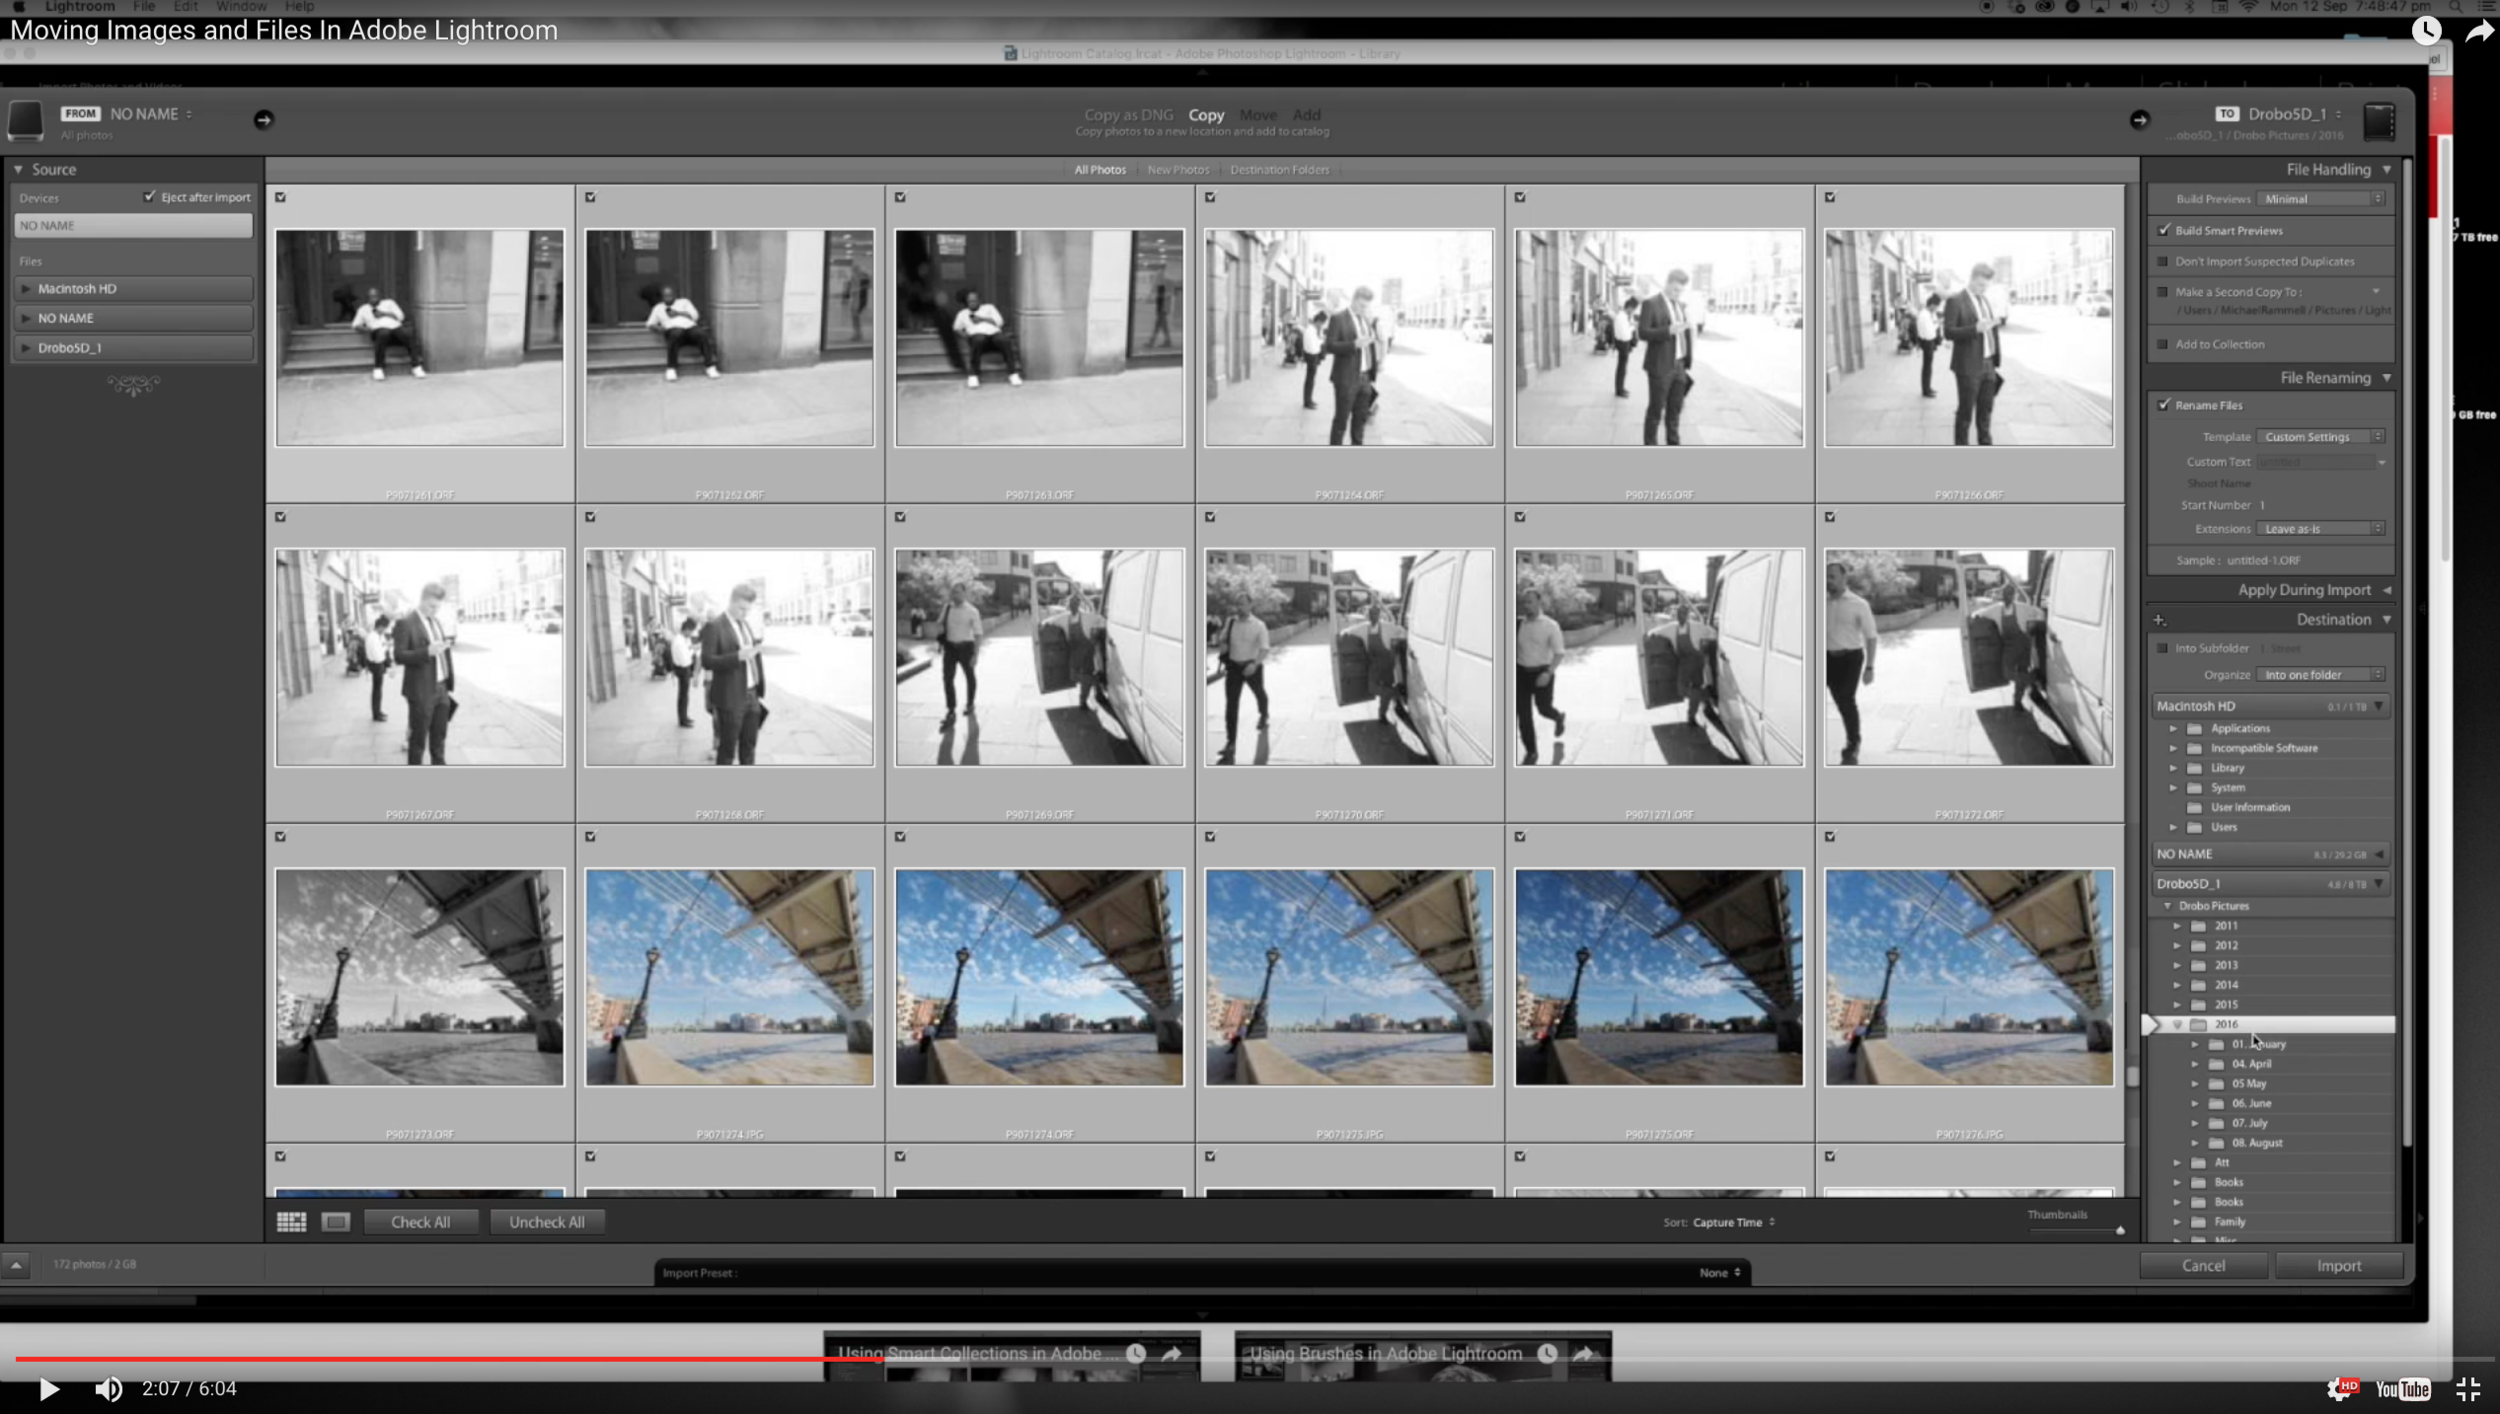
Moving Images and Folders inside of Lightroom
Lightroom has become such a popular post-processing tool; helping to really lower the barrier to entry to post-processing. No longer do we all need to know about layer masks. Global changes are made easier in Lightroom and the management and processing of large batches of photographs has been made easier!
But, as many of us have adopted Lightroom as our go-to tool it's also fair to say that many of us have not yet adopted what Adobe consider to be the 'best practise' way of doing things and we often eschew the tools and methods available to us in Lightroom and find a way to 'bodge' things instead. One such thing I hear about all too often is the way in which people move their files and folders around.
It's been a while since I put together a Lightroom video and so this week, following a discussion I was having with a good friend of mine, I've put together a short video to explain the quickest and easiest way to move files and folders inside of lightroom - the way Adobe intended and designed!
This is appropriate for Mac and PC users, so, whichever you use click the link to watch the video and learn how to do one of the most simple things ever in Lightroom.

Let me know if you found this video useful by dropping a comment below. Remember, if you have a question about Lightroom or want to know about my work flow in anyway - just get in touch!
Next week on the blog I take a question from a subscriber about using an OM-D to shoot Football (Soccer). Keep an eye out for that one!
A day at the race track with the Olympus OM-D E-M1
My photographic calendar remains as busy as ever, with my most recent outing taking me to the Silverstone race circuit here in the UK to photograph the World Endurance Championship Qualifying and Practice races.
Was the Olympus Micro Four Thirds system up to the task? Read on to find out...
One area of uncertainty
Before I get into this post in detail I want to just set out what my expectations of the Olympus were. When making my switch to Olympus I thought that there were perhaps certain photographic niche's it just wouldn't be as capable of when pitted against a DSLR. That's not to say I didn't think it wouldn't be able to handle them, but more that it would be more of a challenge to wield the E-M1 and achieve the same results. The OM-D E-M1 is arguably the most capable of all of the mirrorless offerings (from all manufacturers), especially in terms of auto focus speed and accuracy, but having come from the world of Canon DSLR's a small part of me still worried that it wouldn't deliver the same quality when it came to motor sports and wildlife purely because of the pace of the subjects. This trip to Silverstone was both perfect practice for The Le Mans 24 Hour Race in June and also a great opportunity to put the Olympus through it's paces.
So, Did the Olympus Perform?
The short answer: Hell yes!
Any fears I had instantly vanished after panning with the first few cars. It locked on focus, stayed with the car and gave me a couple of keepers right off the bat.
It certainly is different than shooting with a DSLR though (and I'll talk about all of that and more in a minute). If you're not used to a mirrorless camera you will need to practice. Although it achieved everything I wanted it to, I did find a few quirks that took some getting used to though and I'm going to use this post to talk about it's strength's and weaknesses as a camera for motor sports and fast-paced action.
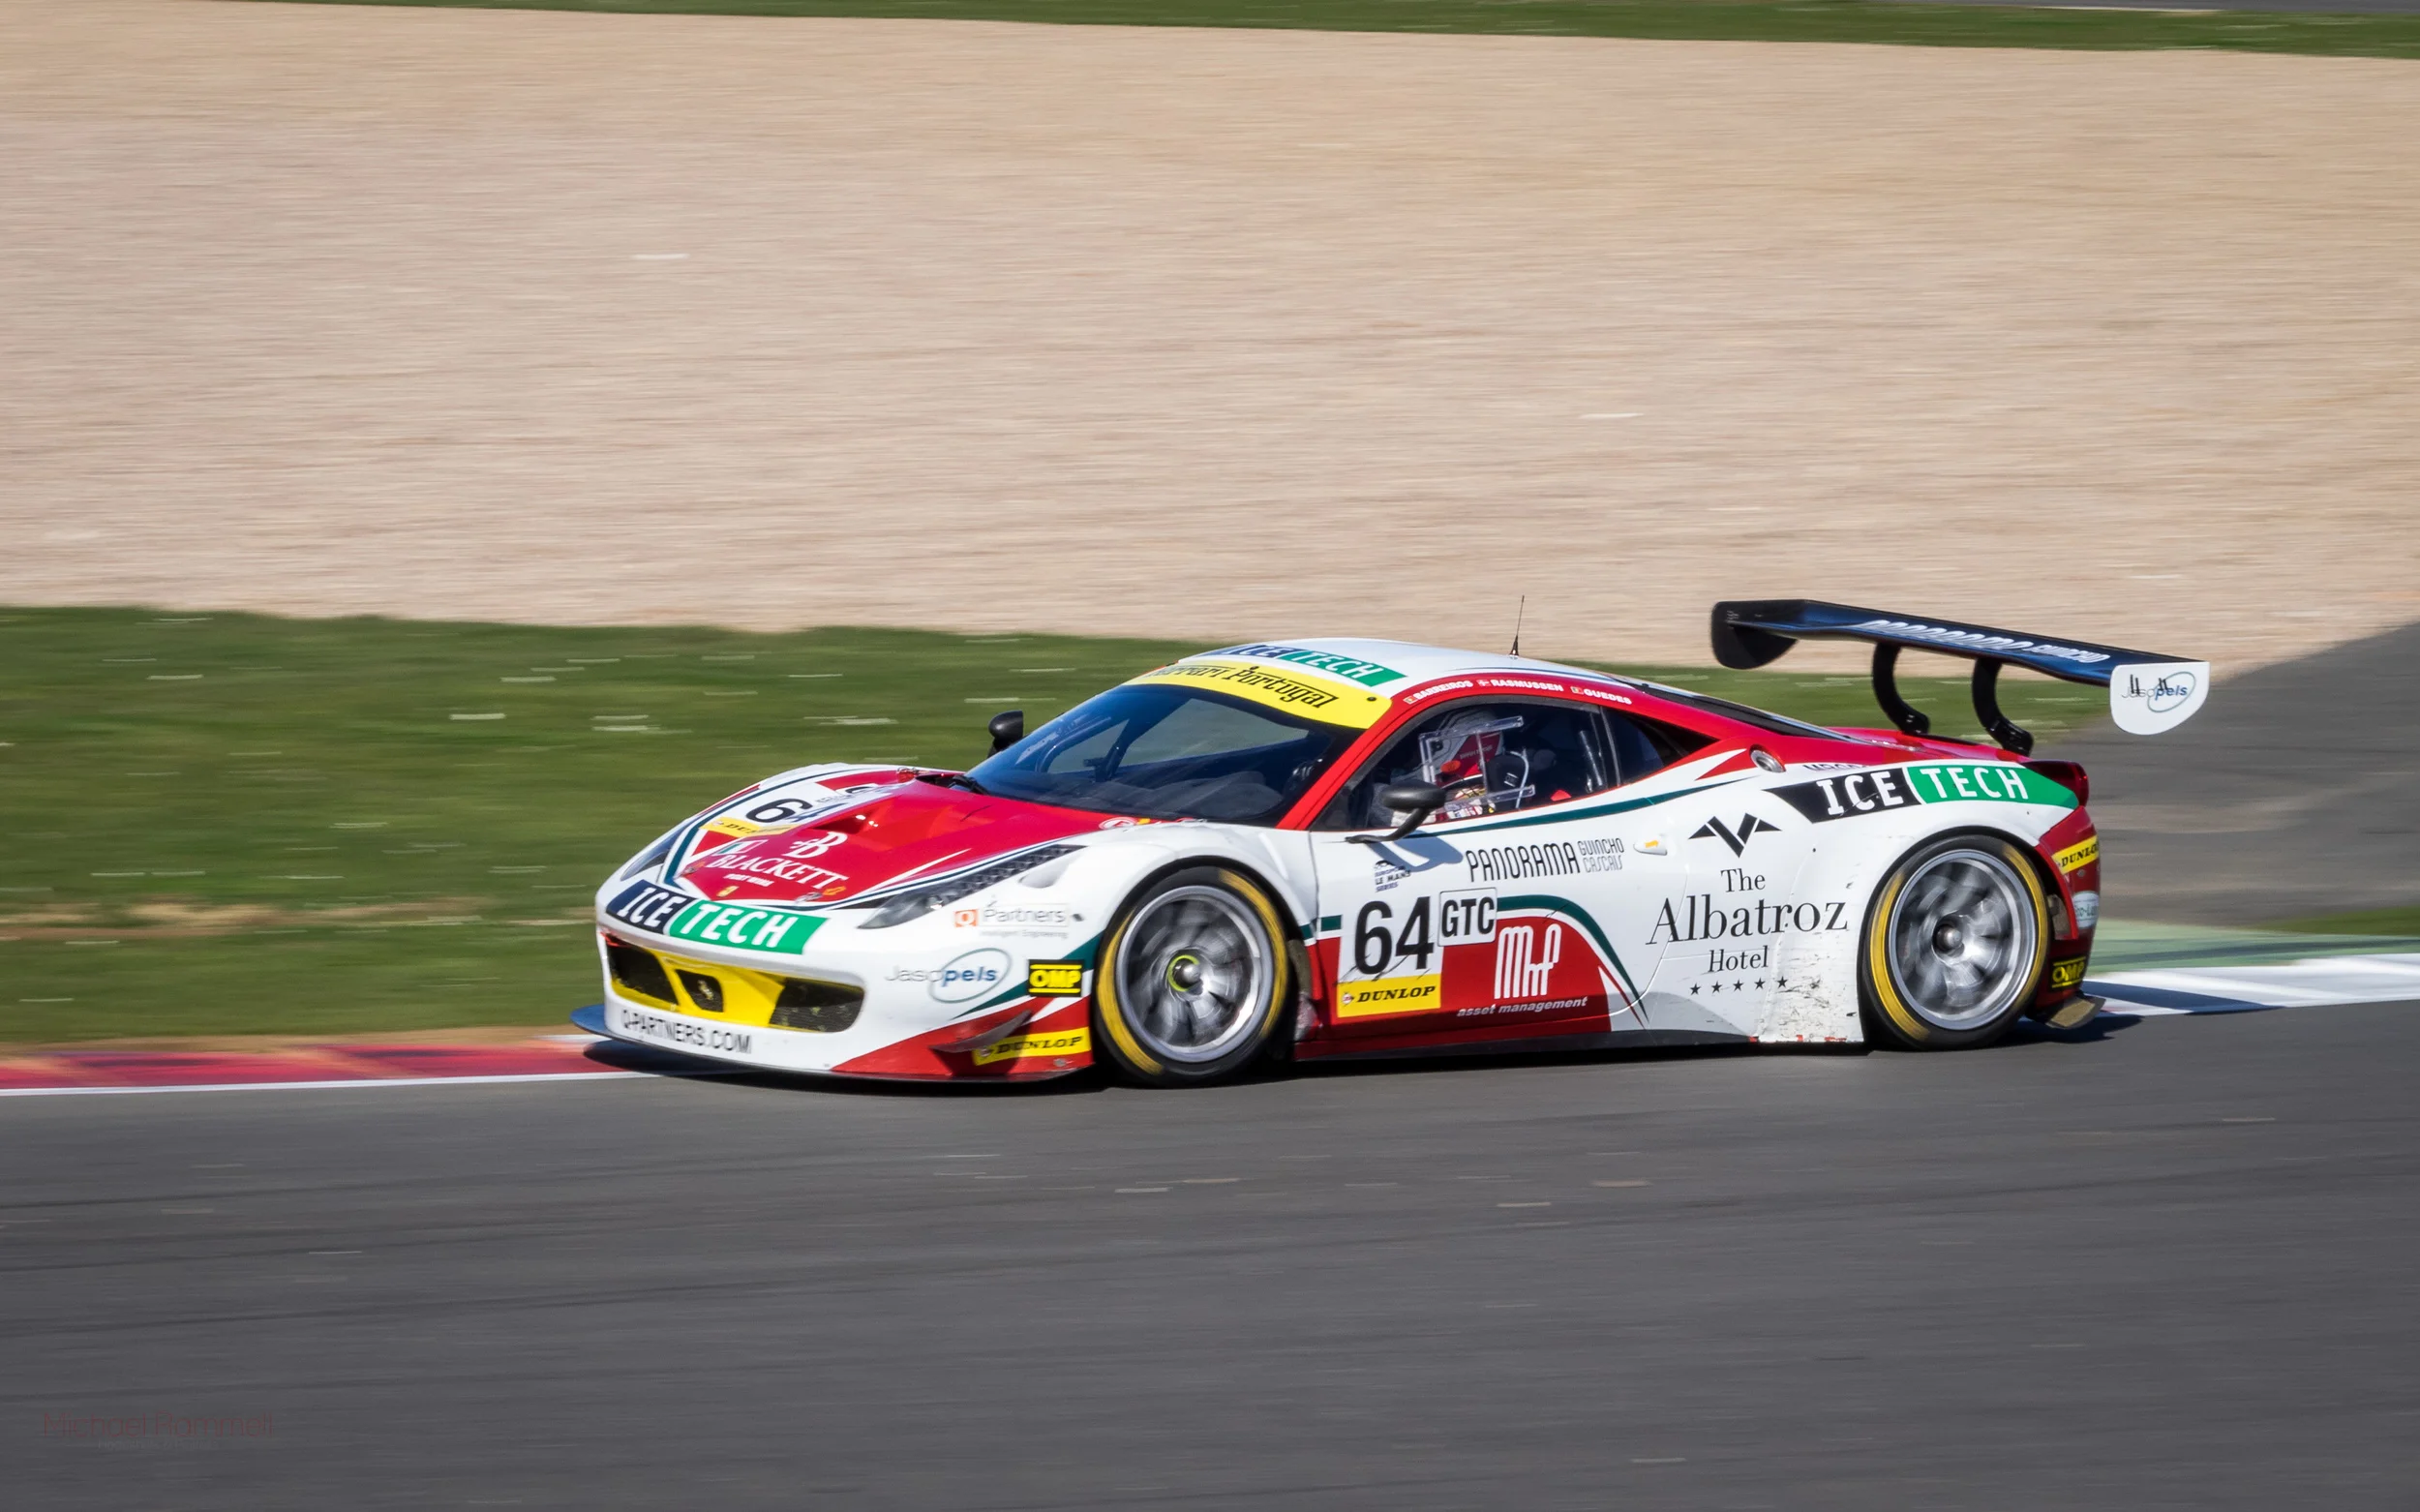
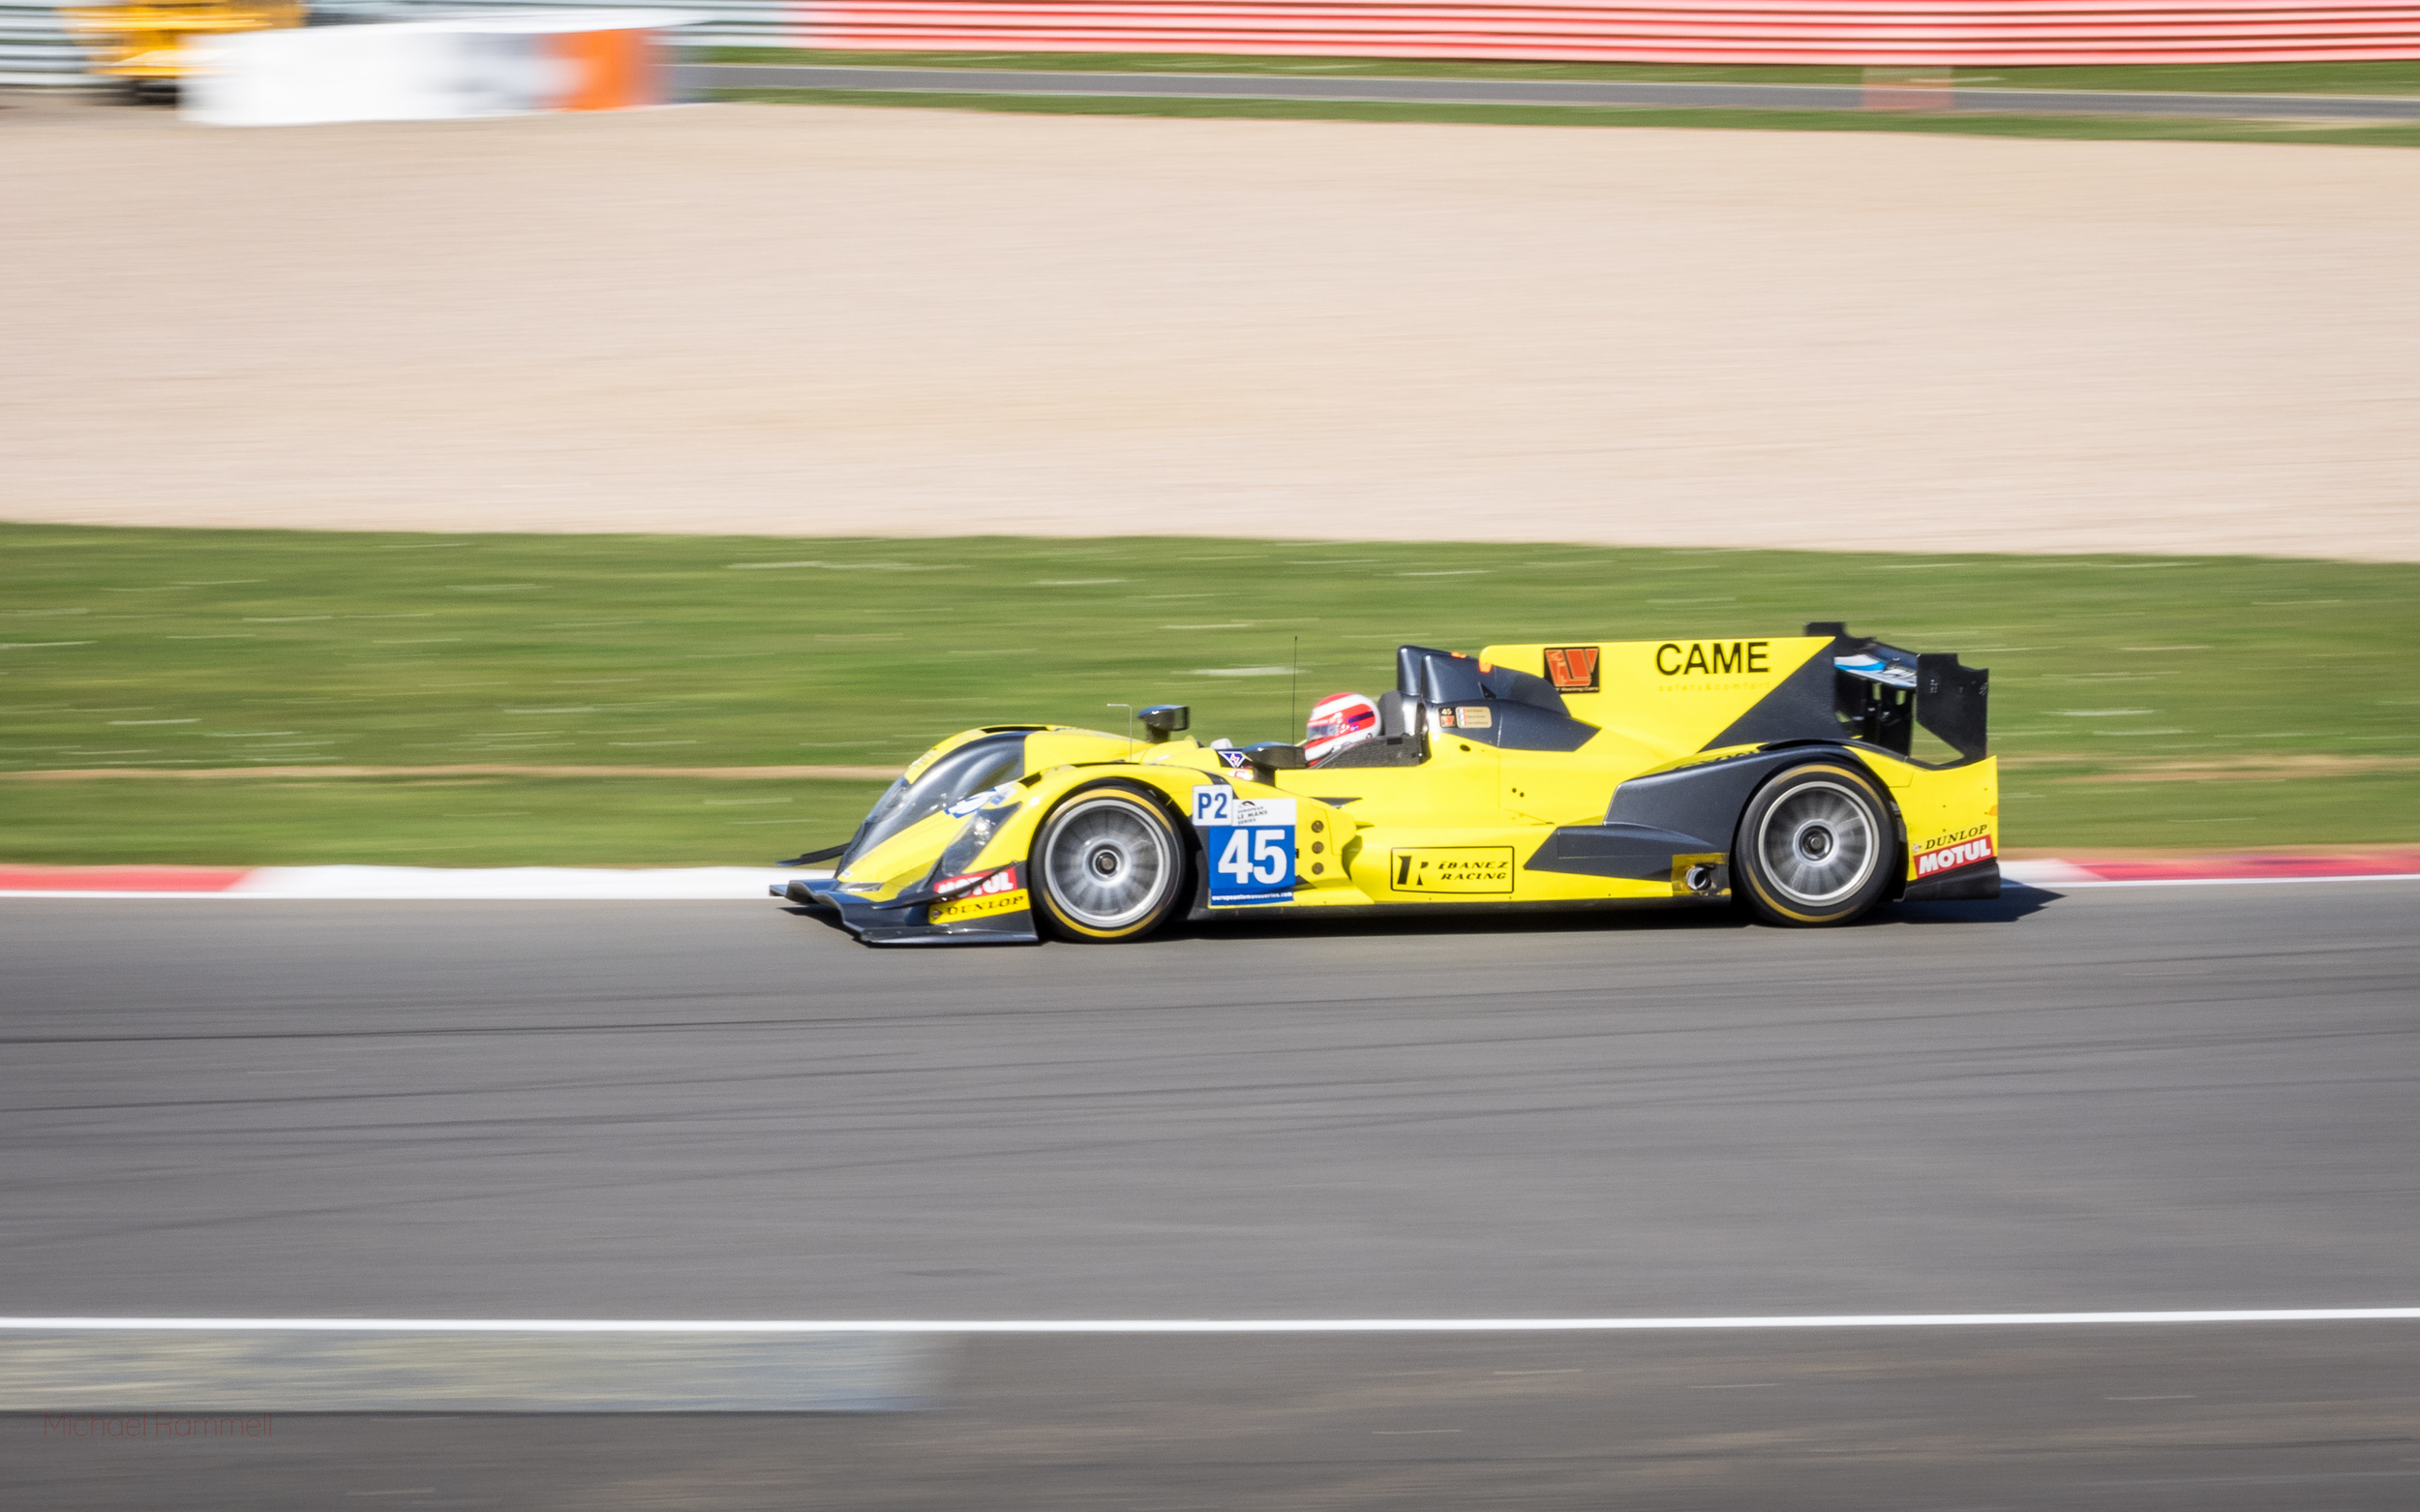
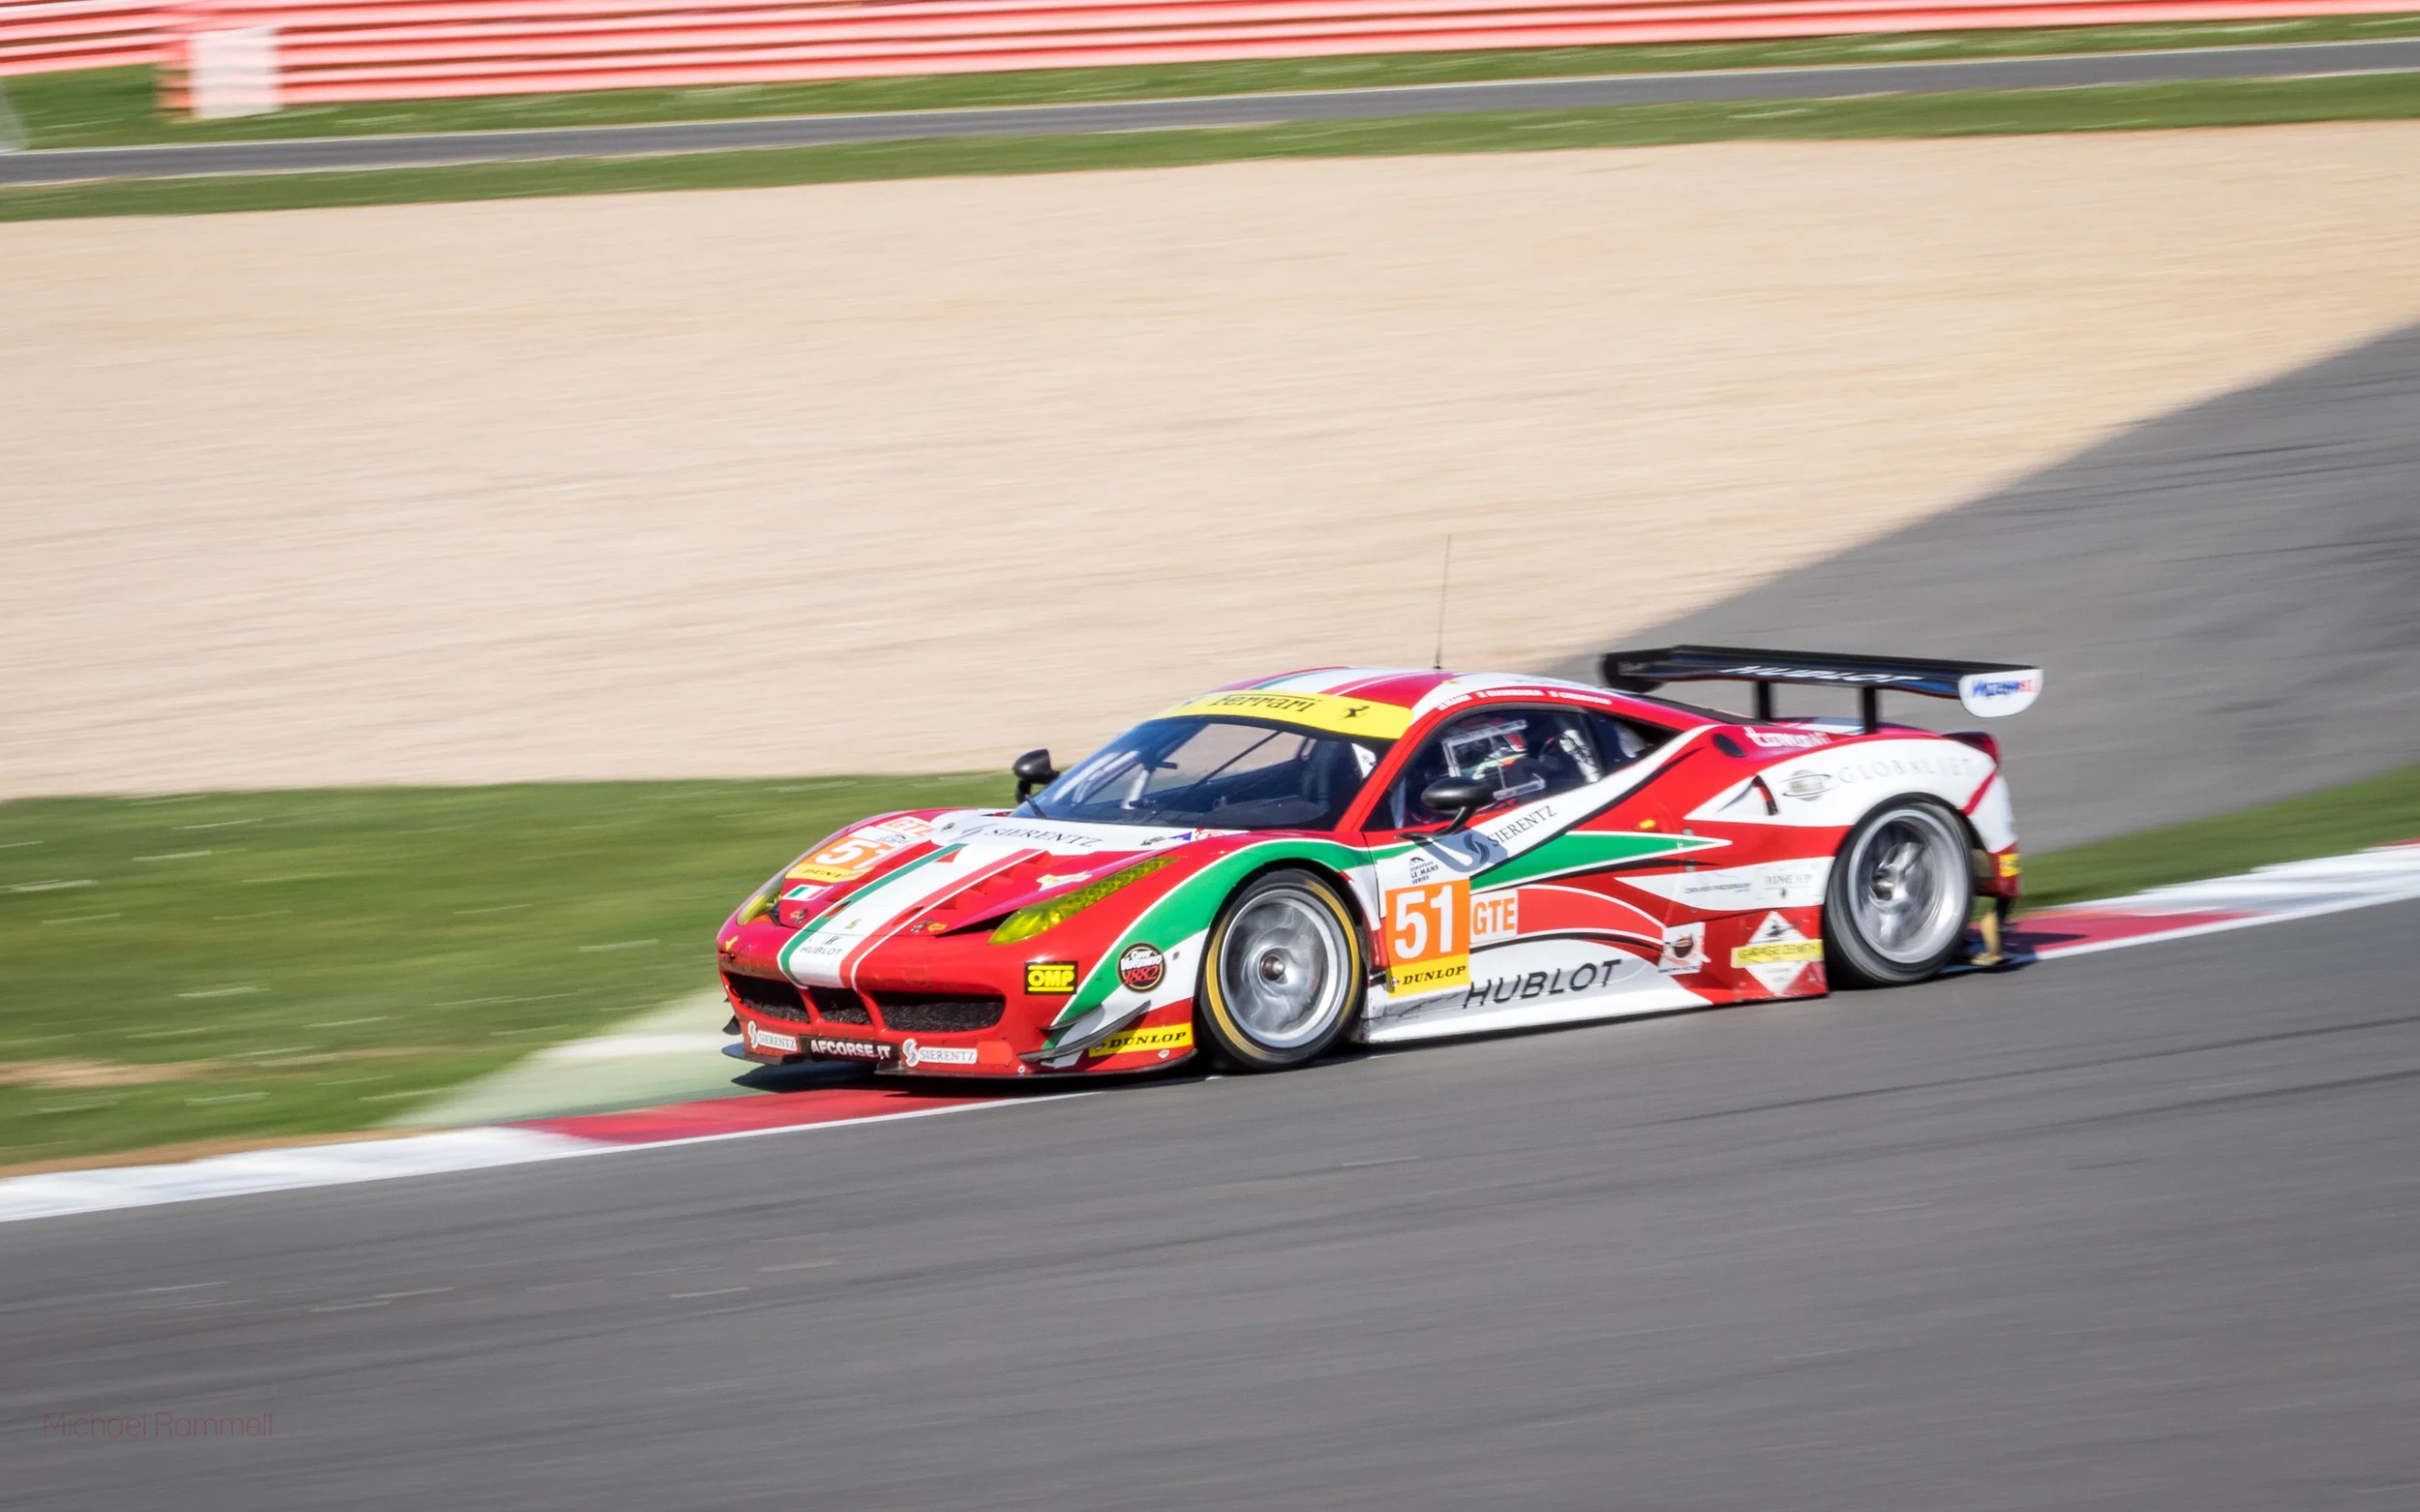
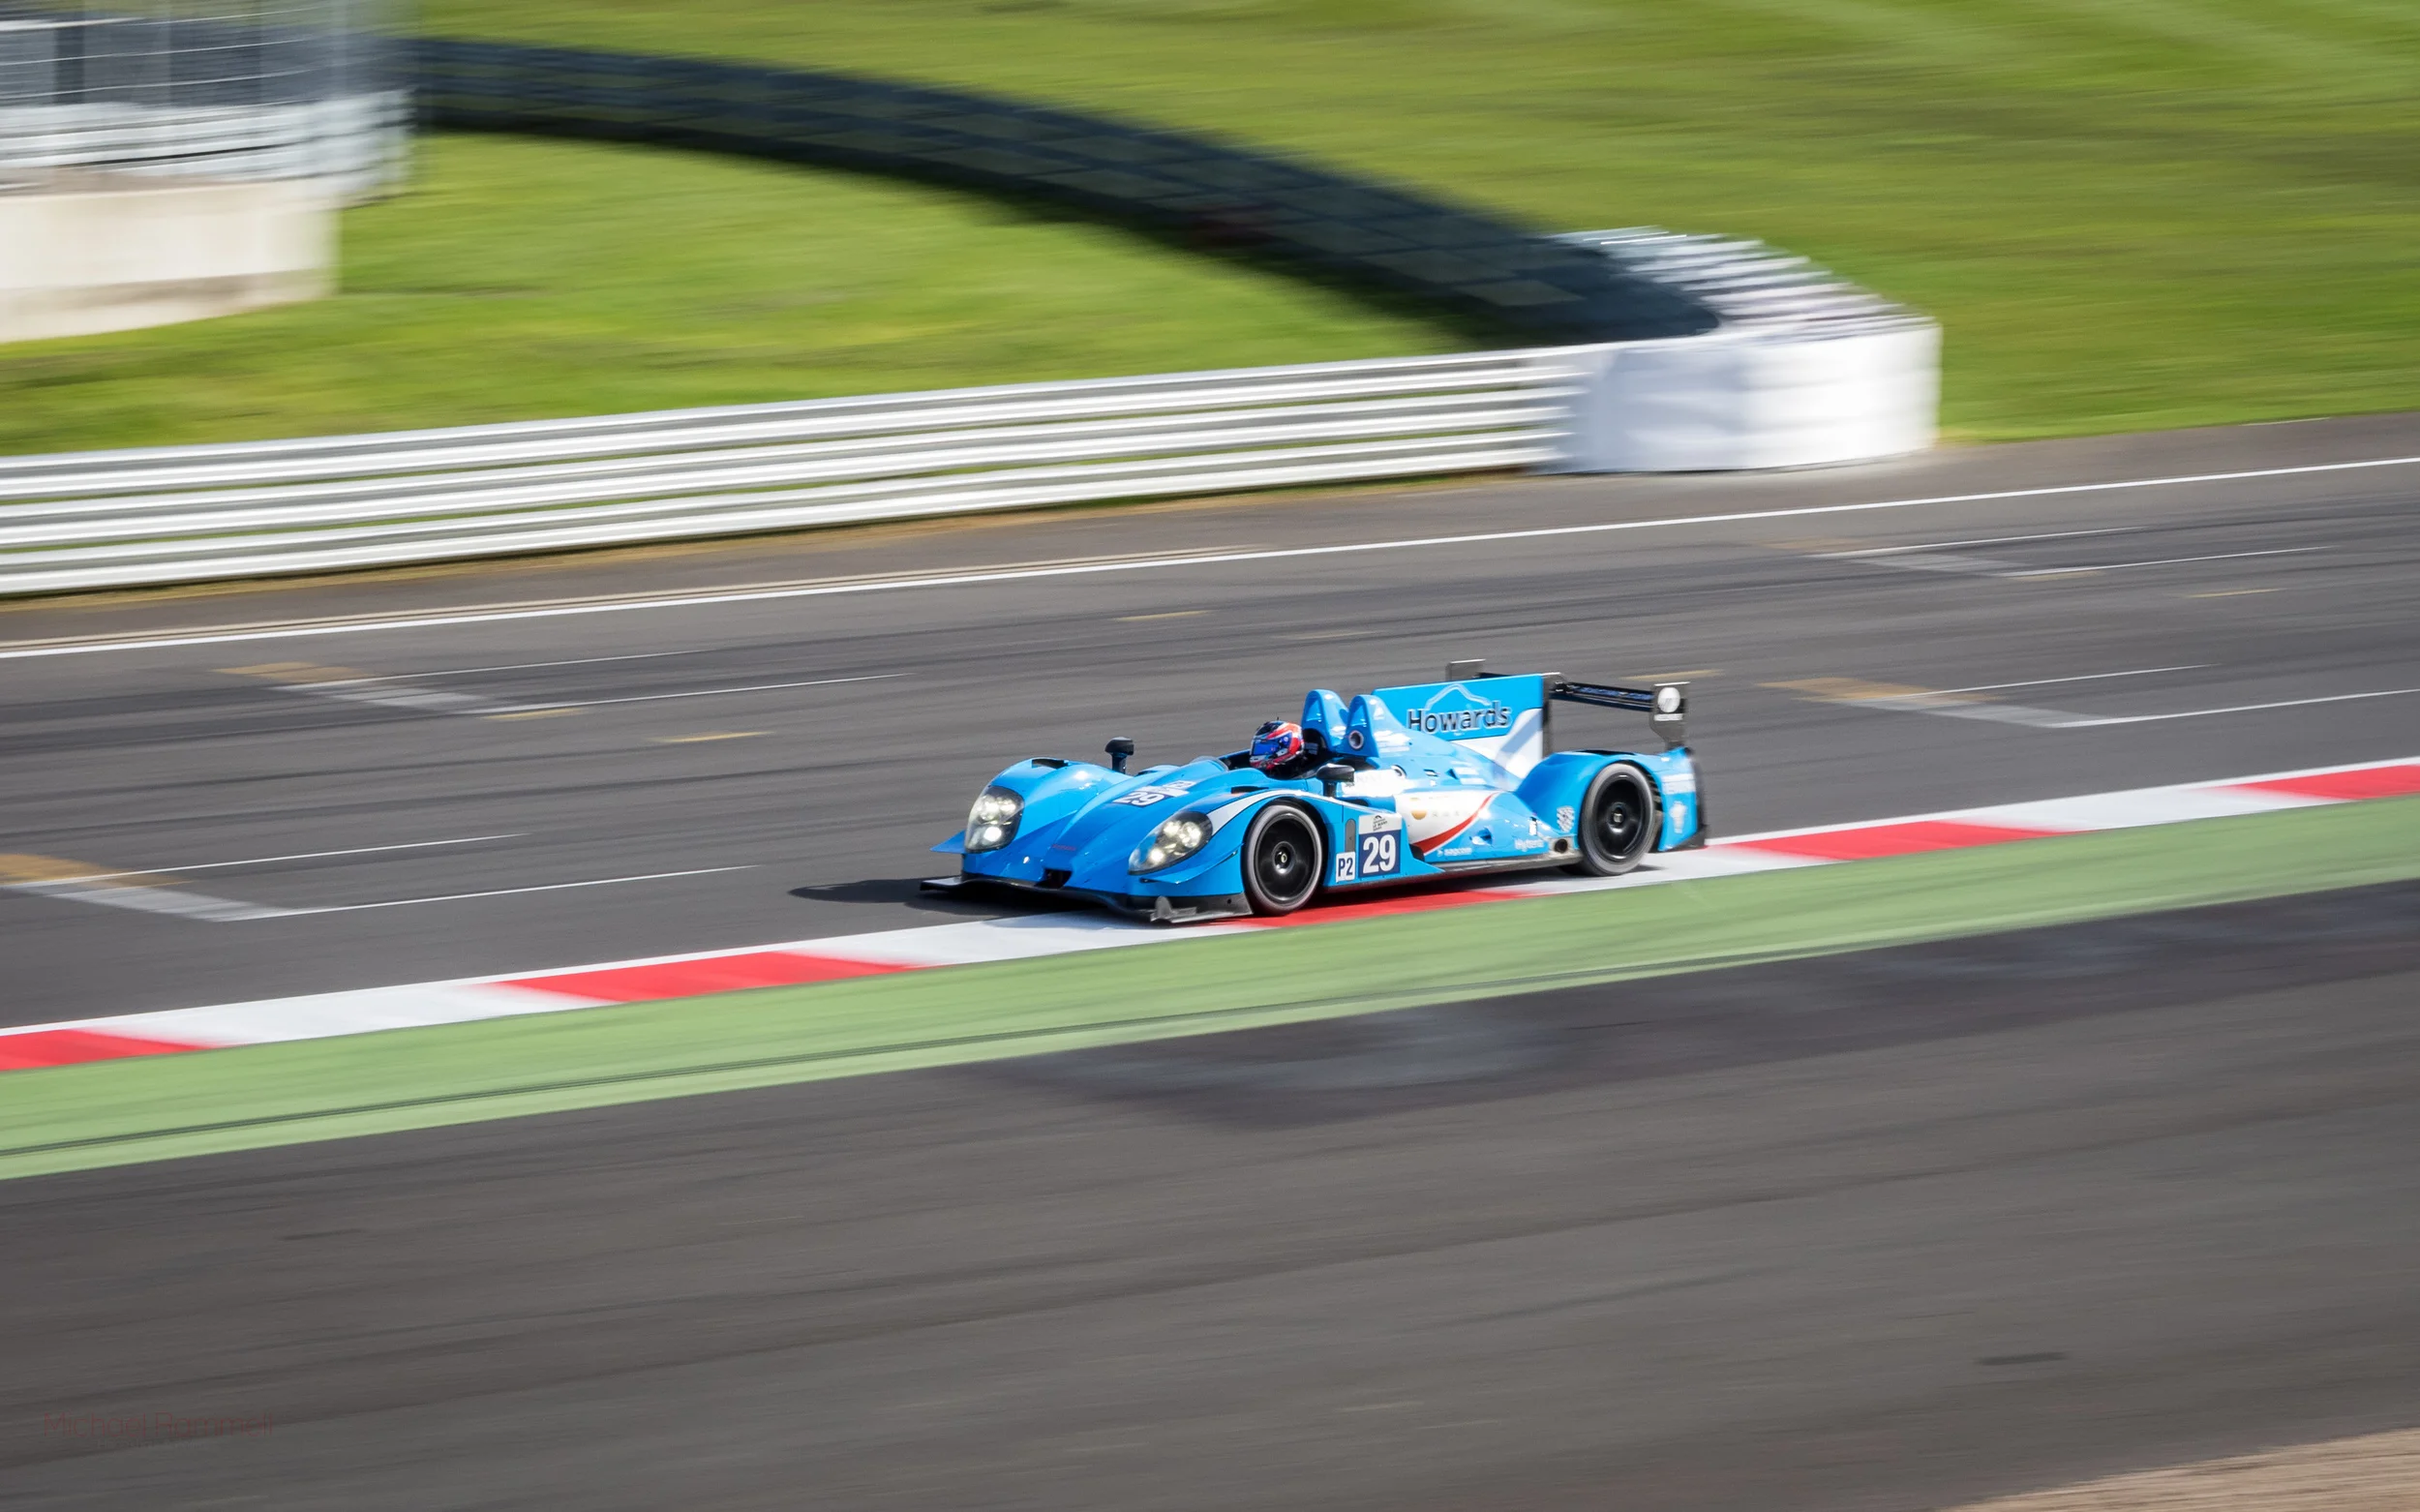
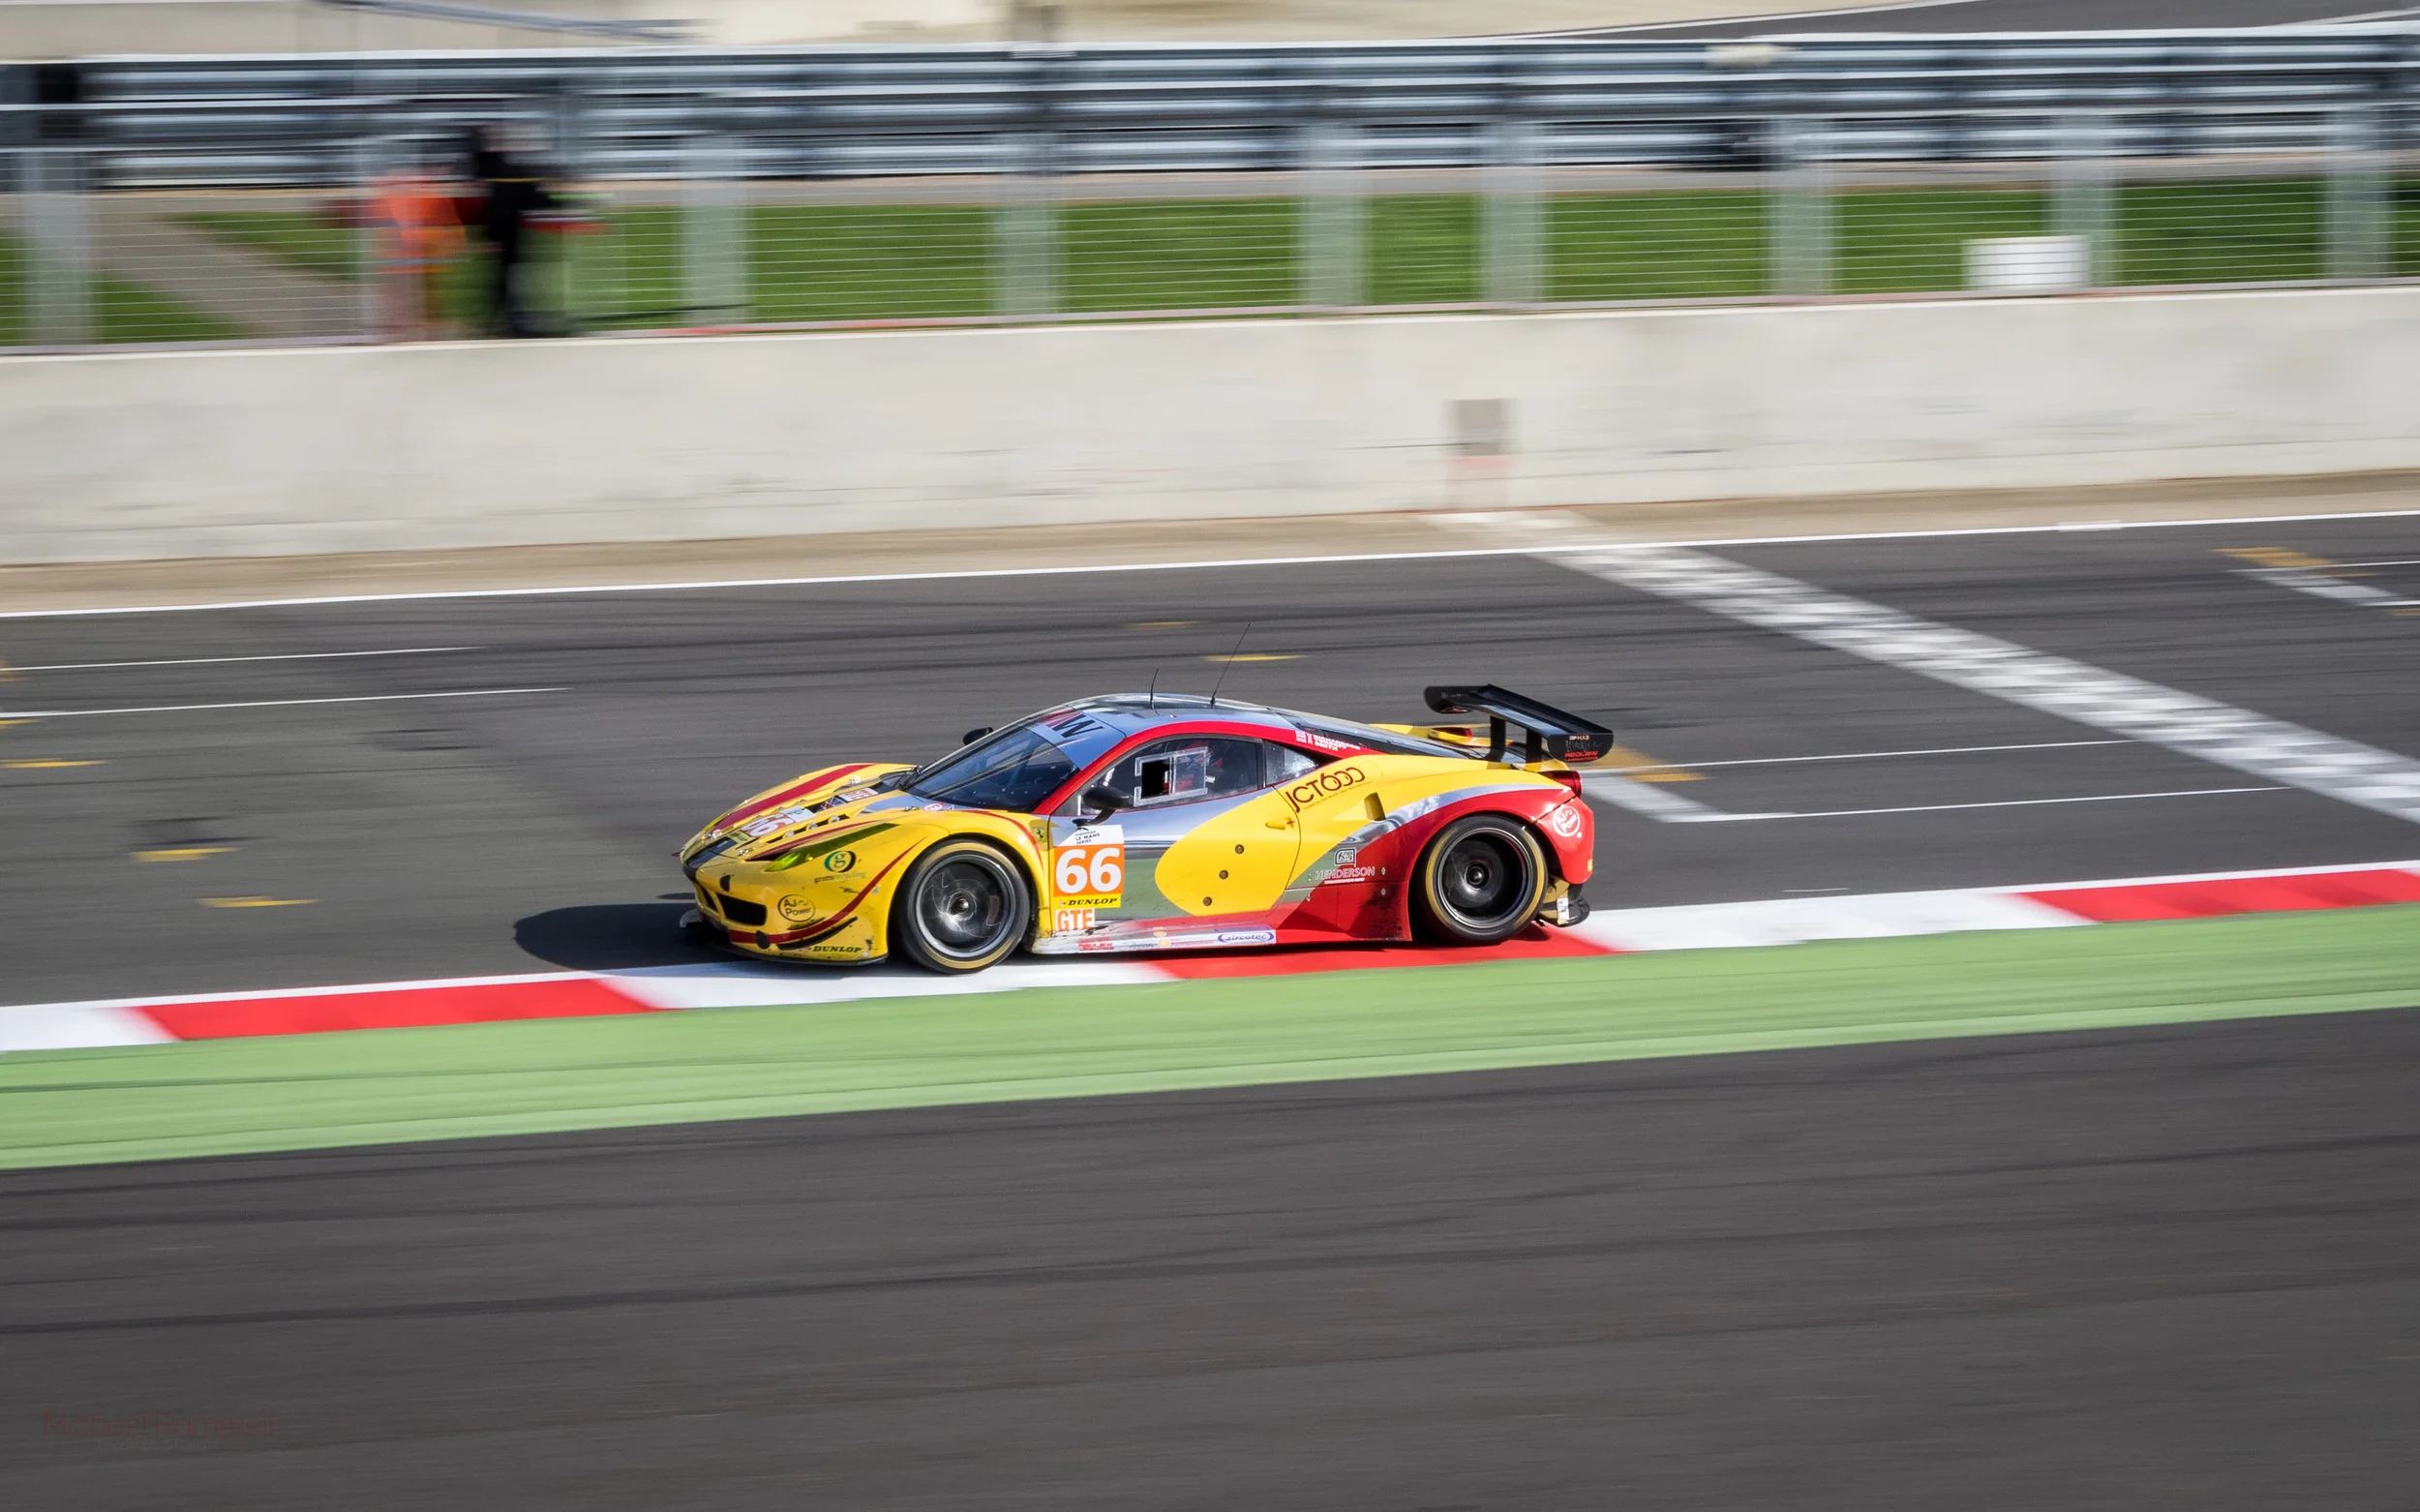
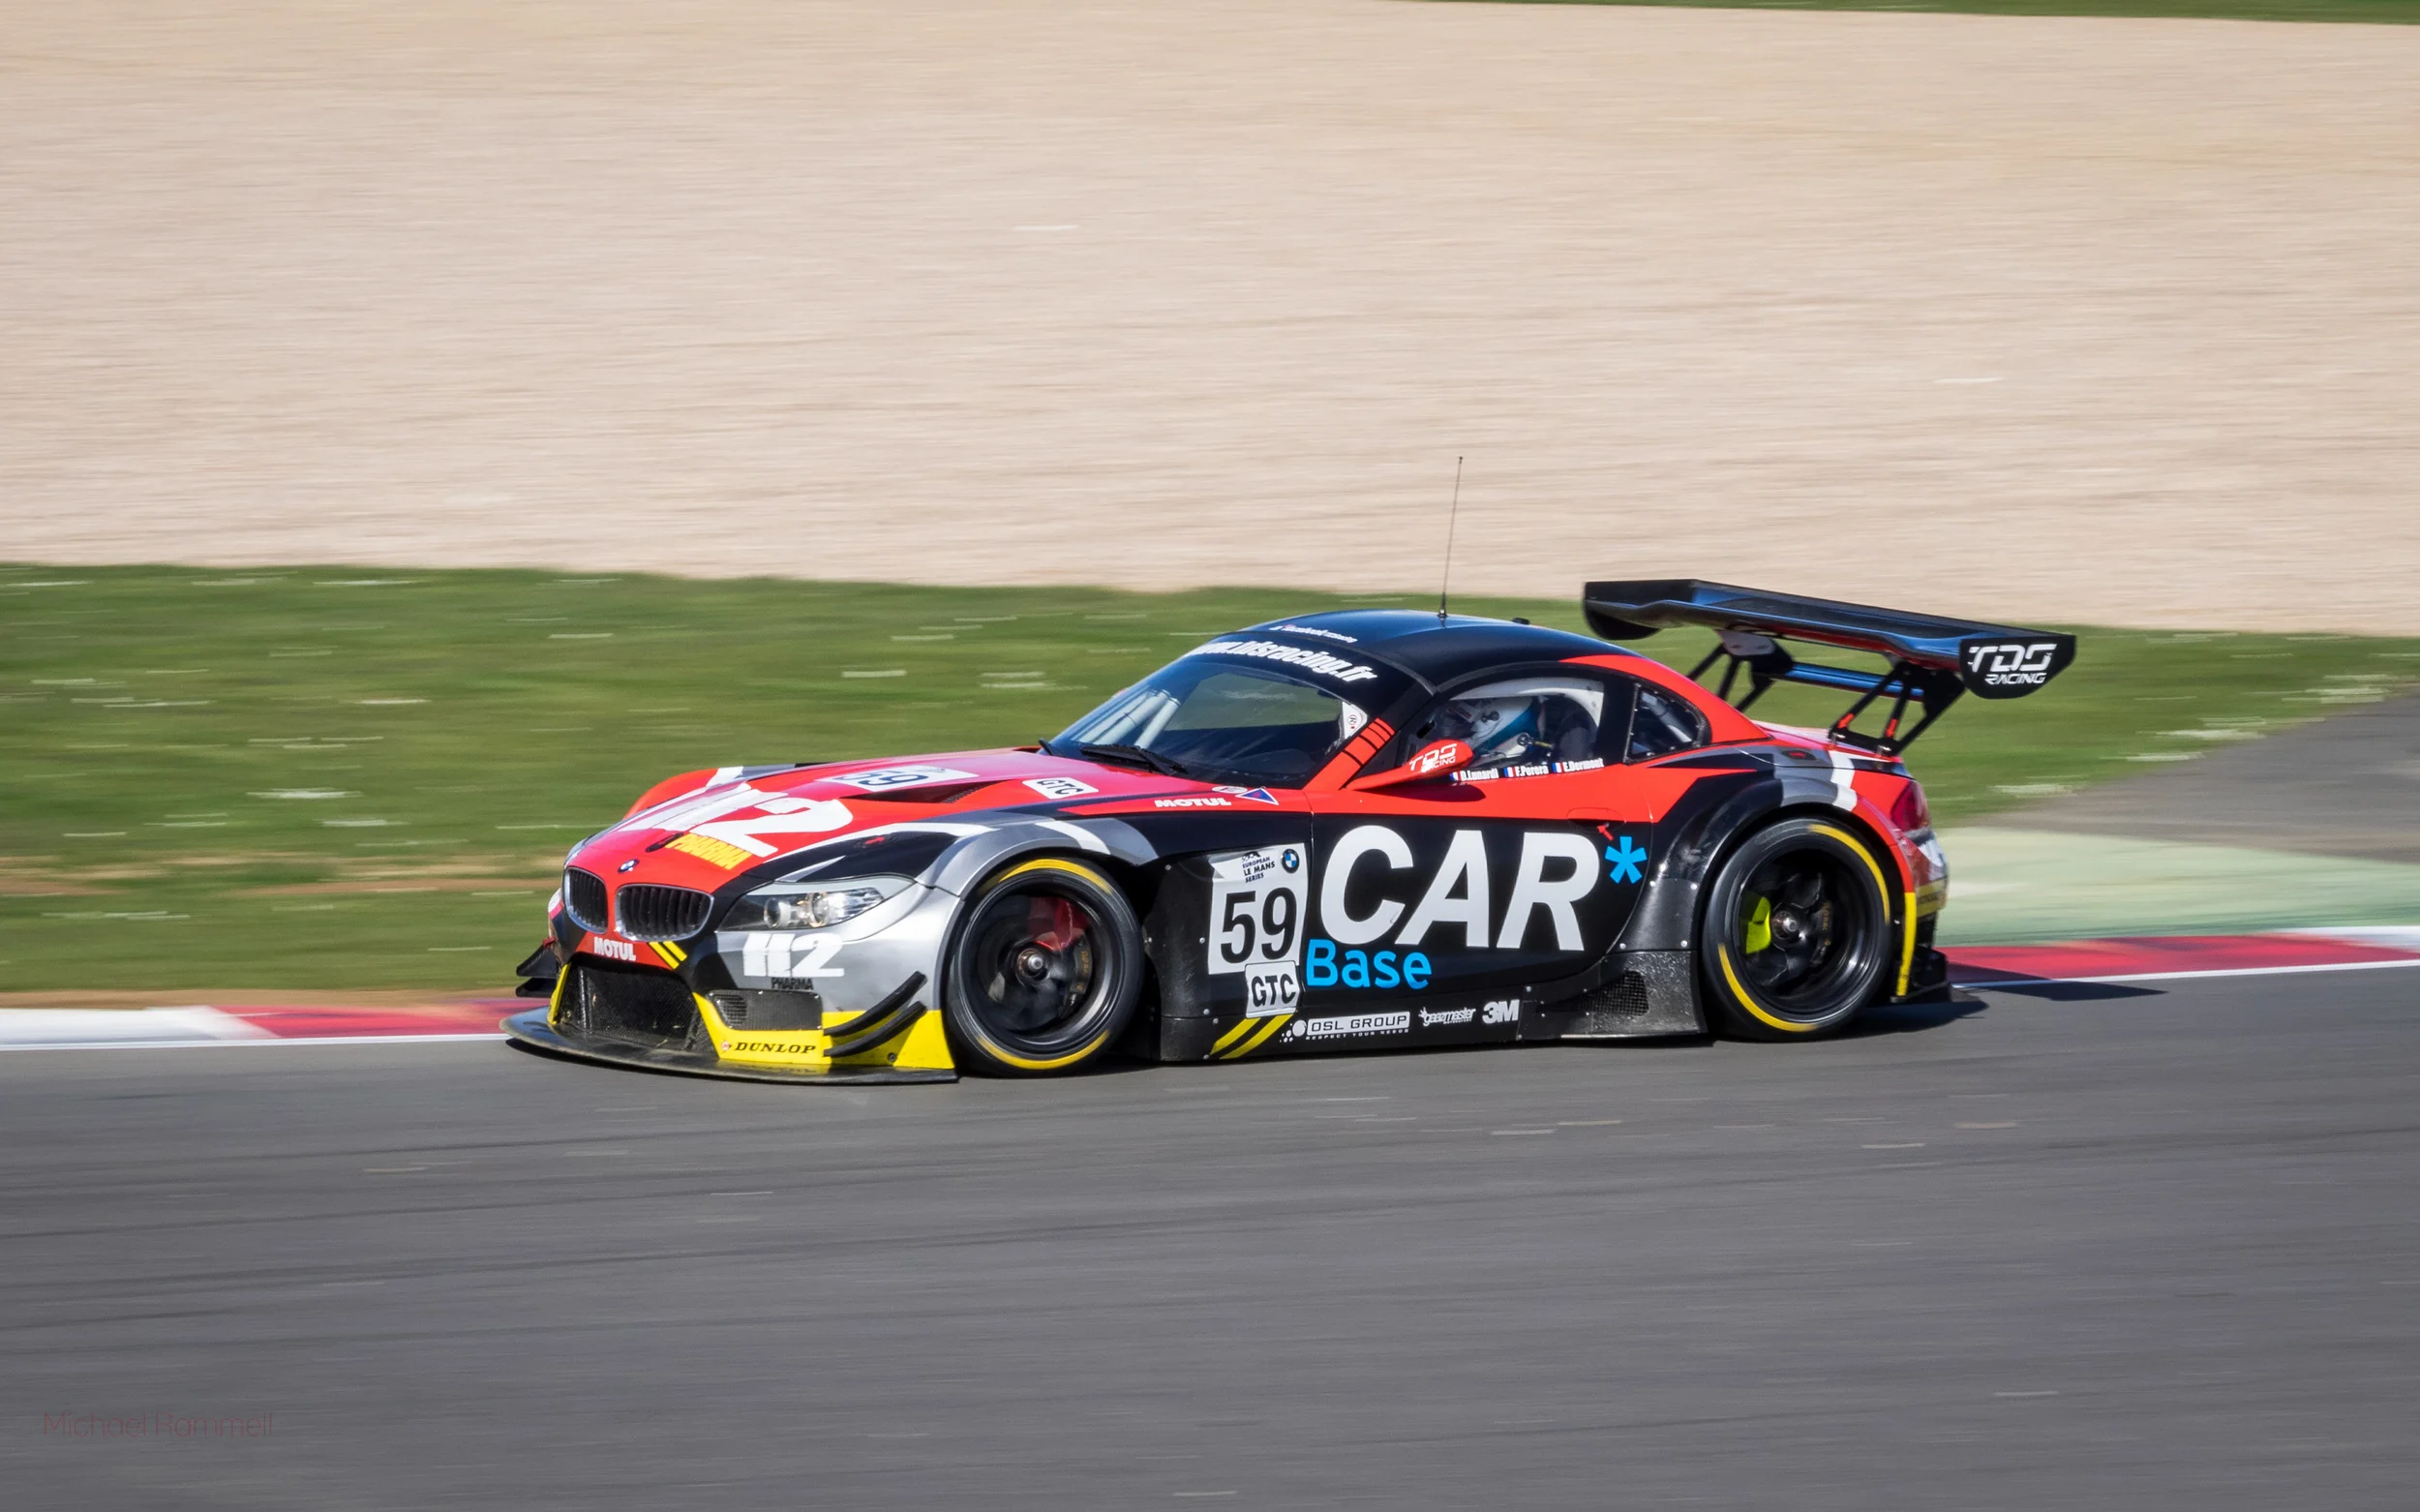
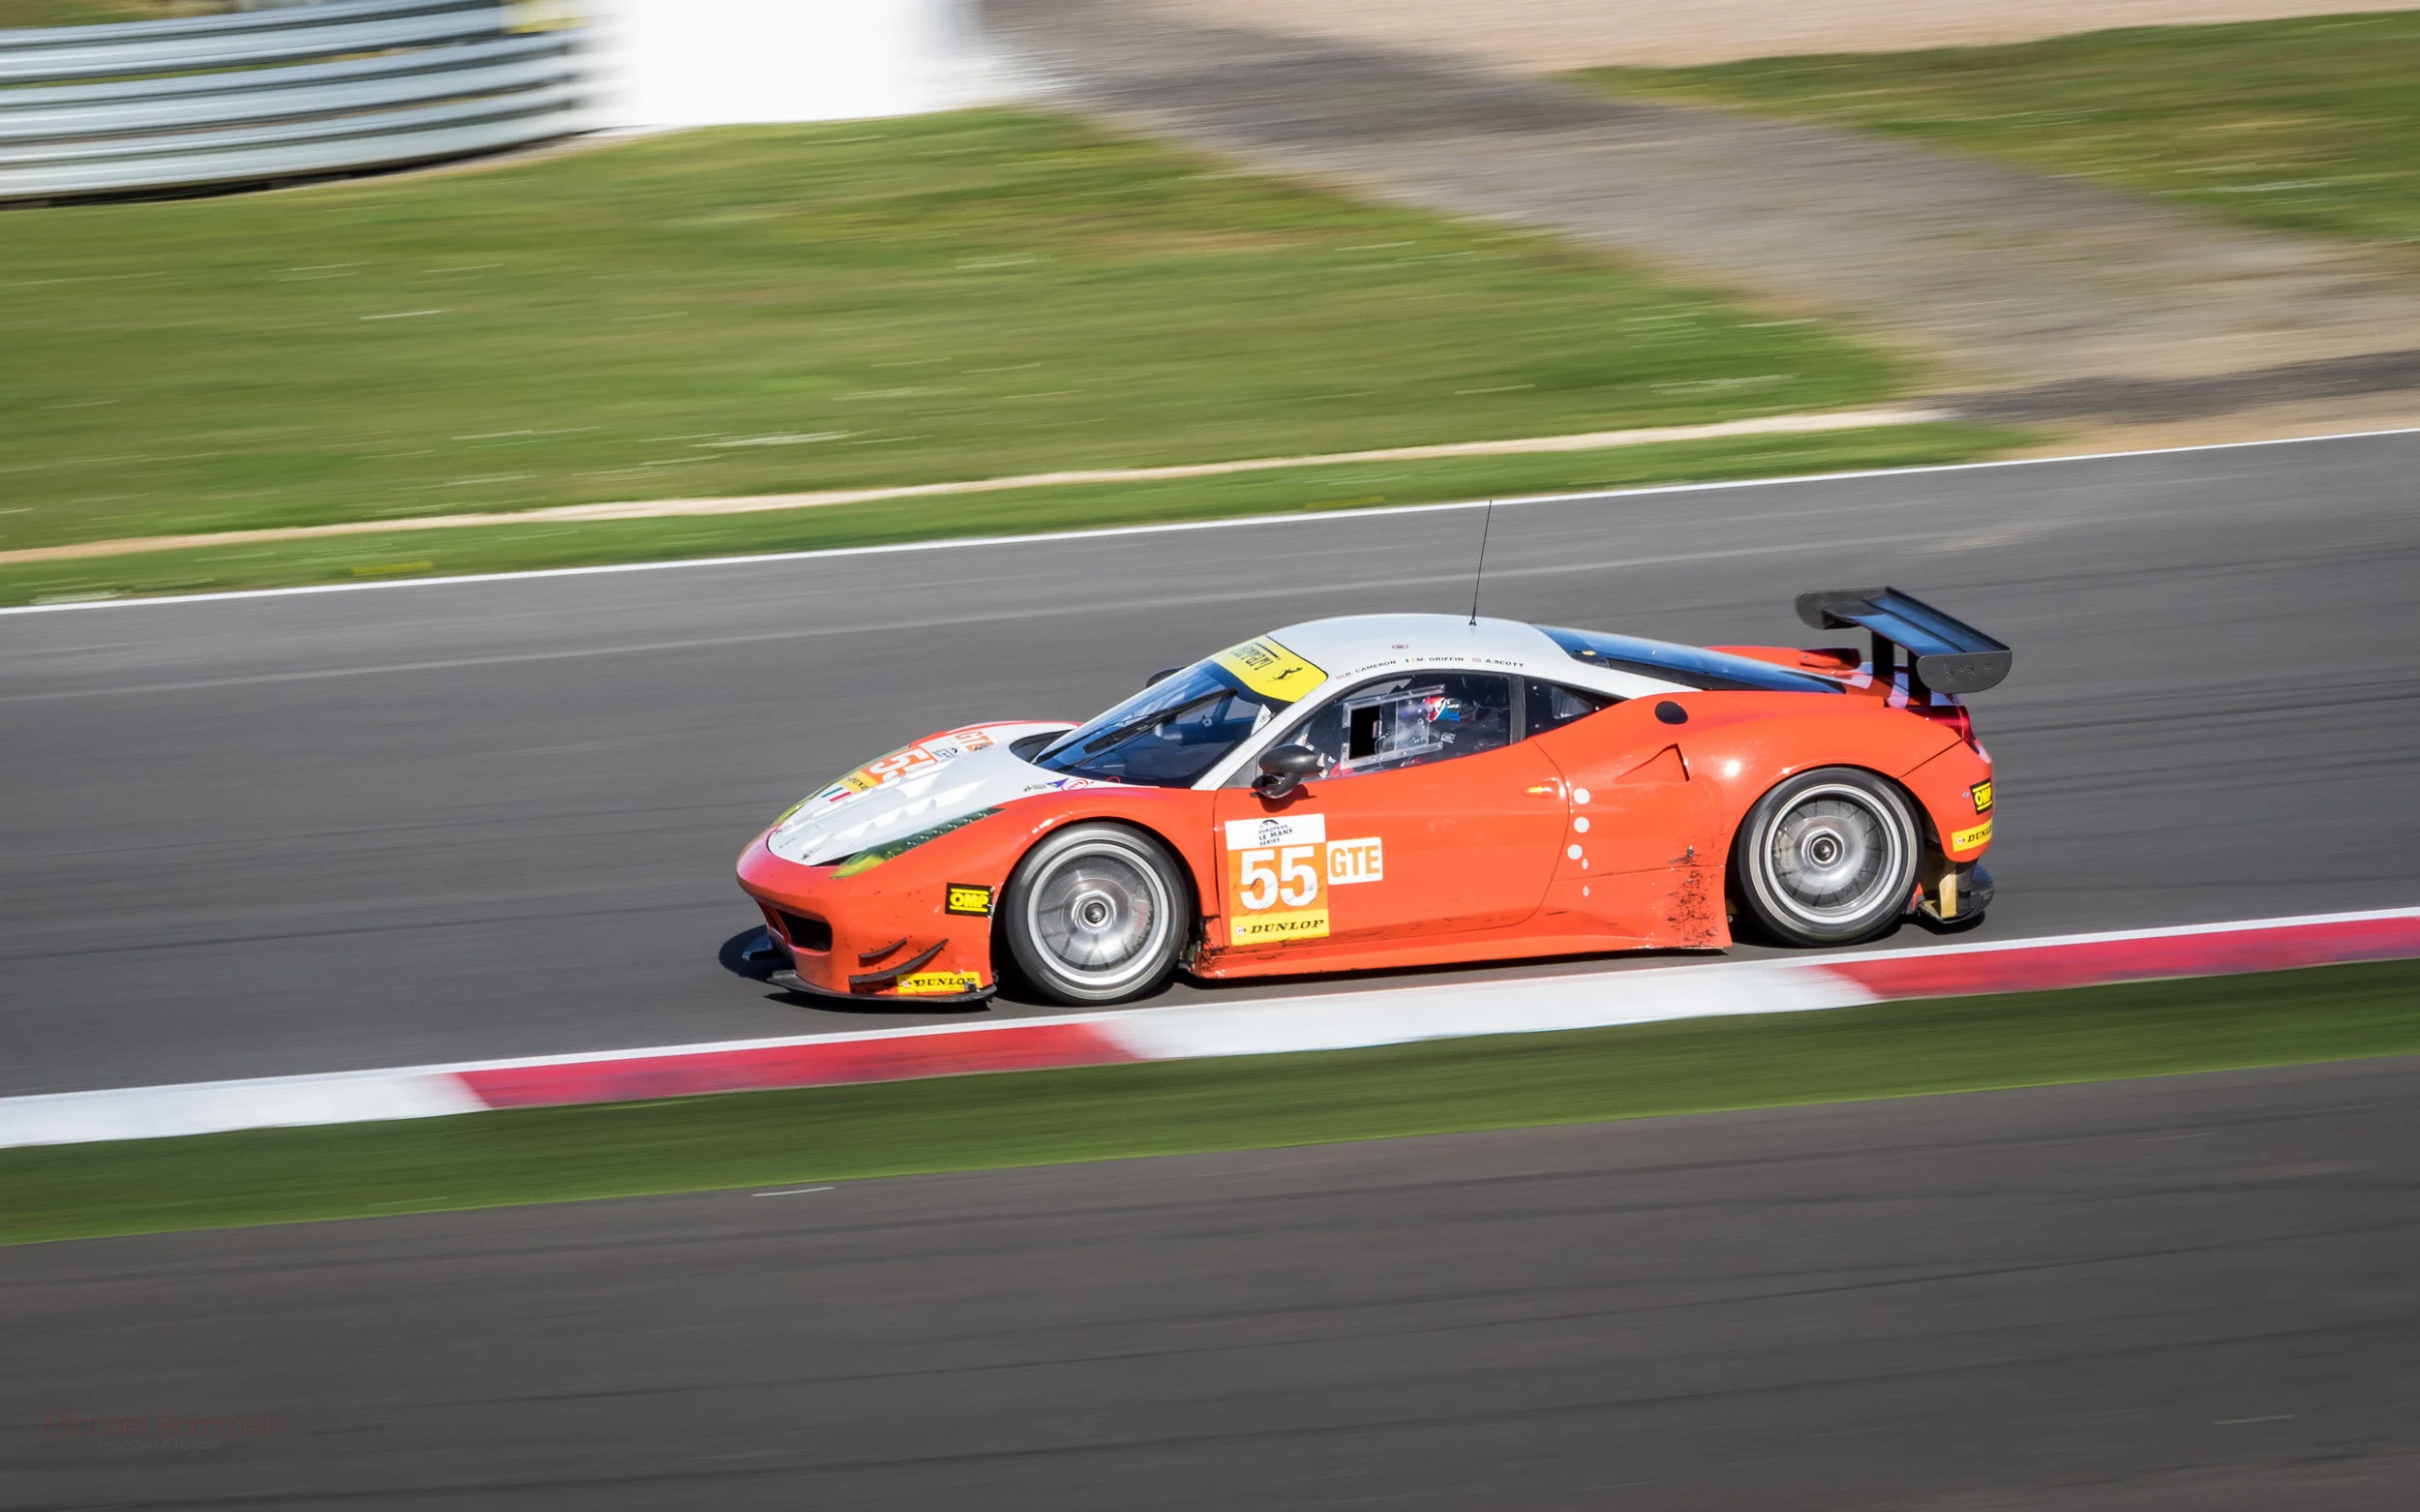
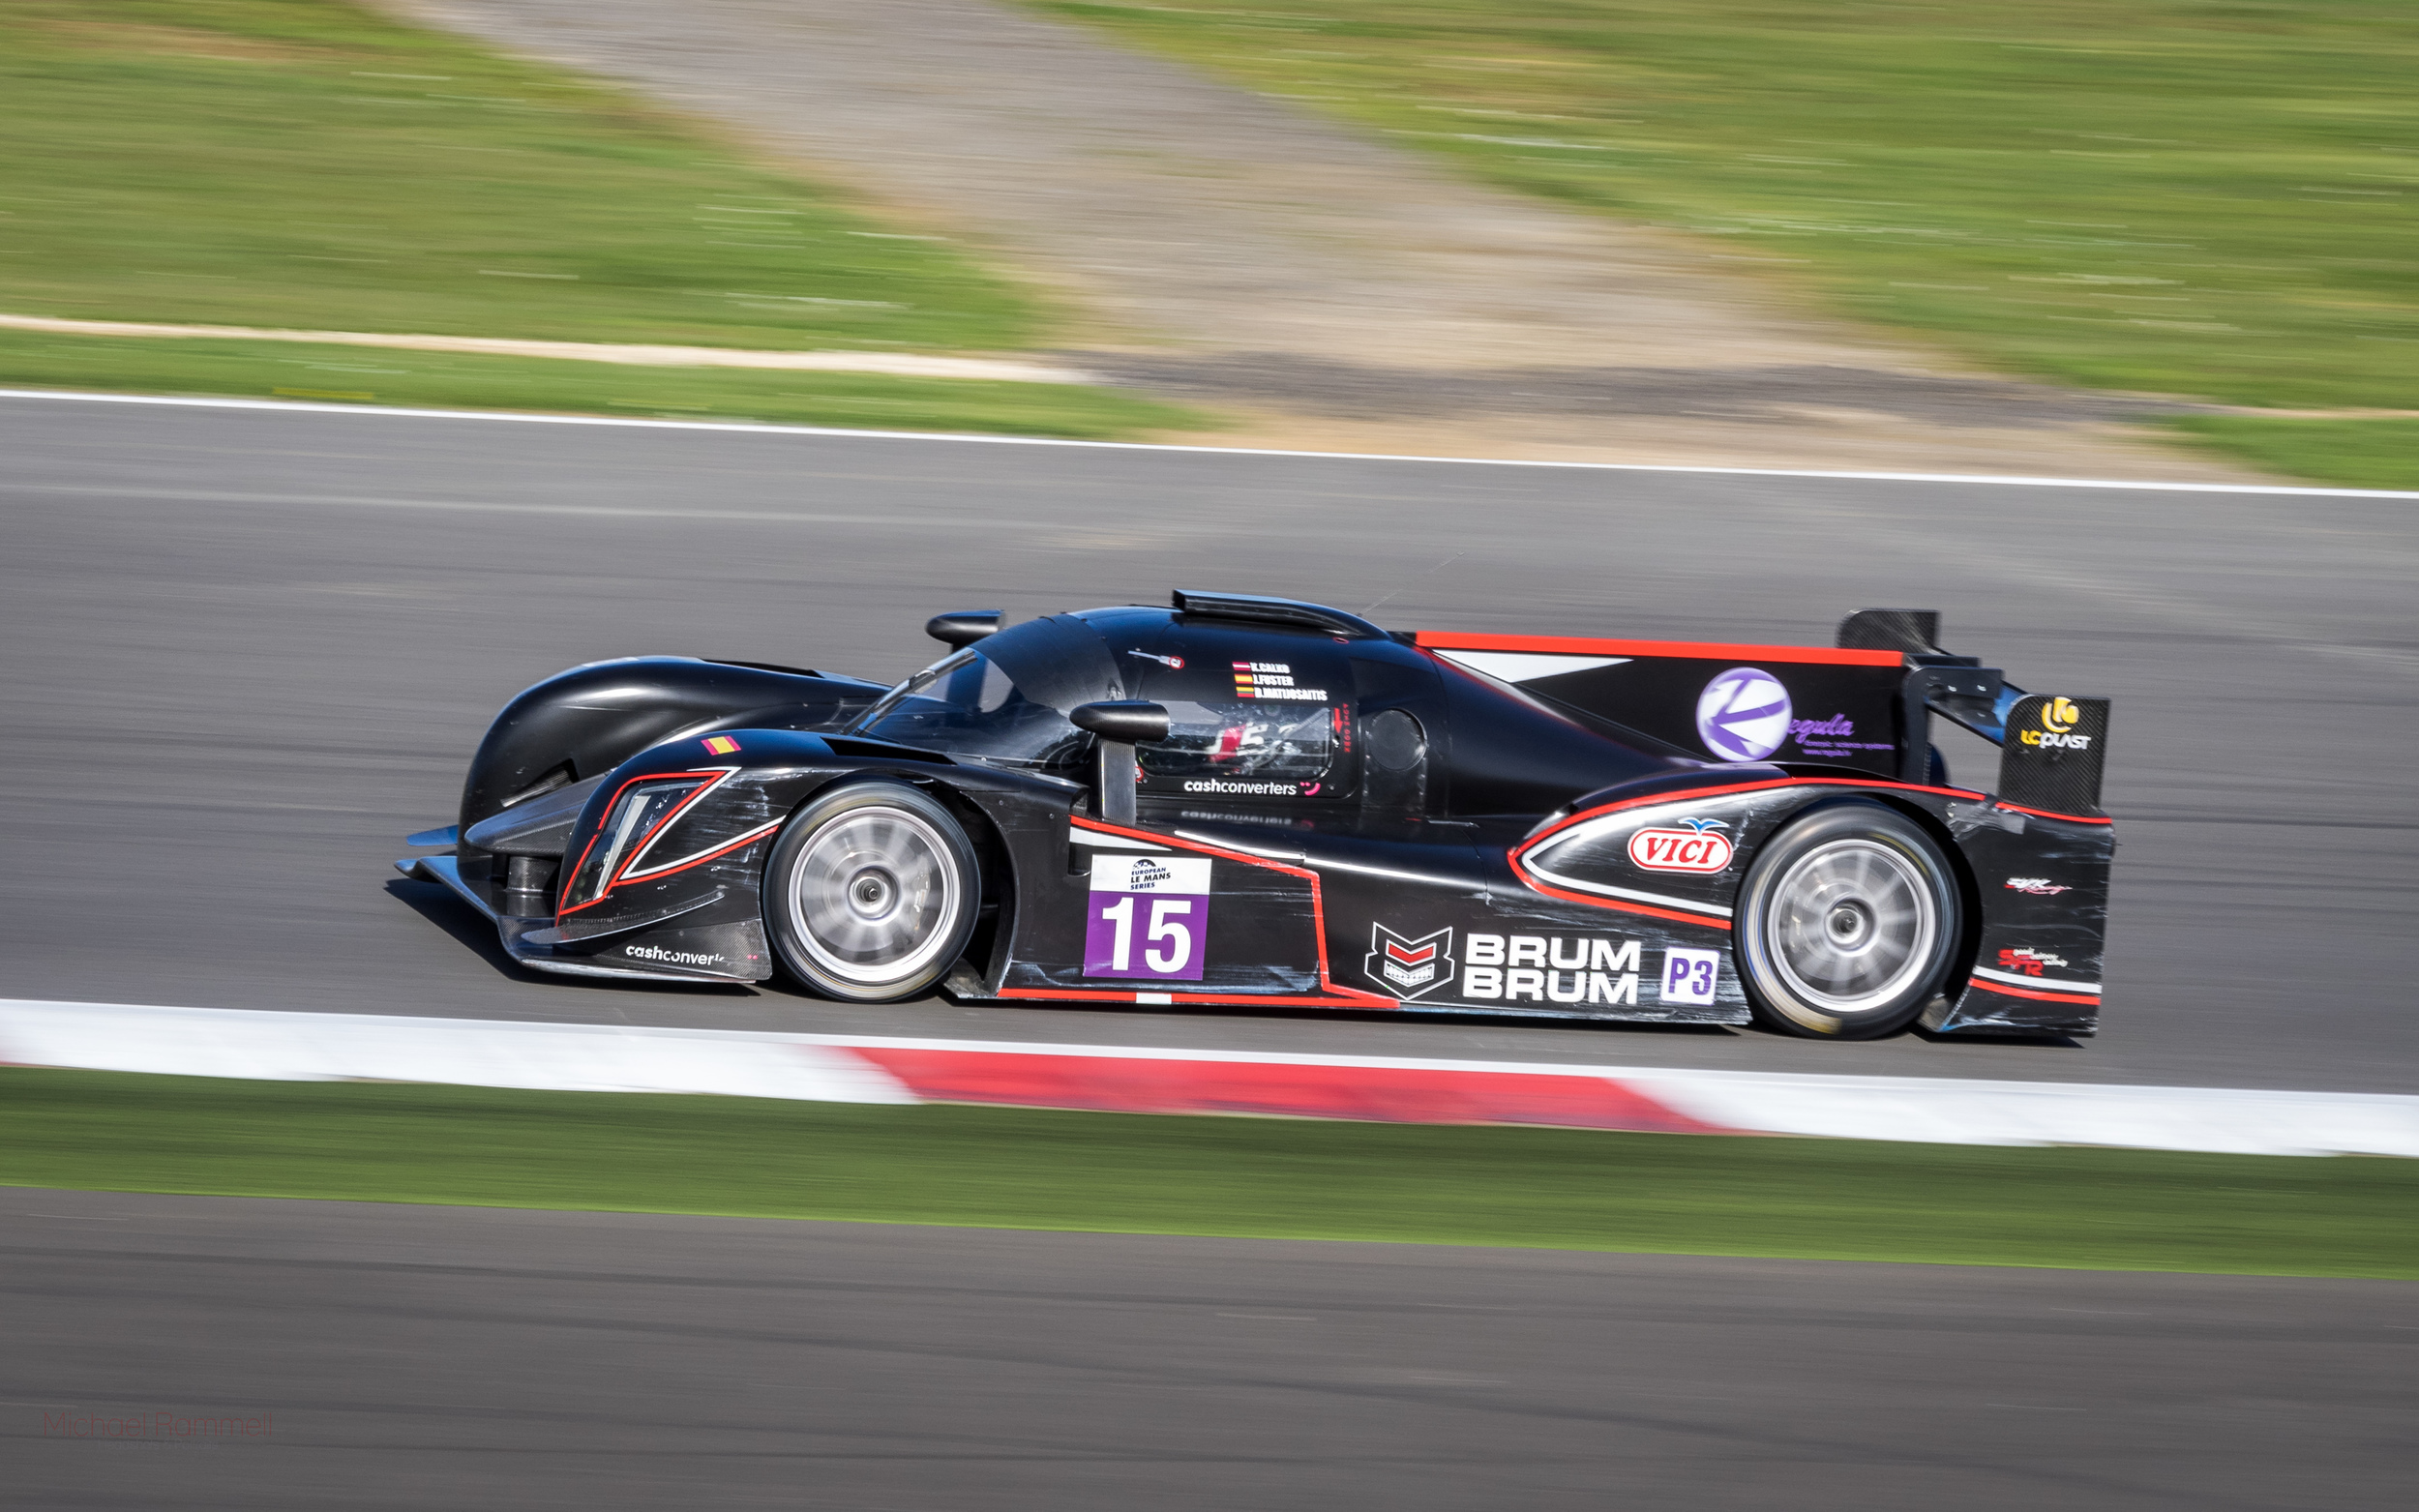
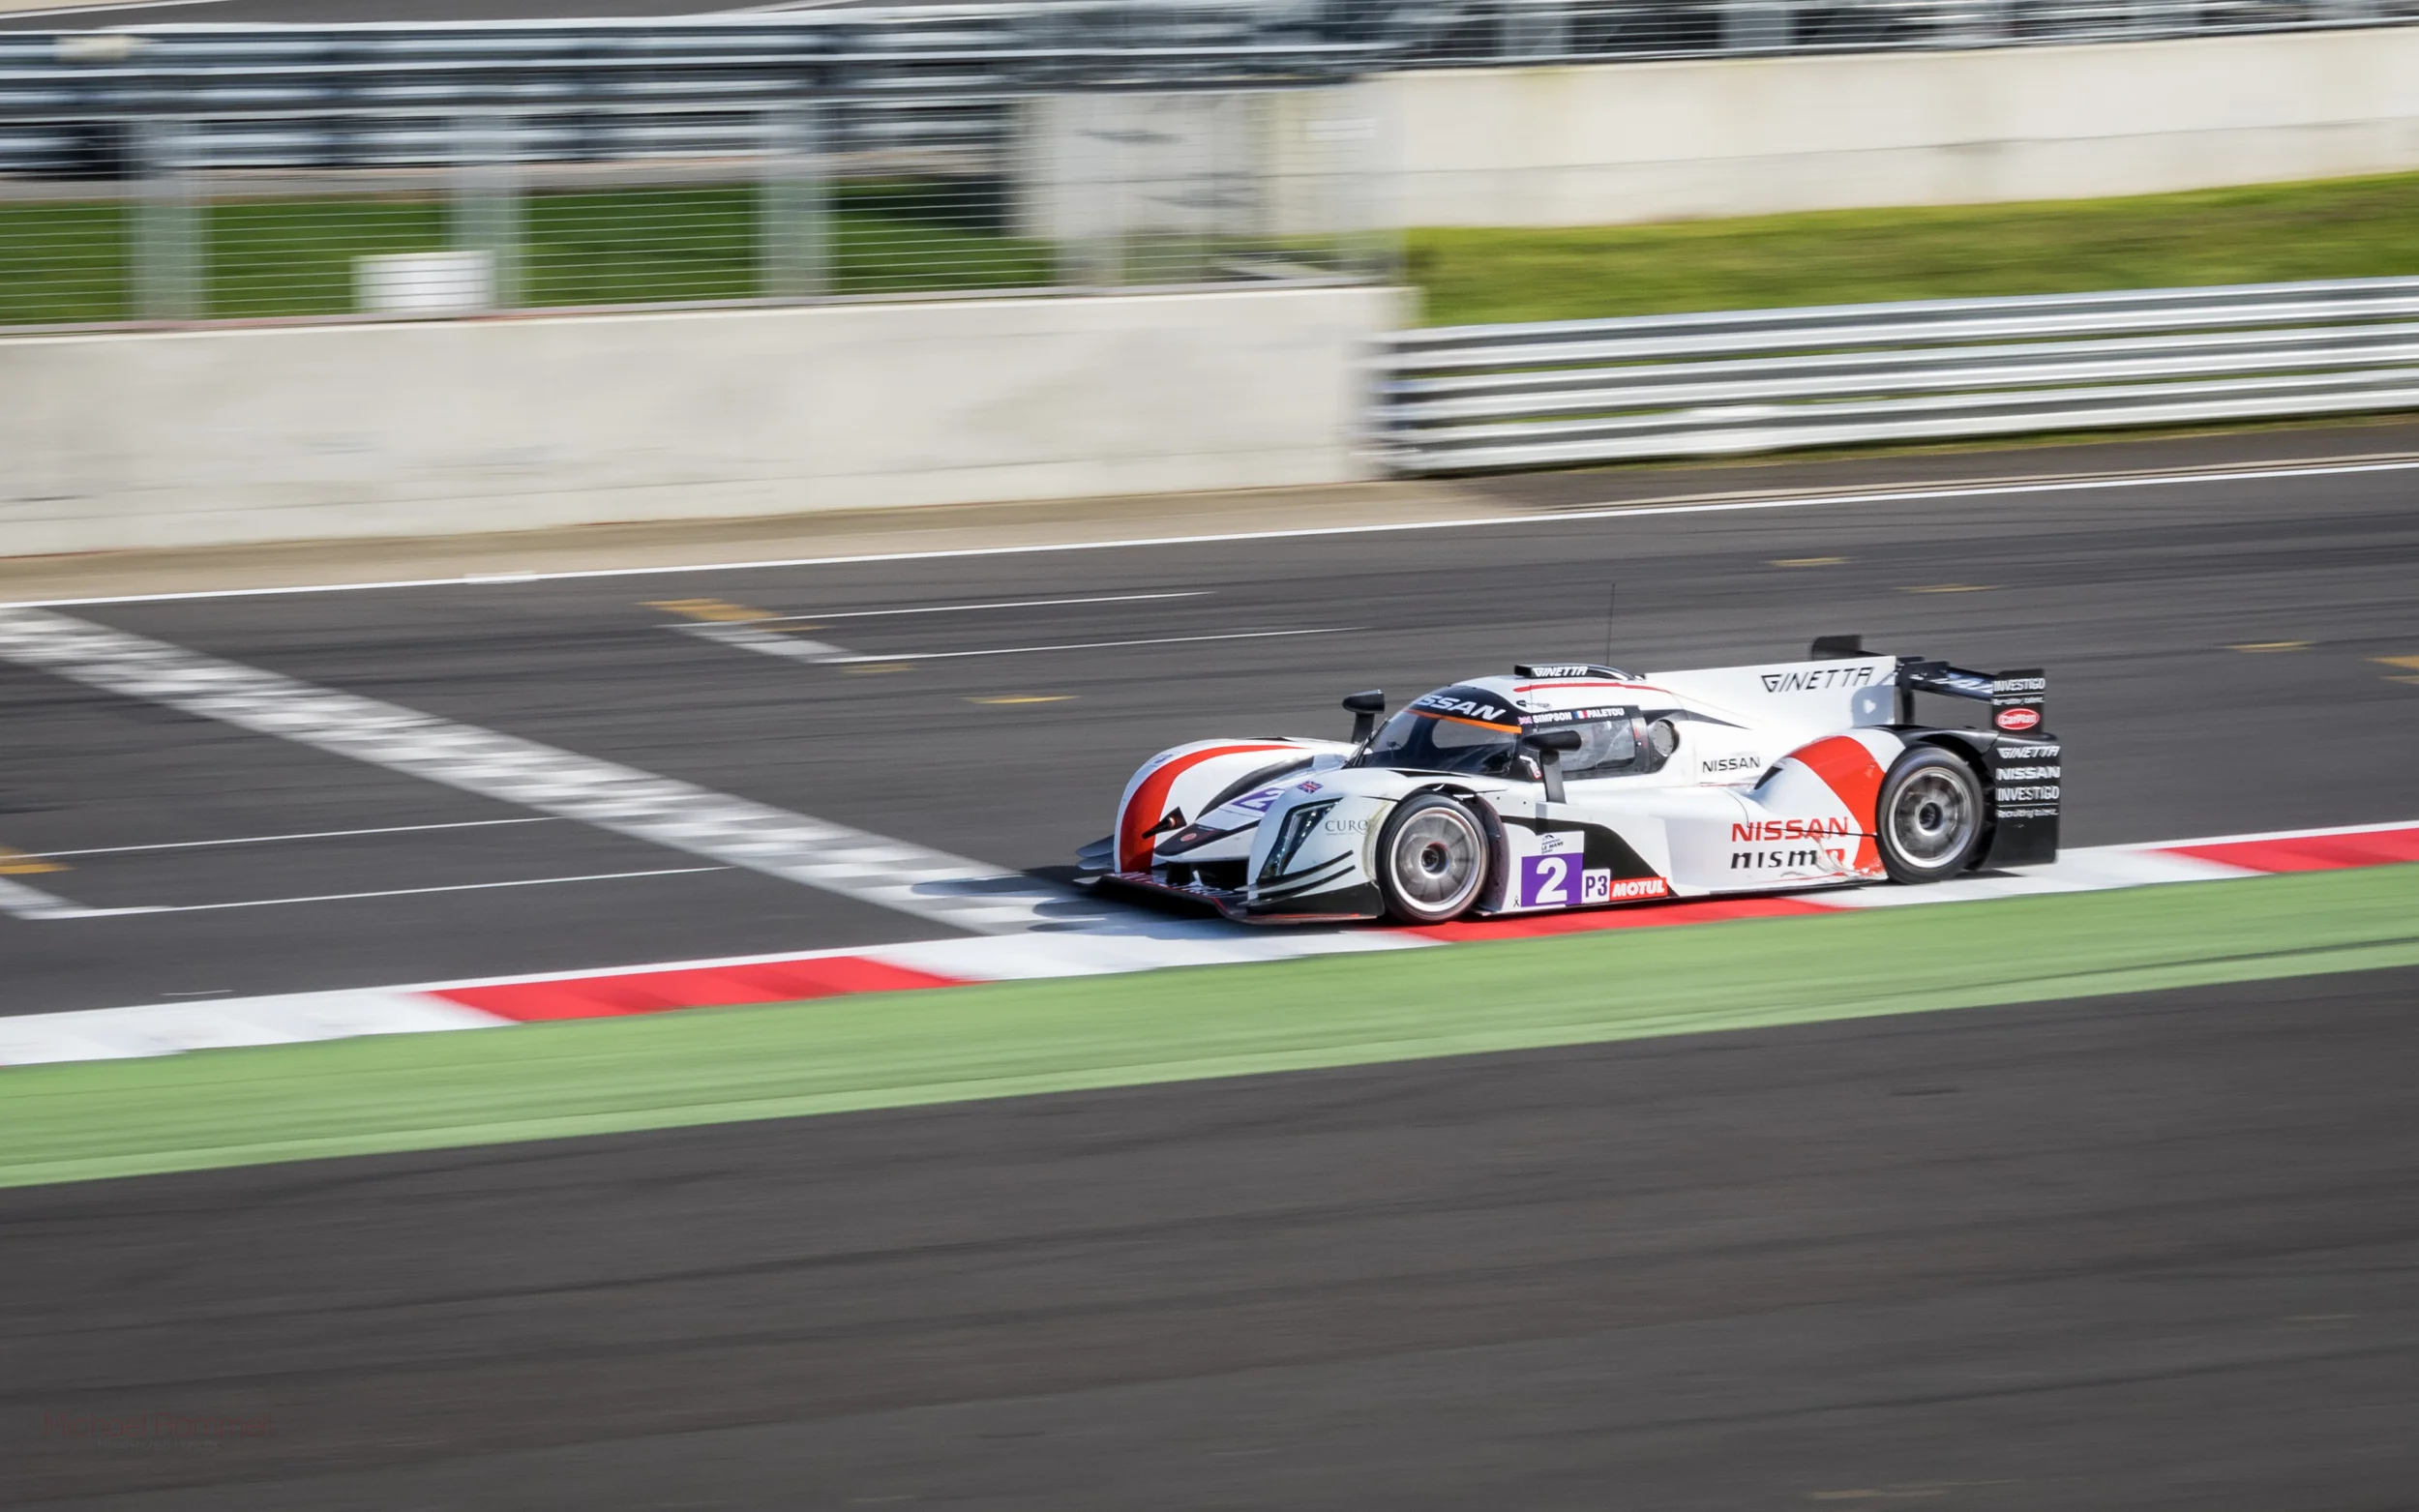
Sample photographs
To start this post let's take a look at some sample photographs, before going through the settings used to achieve them:
(Click any of these images to view them in light box mode):

Settings & Gear Used
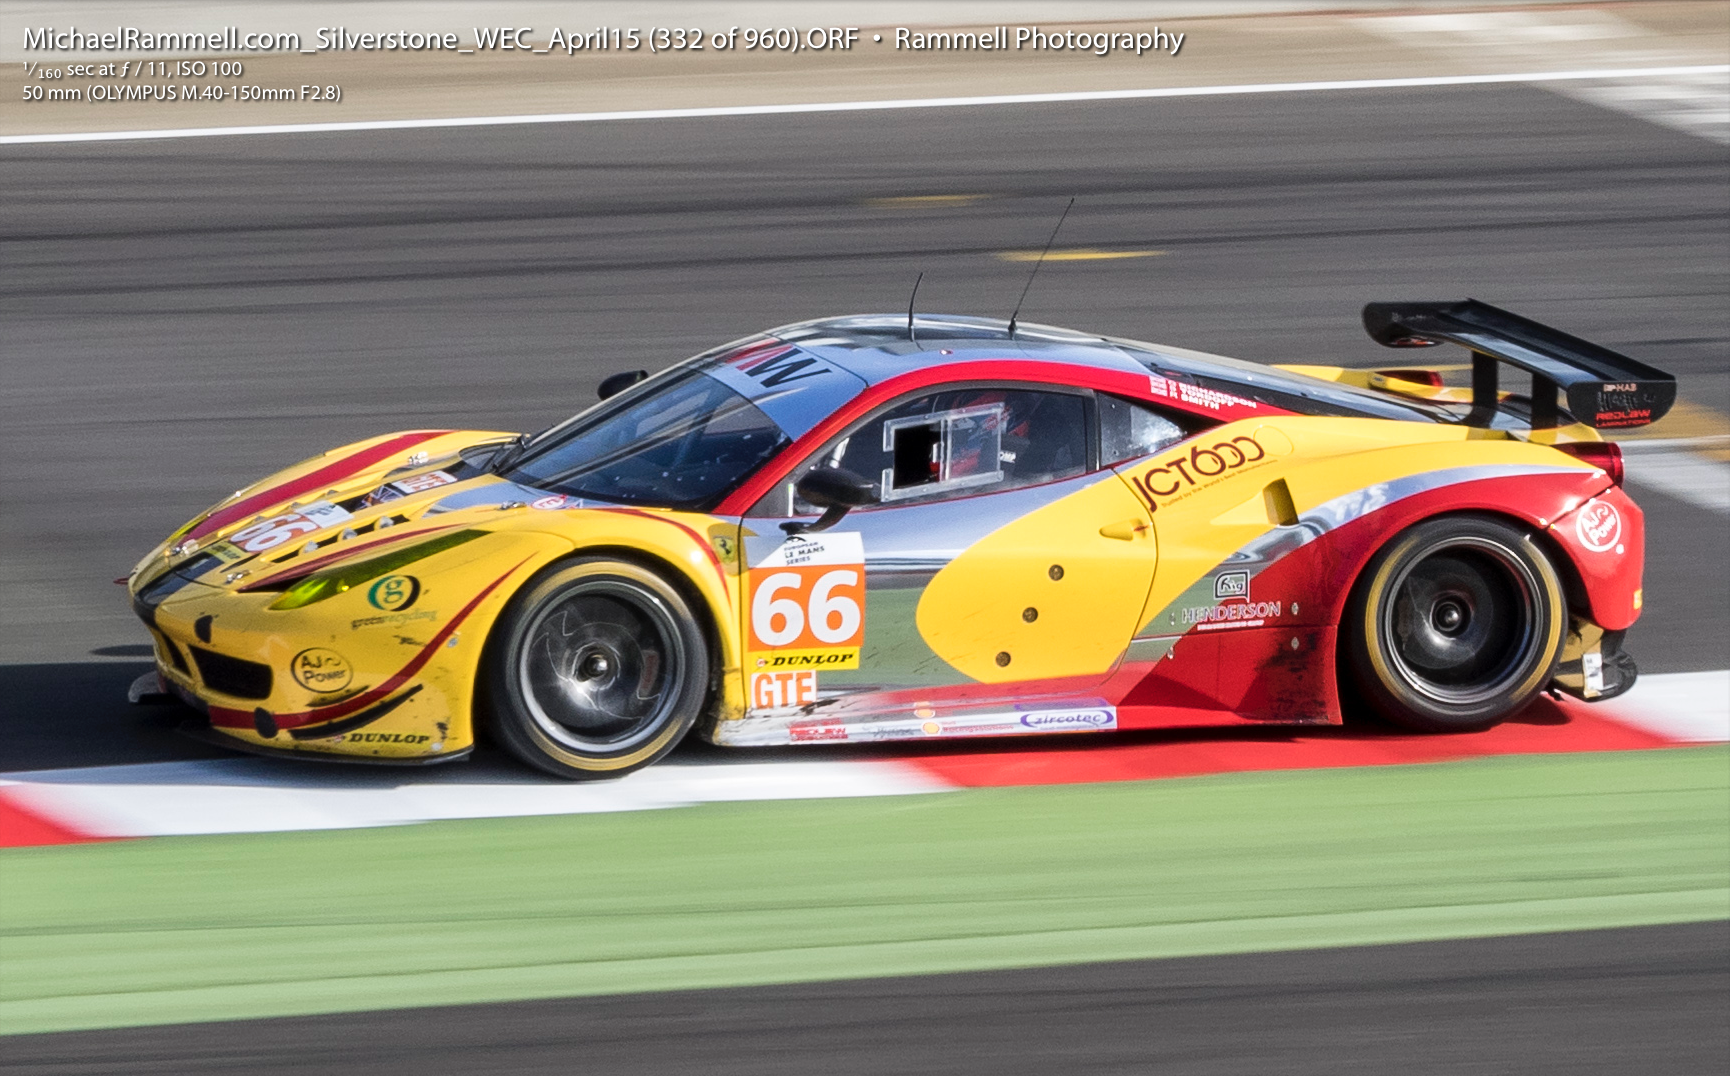
My settings varied only slightly depending on where we were standing around the track and the available light. All of the images you'll see in this post were photographed using the Olympus OM-D E-M1 running firmware version 3.0. The lens was the Olympus M.Zuiko ED 40-150mm f/2.8 PRO
My settings were as follows:
- A nice slow shutter speed between 1/80th and 1/160th with as low an ISO as possible. Which, on this day wasn't too much of an issue because it was a bright day. So much so that an ND filter would have been useful.
- Seeing as I didn't have an ND for my 40-150 though, my aperture remained between f/11 - f/13 to reduce the amount of light reaching the sensor.
- ISO 100-200 depending on cloud cover
- I used single focus point, manually selected. The focus point would either be the very centre point, or, one to the left or right depending on the area of the track we stood.
- Camera set to spot metering
- The In-Body Image Stabilisation on mode 3, which is for horizontal panning.
- The camera was set to Continuous Autofocus (C-AF)
- High Speed shooting at 9 frames per second.
- I had the HLD-7 Battery grip fitted for the extra battery capacity and to balance the camera & lens neatly.
- I use 32Gb Lexar Professional SD Cards with a 600x / 90Mb write speed
- I shot handheld and did not use a monopod. I personally find them cumbersome and restrictive. When I was in Le Mans in 2013 I found I was losing more shots when using the monopod. I do however see the practicality; panning for a few hours handheld was exhausting on the arms!
The Olympus' weight difference was a godsend here. I didn't have that same ache as before when shooting with a DSLR, allowing me to hold the camera more steady and to shoot for longer. A bonus by-product of the cameras size and weight!
Why such a slow shutter speed?
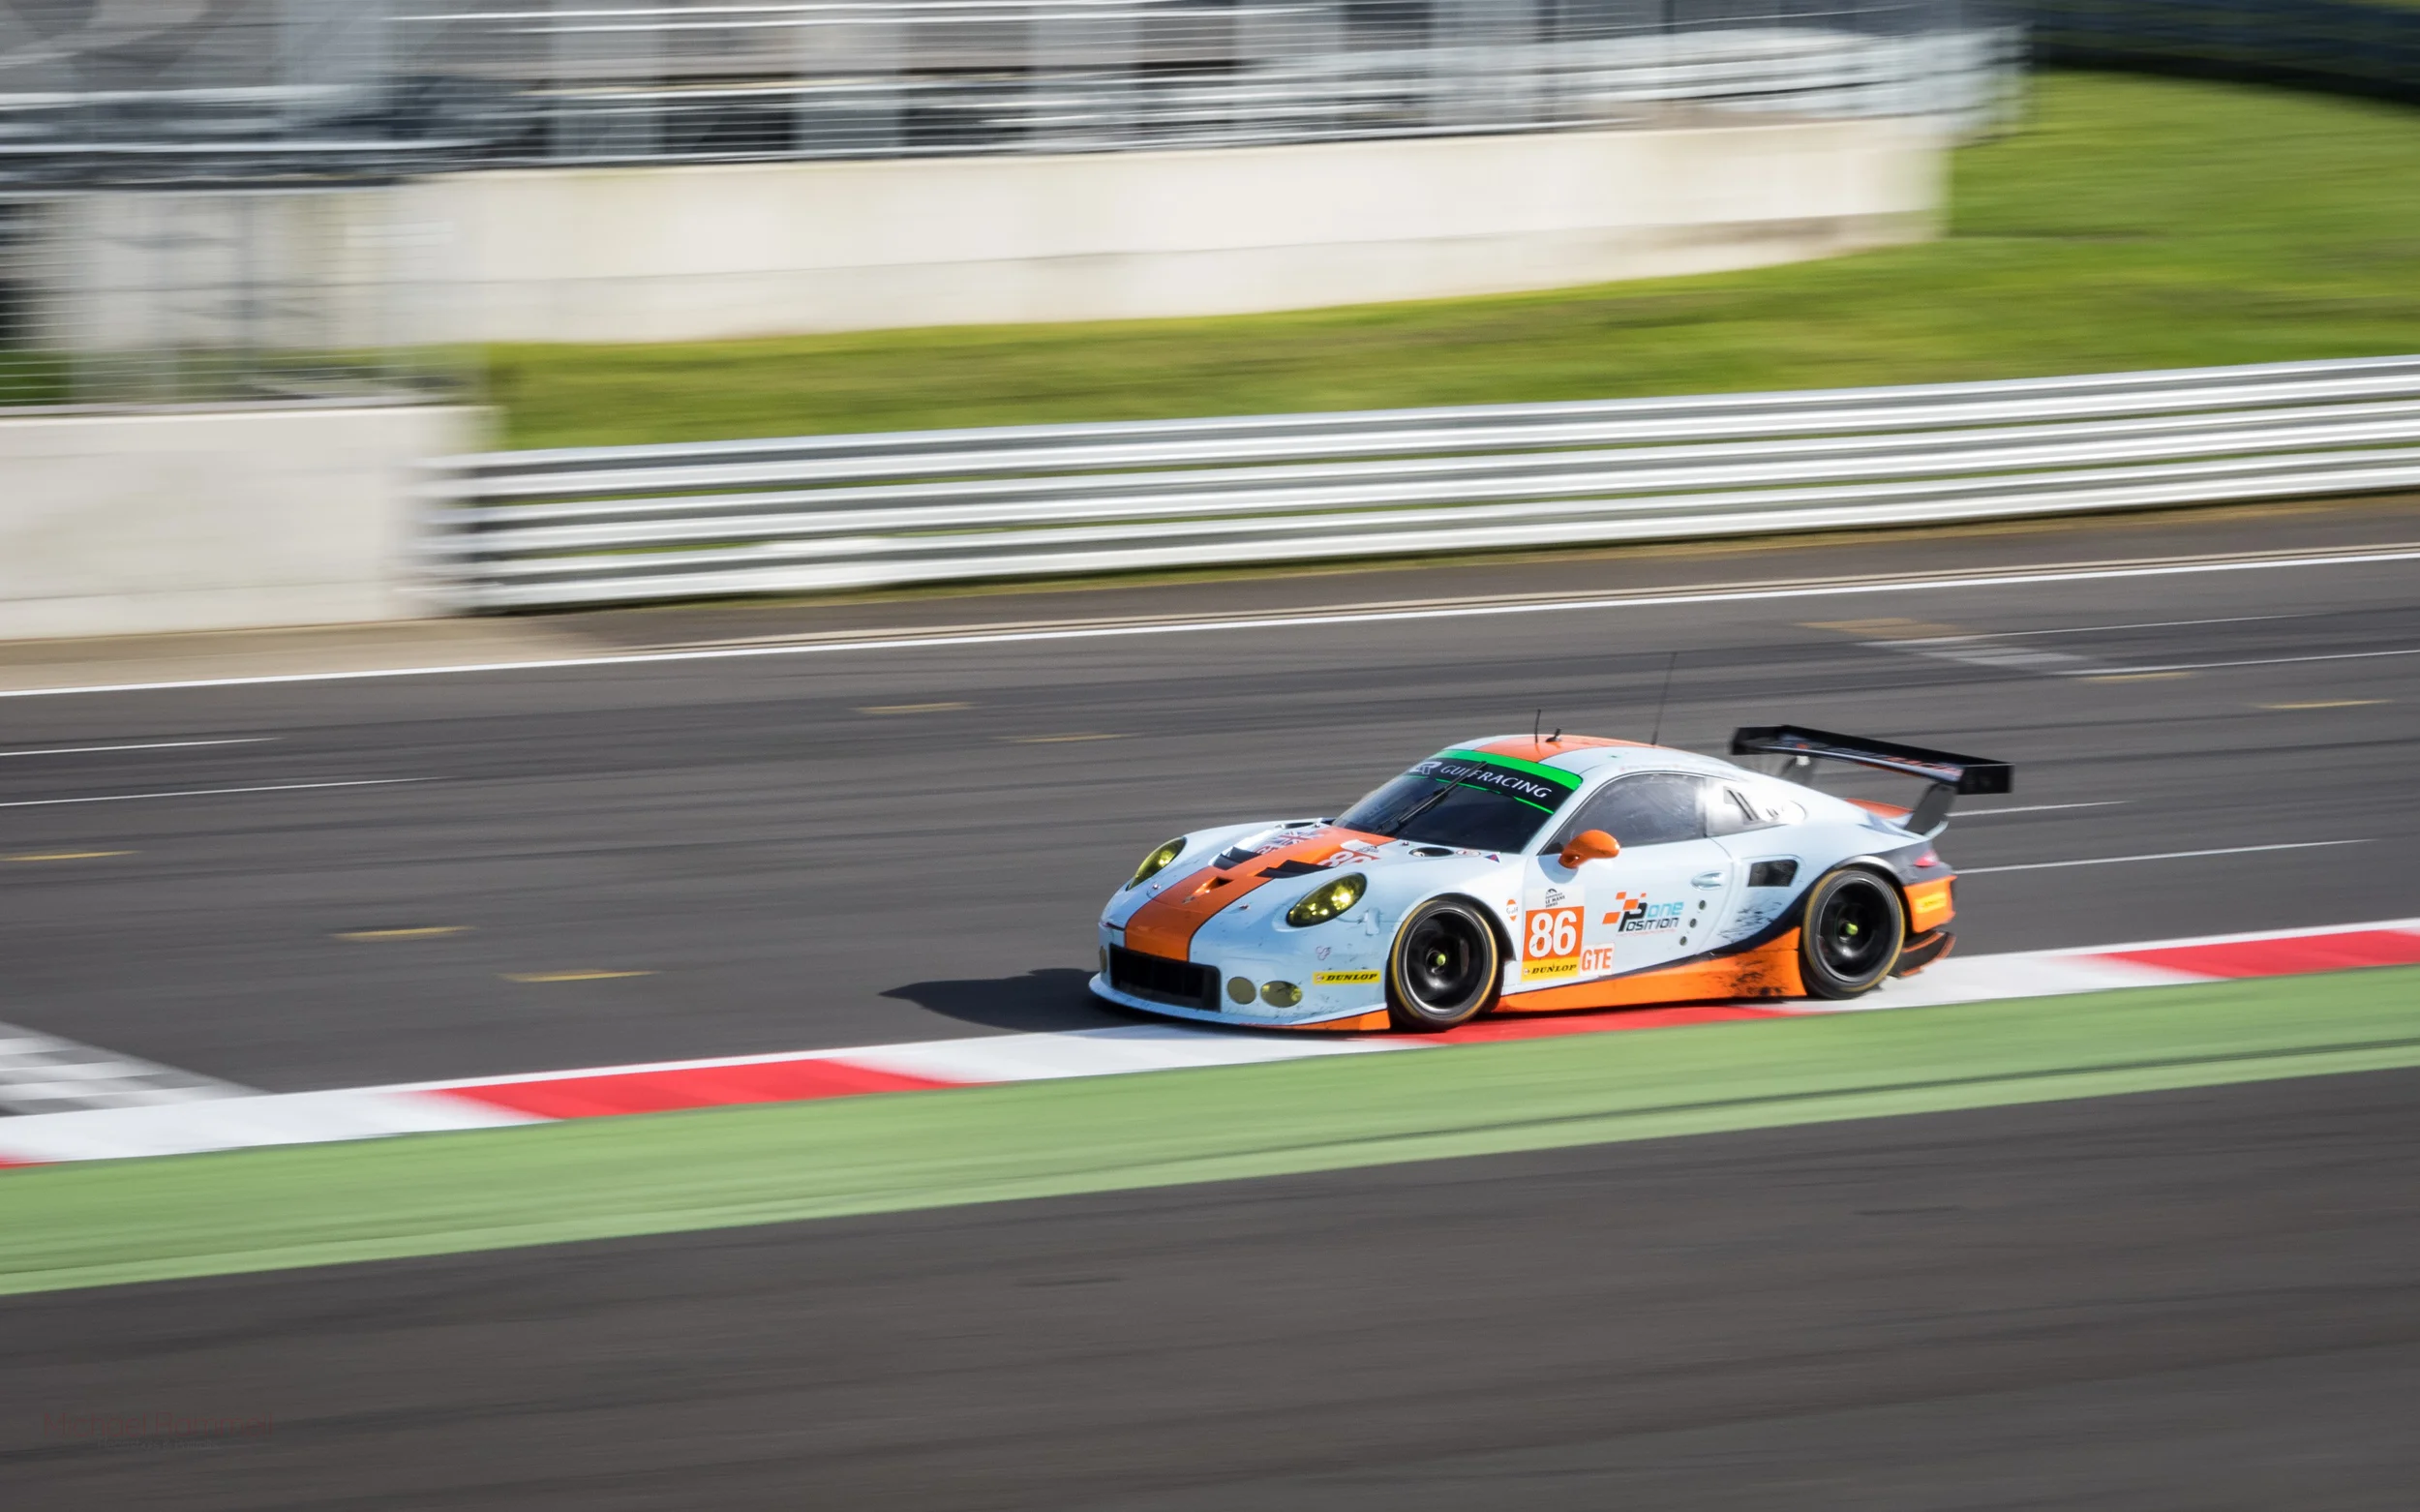
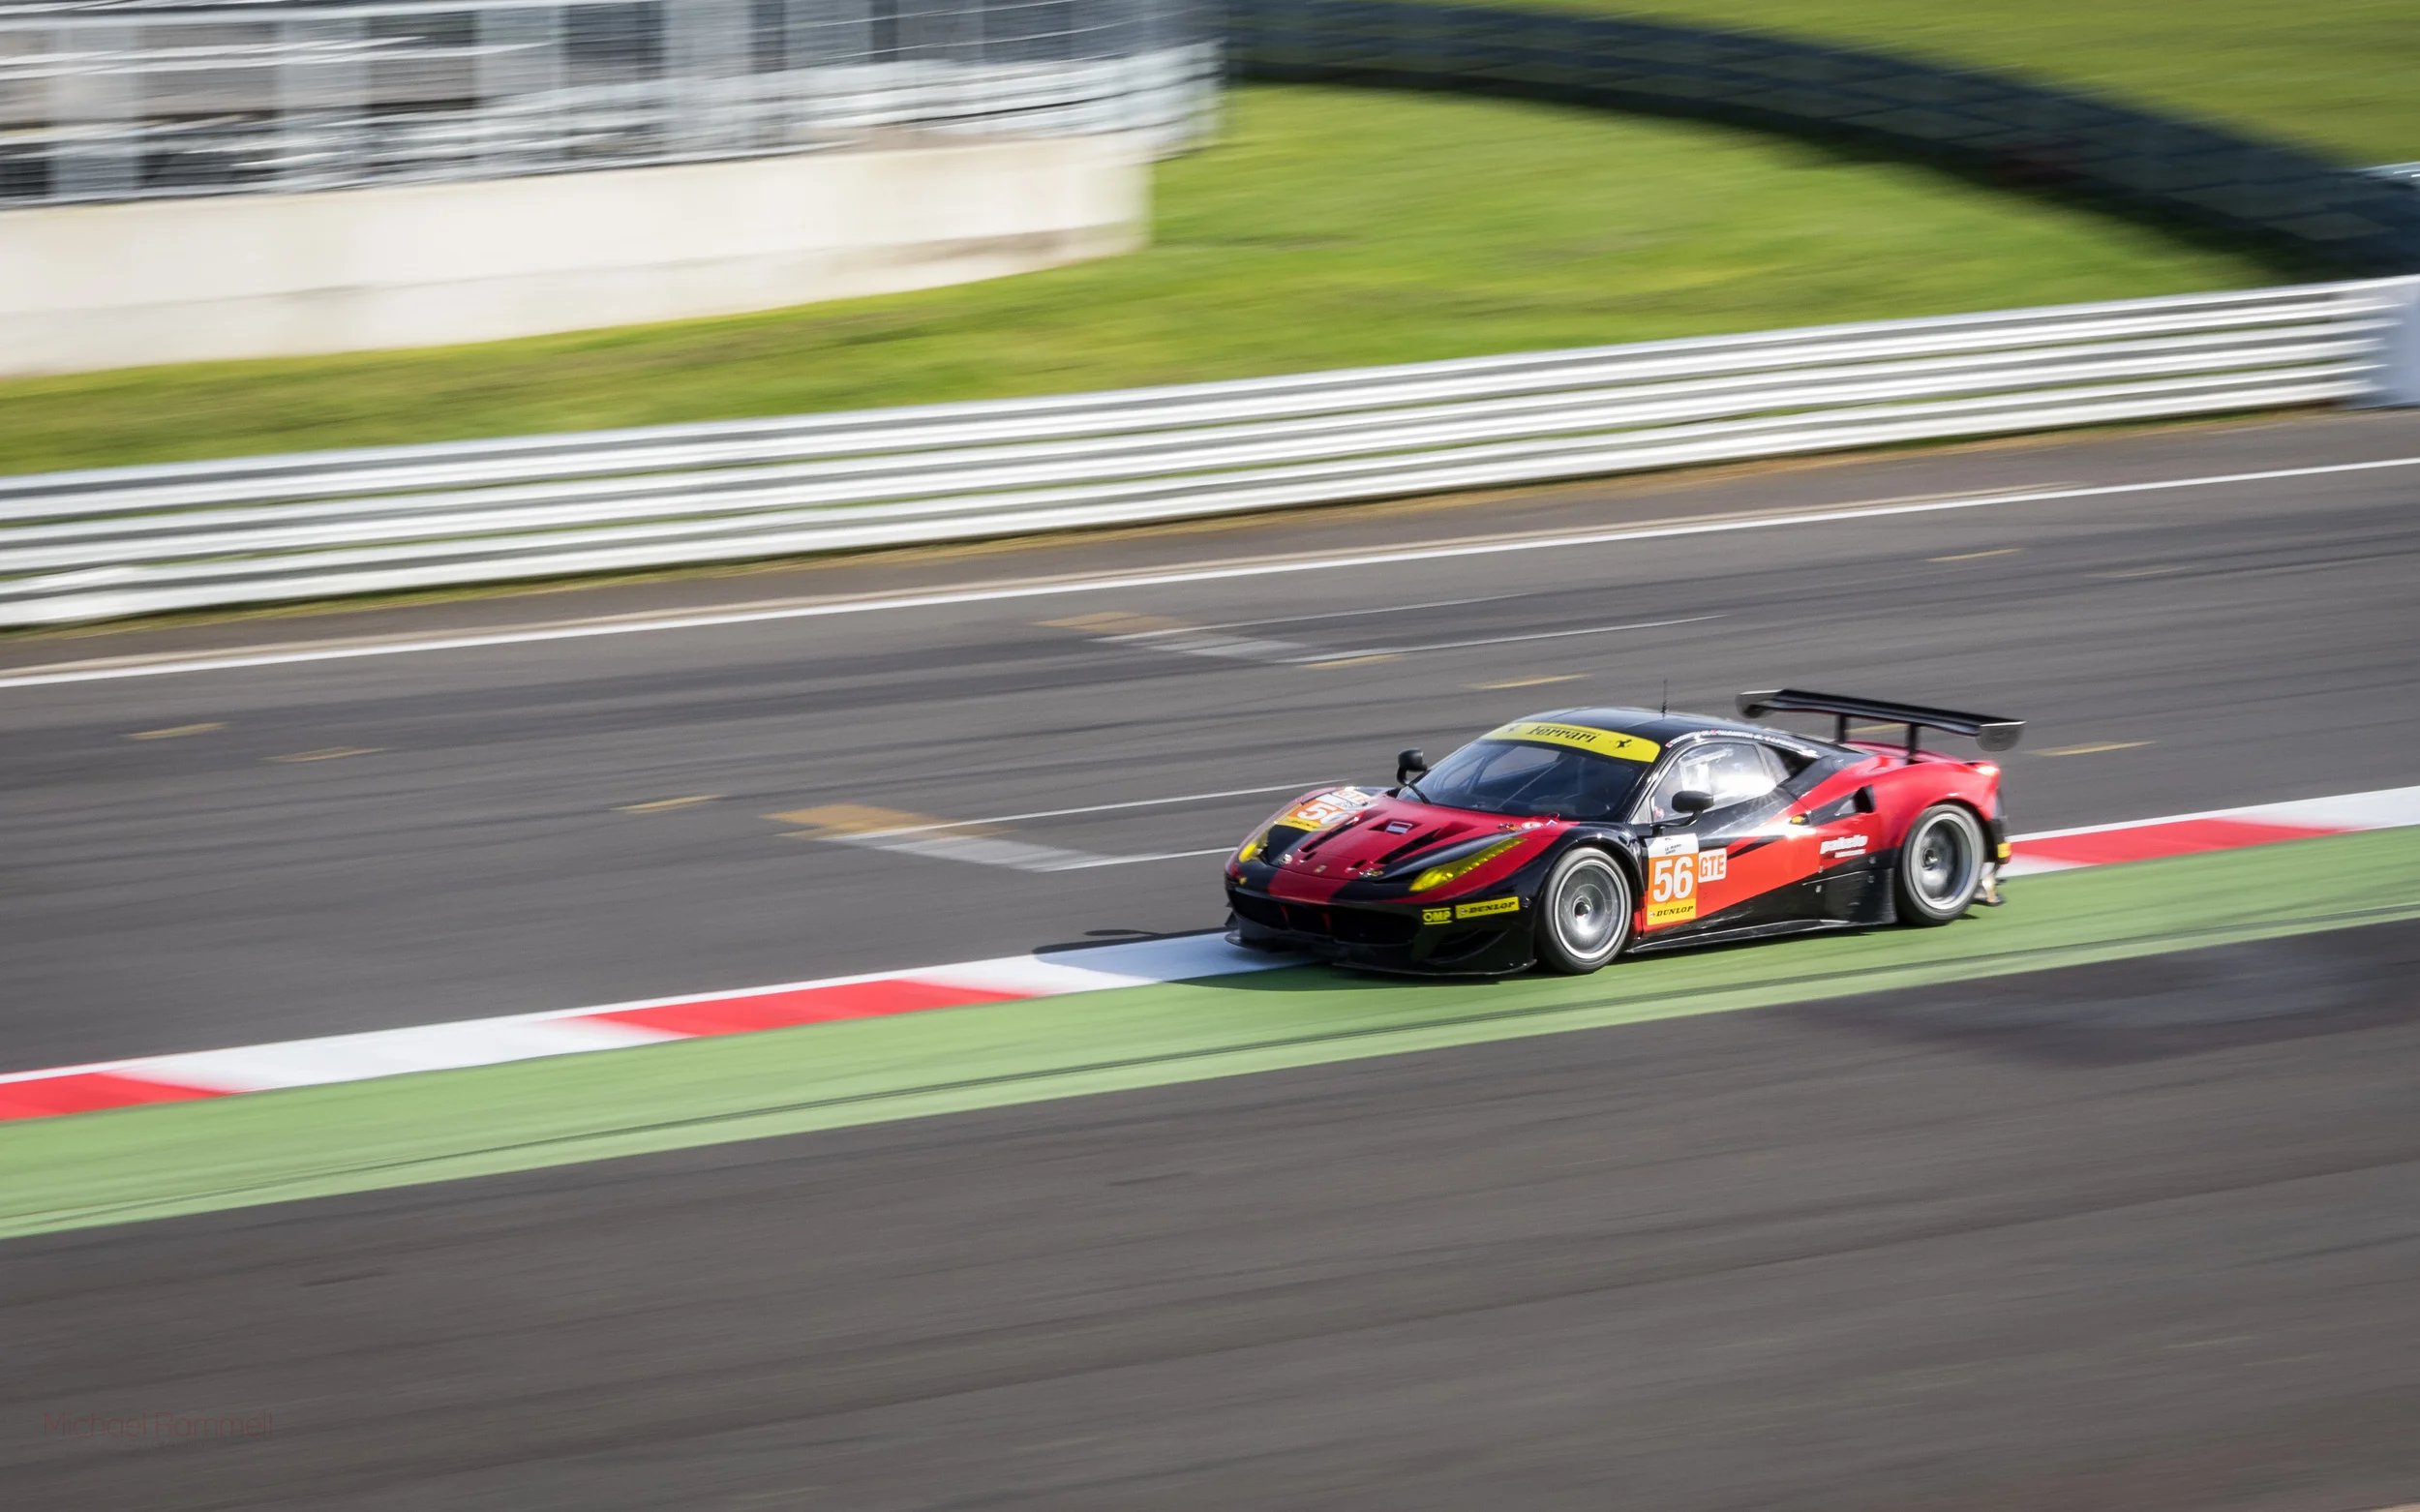
The slow shutter speed records motion in the wheels and also allows you to blur the background as you pan. Shooting much faster than 1/250th and the car begins to appear almost stationary with static wheels and an almost-static appearance to the background. When you start shooting at 1/1000th it almost looks as though the cars are simply parked on the track. So, to purvey a sense of speed slow your shutter. The slower shutter speeds whilst panning does of course require some practice!
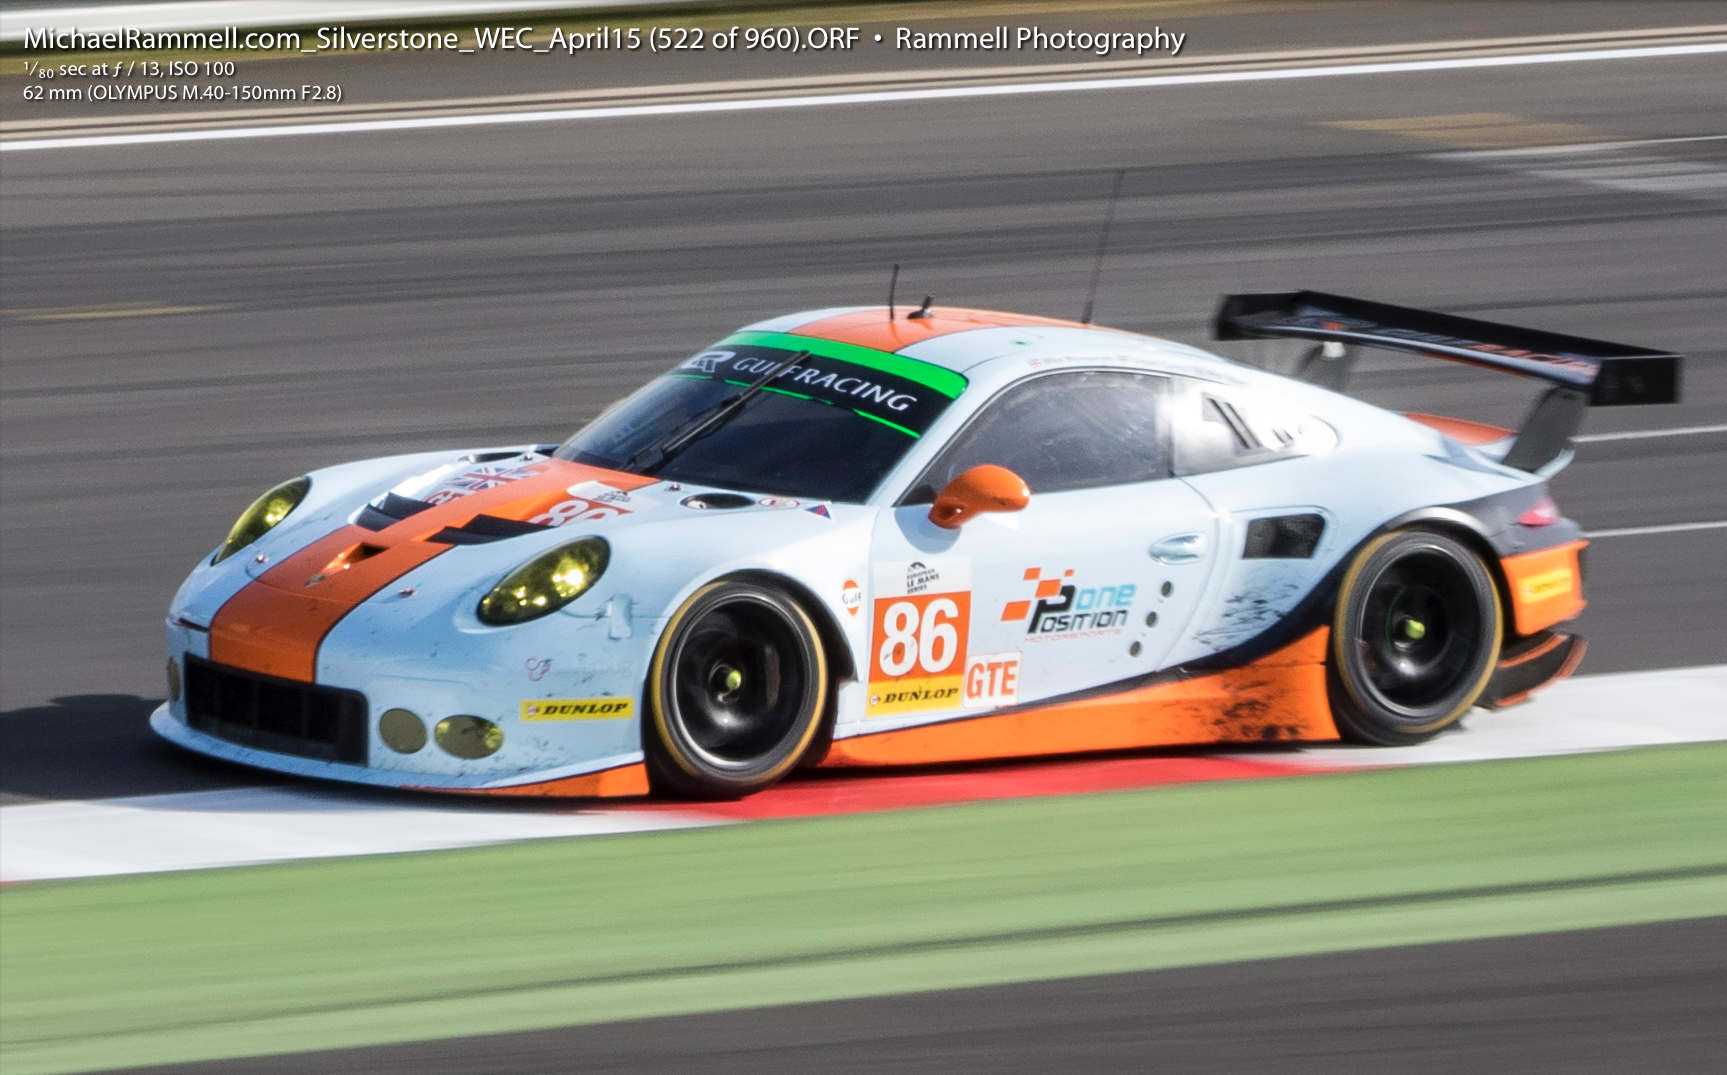
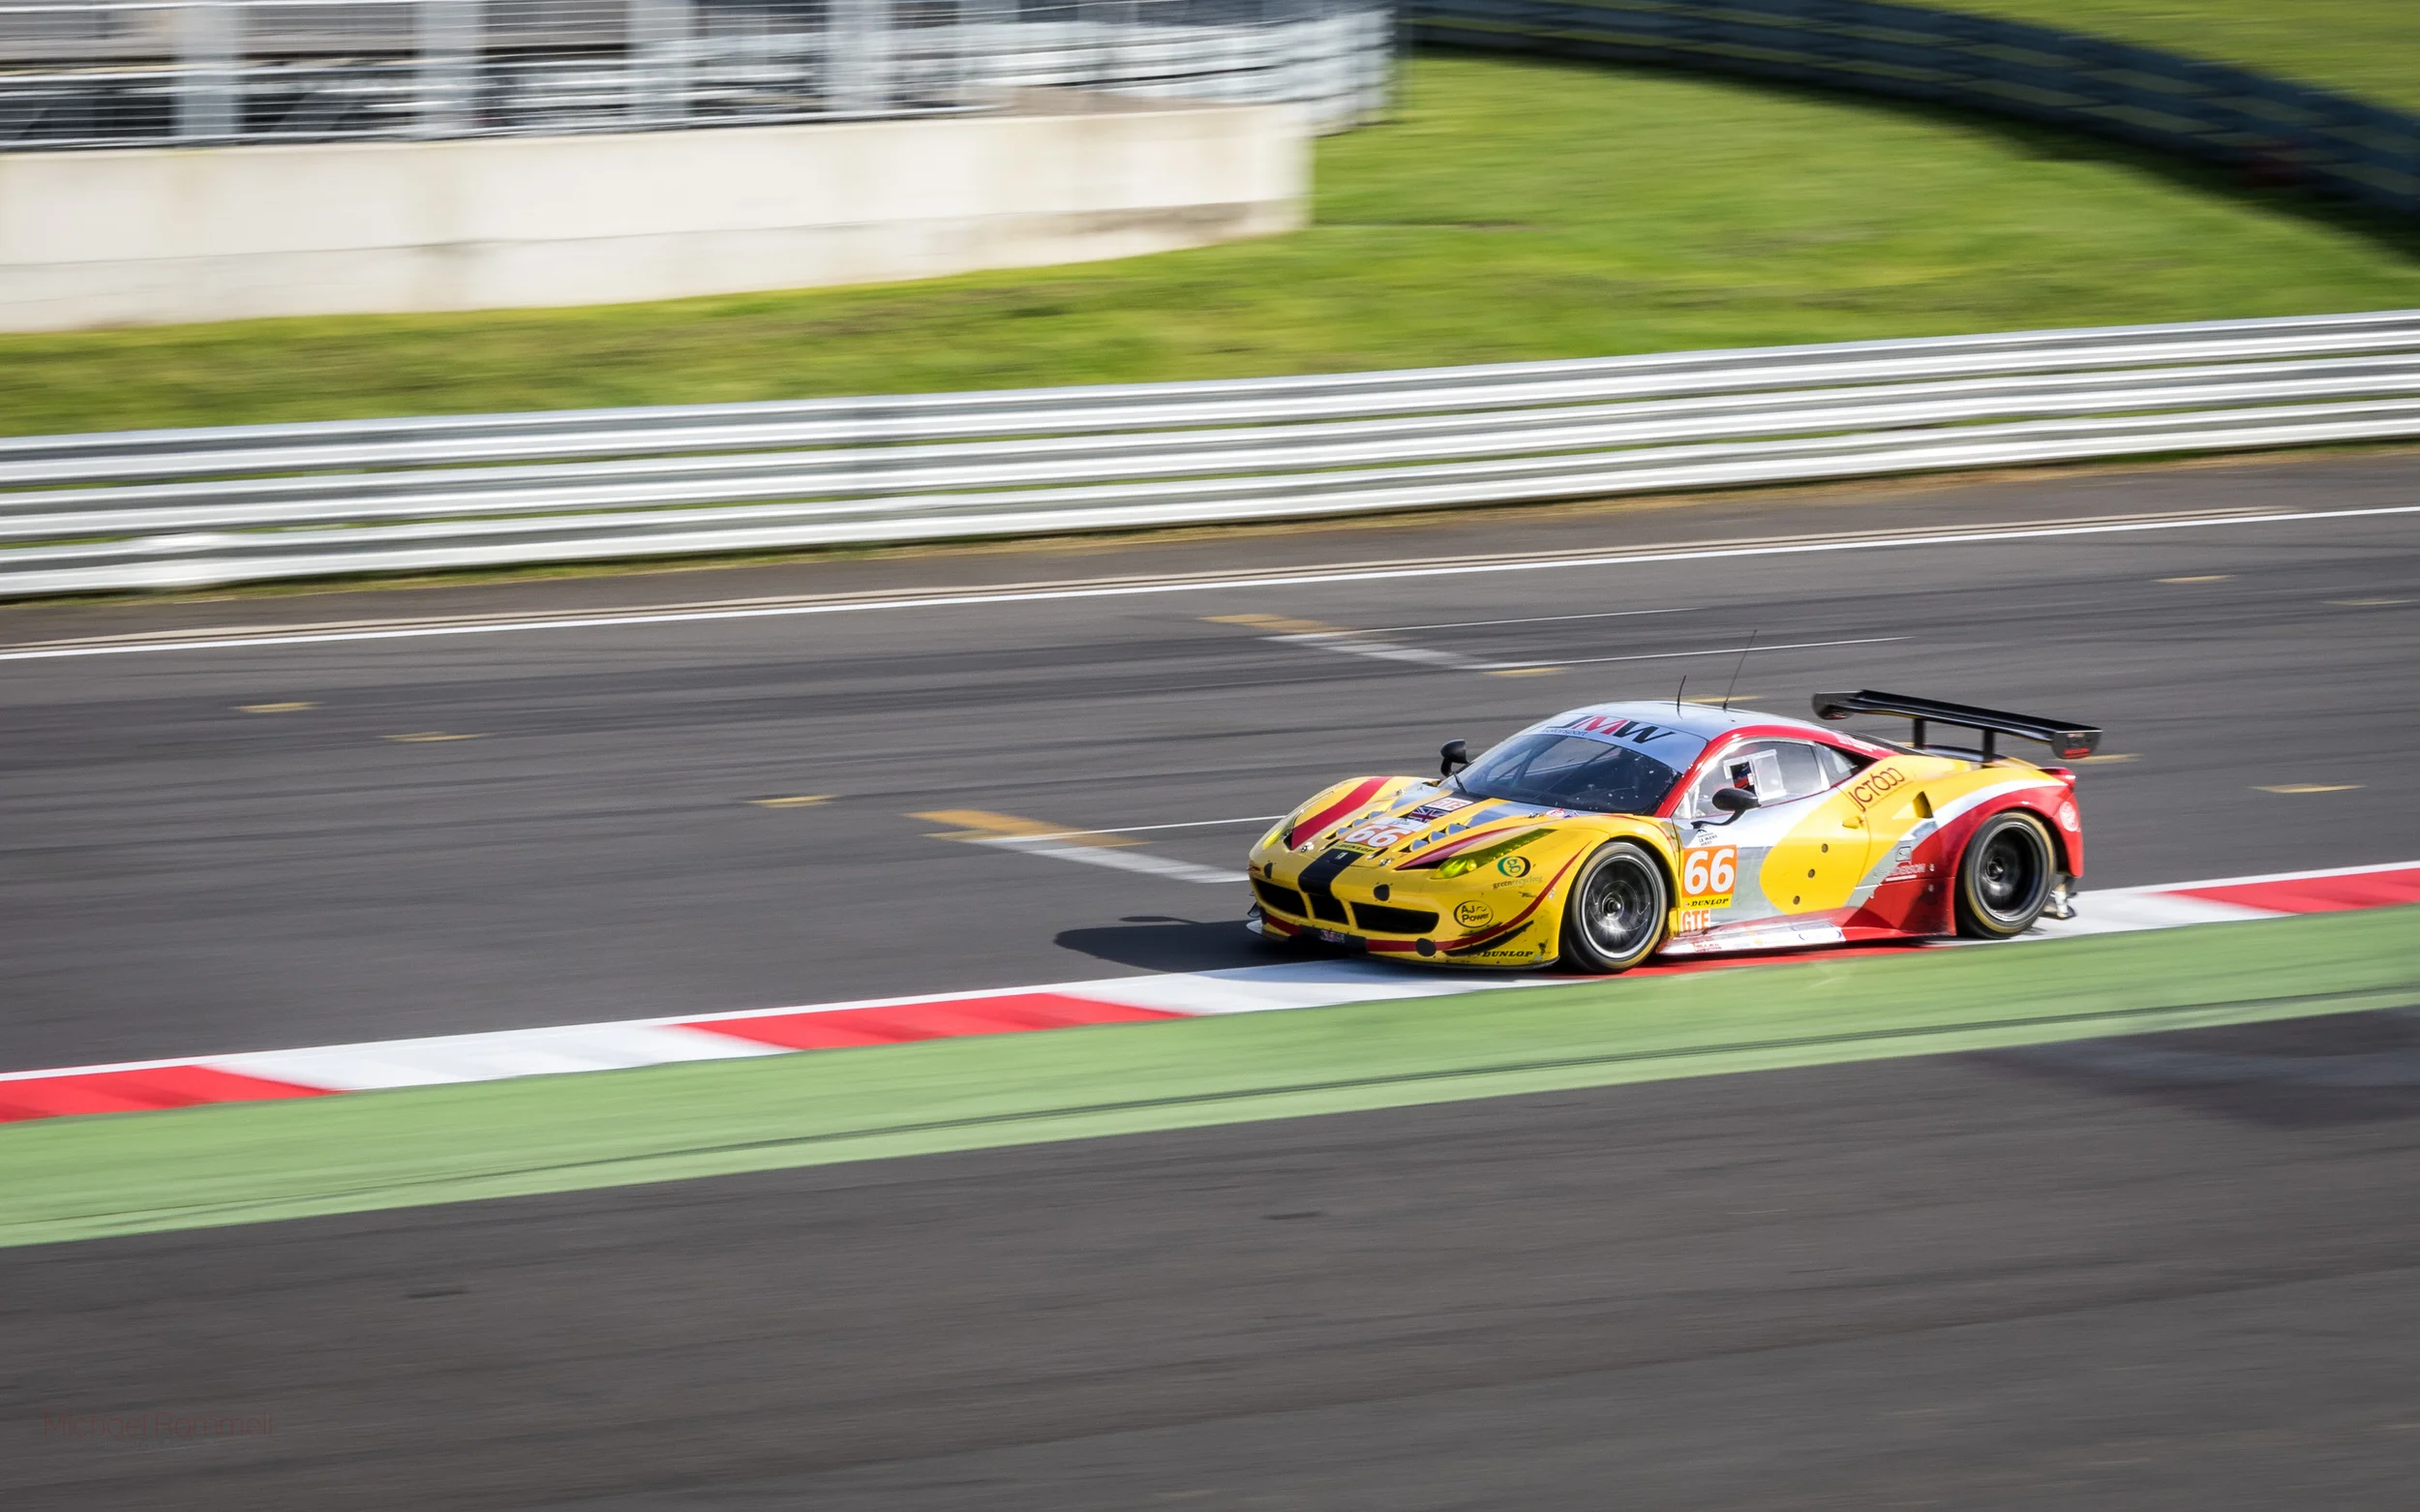
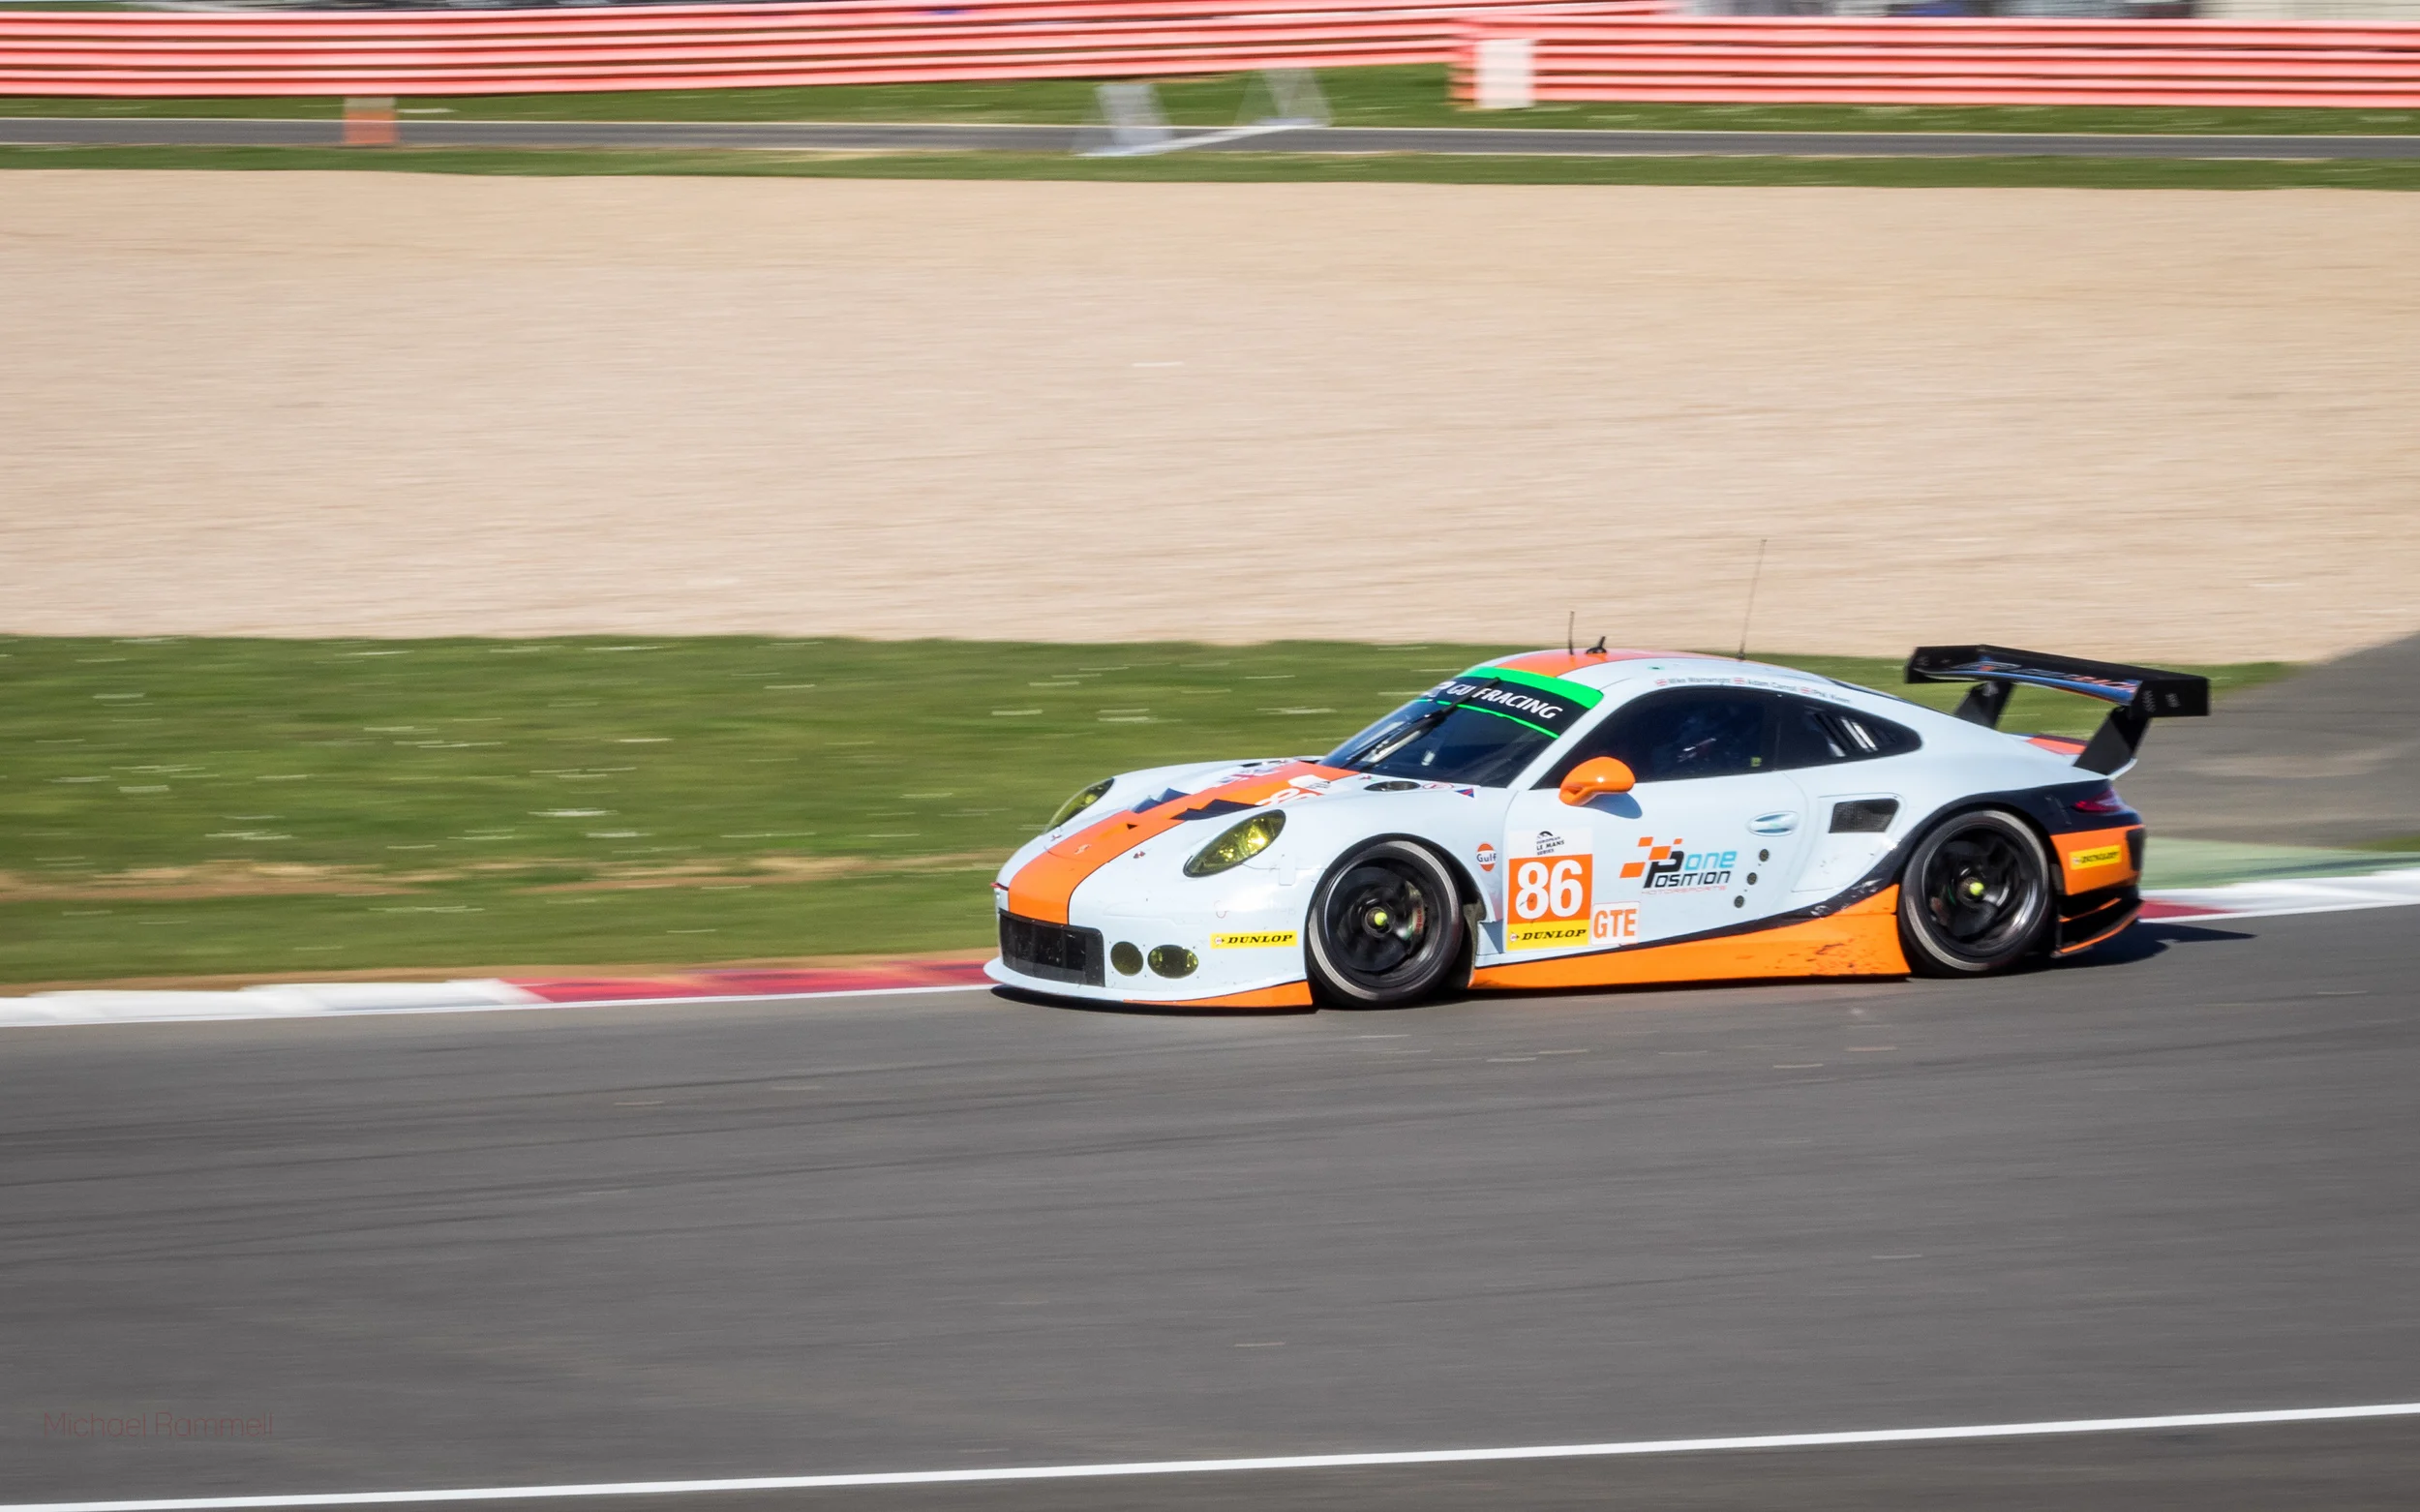
There was something of a trade off to be had in these settings though. Those shot at 1/160th and 1/125th were marginally sharper, but those shot at 1/80th had a far blurrier and more pleasing background; the panning effect was more prevalent. It's noticeable if you're a pixel-peeper, but it's a matter of preference as to which you prefer. I personally feel those cars captured at 1/80th have a more dramatic feel and a sense of speed. It's up to you to decide which you prefer. Here are a couple of 100% cropped screen grabs from Lightroom. The yellow and red Ferrari is 1/160th. The blue and orange Porsche is 1/80th.
(you can open these as a light box to inspect a larger image. Pay attention to the edges of the numbers on the side of each car for a comparison)

Firmware Version 3.0
At the start of this post I mentioned I was using Firmware version 3.0 for my Olympus OM-D E-M1. If you're not running this already you ought to update as soon as you can. It's known to be stable and I personally haven't seen any bugs at all, but version 3.0 is more than just a patch - it's an enhancement!
Once updated to 3.0 your E-M1 will go from shooting 6.5 frames per second to 9 frames per second in continuous auto focus. Impressively, at that frame rate the E-M1 will be making use of 37 on-chip phase-detect auto focus points. This gives fantastic tracking ability and makes it even more suited to motorsports and fast moving subjects.
By comparison, the Canon 7dii shoots at 10 frames per second and whilst it does sport 65 cross-type phase detect points, that number can vary depending on the lens you're using. Anotherr consideration again is the difference in price too:
Canon 7Dii: £1,500 body only
Olympus OM-D E-M1: £899 Body Only
Changing Weather Conditions
One thing that any sports photographer will tell you is that the camera has to be able to stand up to the elements, as well as get great quality photographs of course. For the purpose of this post the weather on the day couldn't have been better. When we arrived it was very cold and very wet with the rain pouring steadily. We didn't stop shooting though. My good friend Neil Graham was there with his Canon 7D Mark ii and Canon 70-200mm f/2.8 L IS USM and we both stayed out in the rain with our gear getting wet. It didn't affect the performance of the cameras at all. E-M1 and Olympus M.Zuiko 40-150mm f/2.8 PRO as a camera for all conditions.
Later in the day the sun made an appearance and it actually started to get quite warm. Once again the E-M1 and 40-150mm Pro lens from Olympus proving that they are tools for the pro, as much as toys for the enthusiast. Don't think that the Olympus is just a fair-weather camera!


Battery Life
I hear people regularly talking about battery life on the Olympus (mirrorless cameras in general) being poor. Whilst I would agree that they don't have the stamina of a DSLR battery I'm finding them perfectly acceptable. I use only Official Olympus batteries (the BLN-1) in my cameras and only changed batteries once during the day. I had the Olympus HLD-7 Grip fitted and so my setup for the day had 2 batteries in at all times. I managed to shoot a little over 2500 shots on the first 2 batteries before they required changing. I then went on to shoot the same again on the second pair of batteries before we left for the day.
I personally was very surprised to achieve this many shots, especially as I was using such a high fps, but it did occur to me that I didn't ever review or delete any of my photographs as I worked, mainly because I don't feel the need to, but secondly because I can see the shot I just made in the EVF. All settings were changed using the dials and buttons and never the LCD.
I also always use my batteries to the last drop: I'll wait for my camera to turn itself off through lack of power before changing batteries. This also ensures they're fully drained before I place them back in their chargers (Again, official Olympus chargers too).
Keeper Rate
I'll be honest here and say that my keeper rate probably wasn't as high as it would have been on my old Canon 7D, which was my go-to camera for this sort of application. Of a burst of 5 or 6 shots at 1/80th perhaps 2 frames were sharp enough to be considered keepers. I'd say that back when I was shooting with the Canon DSLR the keeper from 5 or 6 was more likely to be around 4 per burst.
Although this wasn't too much of an issue, because of course you only need the one shot in focus of each car, it does go to show the very fine margin's between the systems. The Olympus OM-D E-M1 was still able to achieve the same end result, but it just dropped a few more frames.
Having said that, the last time I photographed motor sports of this kind was at Le Mans in 2013, so the technique required to pan with the cars wasn't practiced, whereas i had the best part of 3 days before the last race to get my technique down.
Conclusion
So, is this the camera you should buy if you're going to shoot motor sports? The answer is a matter of preference and priority. There are lots of cameras on the market that will do what you've seen in this post, and some of them better, but I'm yet to see a better and more capable mirrorless system than this. So if it's specifically mirrorless you're after, the Olympus as both a body and lens system, is surely the winner.
It works for me and it works damn well too. As i've shown this excellent system can track, pan, shoot at super fast 9 frames per second and handle much more than many people realise. The E-M1 and 40-150mm f/2.8 pro come together to form a DSLR-beater. The E-M1 is a middle weight camera with a super heavy weight punch, but as is so often now-a-days people judge a book by it's cover, or rather a camera by the size of it's sensor, which is a real shame.
Small-sensor syndrome often causes people to overlook the Olympus in favour of the Fuji system or even Sony, but in all honesty those cameras just don't hold a candle to the OM-D E-M1 and the range of Olympus lenses on offer.
Showing that the E-M1 is more than just a small camera will lead some to say "Jack of all trades, master of non", but if you want to know the truth all you have to do is pick up one of the cameras from the OM-D range to believe what they're capable of.
For me, I'll use this for motor sports, wildlife, weddings, portraits and pretty much anything I need to shoot. The Olympus OM-D E-M1 has well and truly snatched the crown from my Canon DSLR's, which are long gone now. The more I use this camera and the Olympus lenses, the better it gets.
Subscribe!
Why not subscribe to the blog to receive posts just like this direct to your inbox? I'll be making a small selection of these photographs available as full-res desktop backgrounds, optimised for both Mac and PC in the coming weeks. To be sure you know when they're available join the mailing list and be among the first to get these for free!
A few more samples
Click to view a larger size:
Why Is Black & White Photography So Special?
It's no secret that I'm a huge fan of black and white photography. You only have to look at my portfolio to see that 9 out of 10 shots are black and white!
Mostly Mono Portfolio - MichaelRammell.com
Today I wanted to talk a little about this love affair and why I think black and white can add so much to certain photographs. I also want to give my views on when I think black and white is appropriate and also when it's not. I will of course be giving tips too, such as some of the tools and techniques I use when making a black and white conversion. So there should be something for everyone in here.
That Feeling of Nostalgia
I'll start by talking about black and white and it's timeless qualities. Now, for starters the word 'timeless' is one that is thrown around almost too much in the world of photography. It can be used in a complementary way to describe a photograph, or a photographers style of work, but in truth there are very few photographs (and photographers) whose work is timeless. Just Google the word and you'll see the definition of timeless is given as:
I'd say it's a word too easily used, but Black and White does go hand in hand with timeless.
I remember when I was a very young boy, probably 8 or 9 years old. I have a very vivid memory of a time we were sitting in my Grandad's living room - pretty much the whole family had gathered, uncles, aunties and cousins - we were watching a reel projection of Popeye! I remember the ticking/clicking sound of the reel spinning and the light flickering as the reel of film passed in front of the lamp, projecting this episode of Popeye up onto the wall. I remember my uncle doing his best voiceover (because of course there was no sound) but what I remember most was both the imperfections of the film, and it all being in black and white. It was the black and white visual I remember the most. But as a child the lack of colour didn't bother me, nor did the lack of sound.
Now, I am not suggesting that Popeye in black and white is better than colour and that we should all return to the good old days of reel projectors, but that memory sticks out for me and a great black and white photograph can have the same effect, I think, more than a colour photograph.
I'll perhaps touch on this more when I come to post-processing, but one more thing about black and white is that it doesn't seem to age. Other 'effects' such as Sepia, selective colour, or the more recent fashion of reduced contrast (or bleached effect if you prefer) are quite gimmicky.
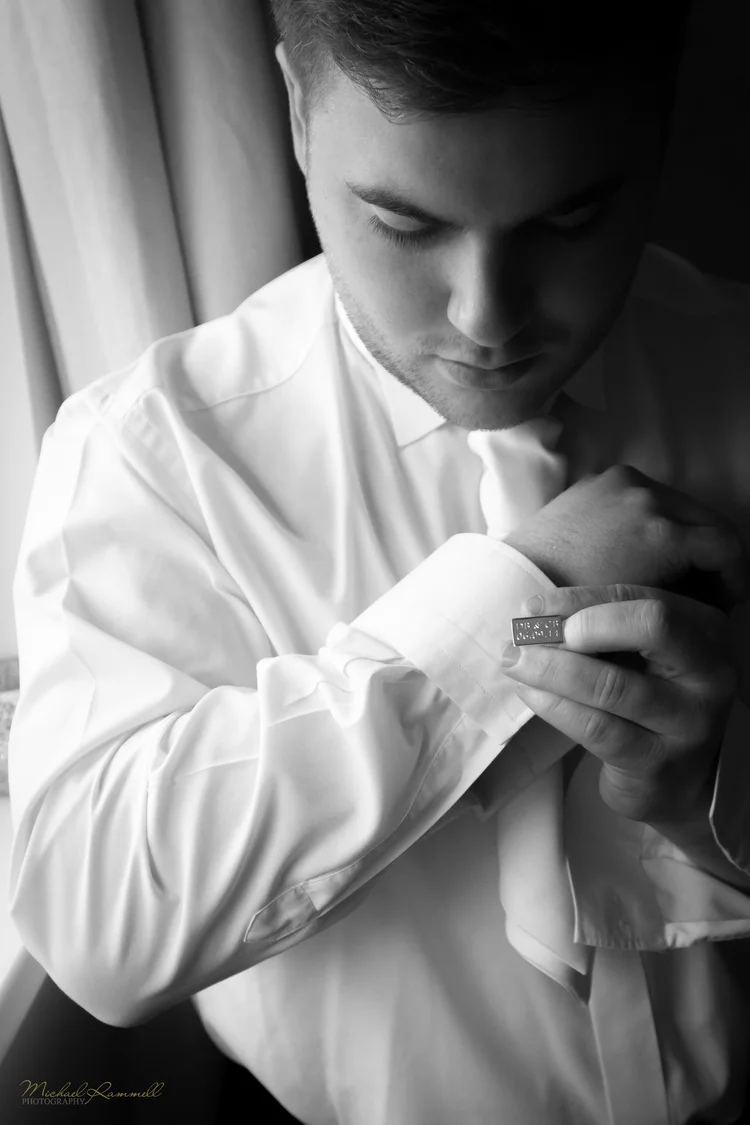
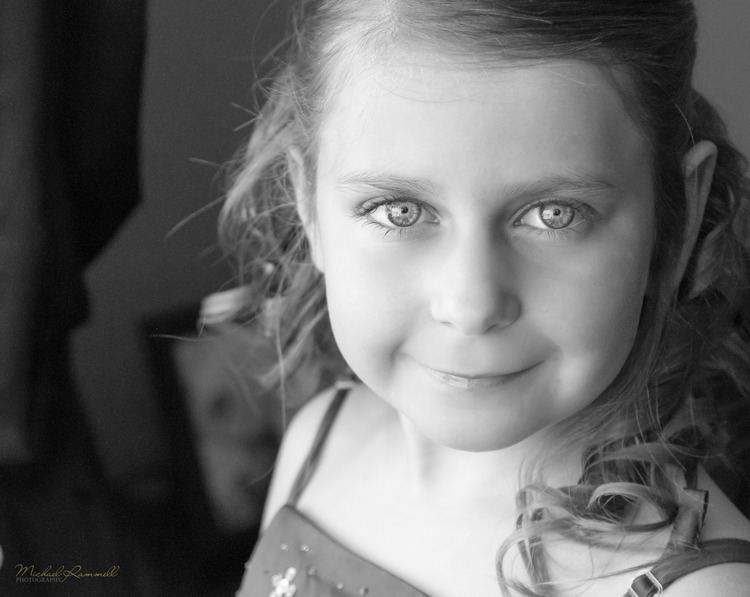
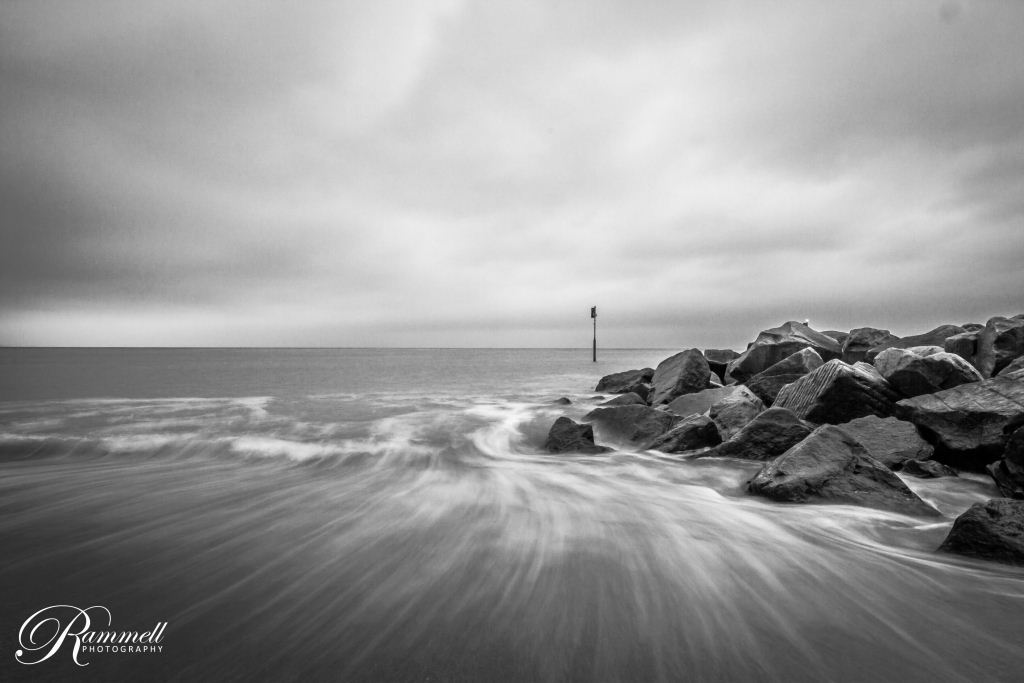
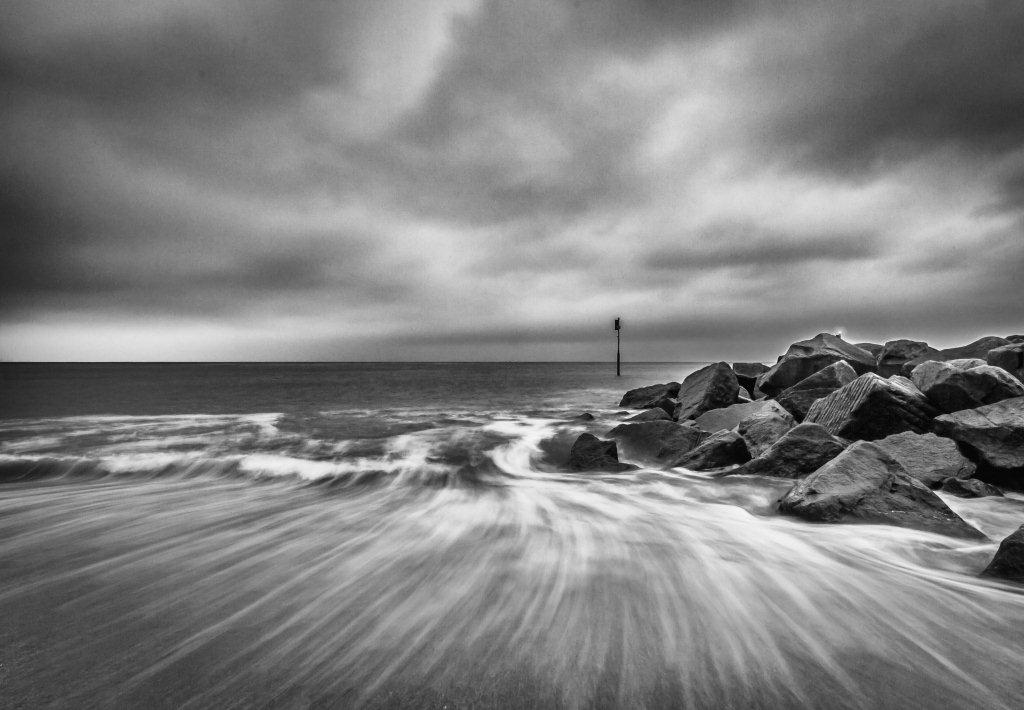
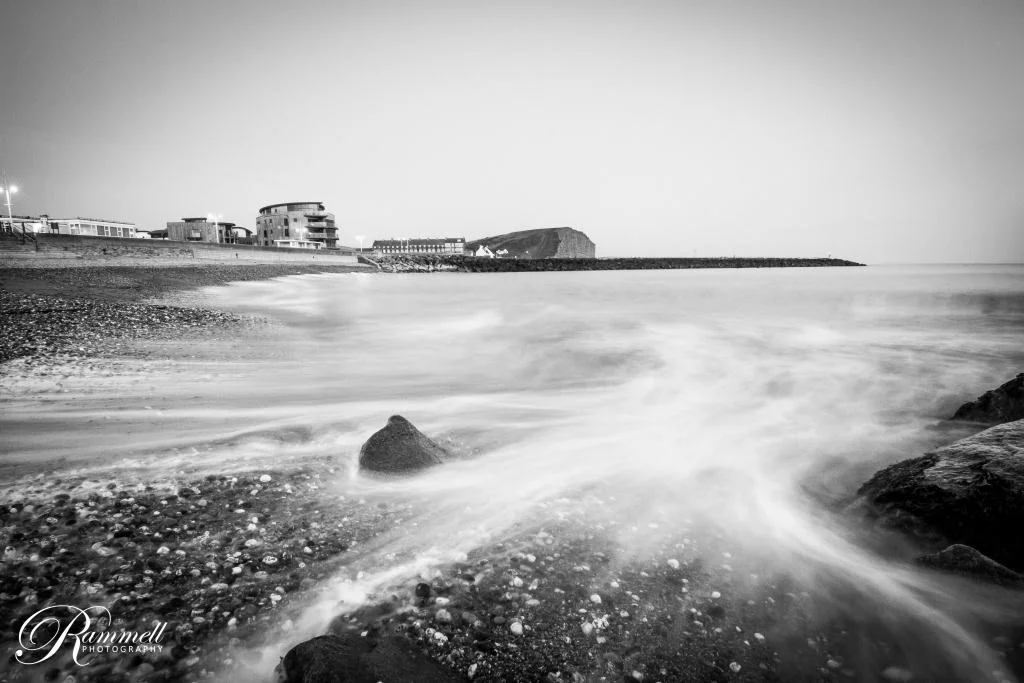
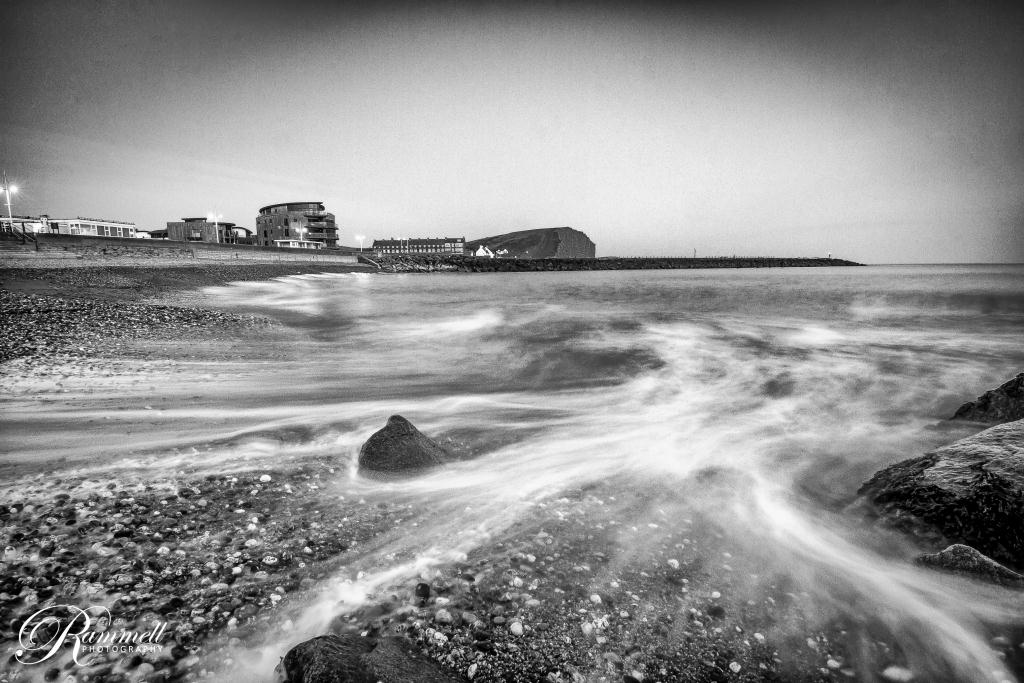
Here are a few of my black and white images from both my personal Street Photography gallery and from my Wedding Photography body of work: [Click to enlarge]


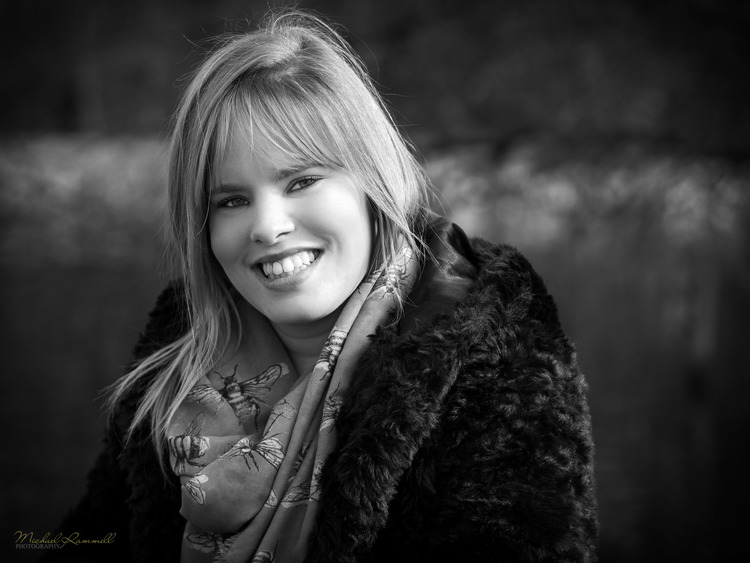
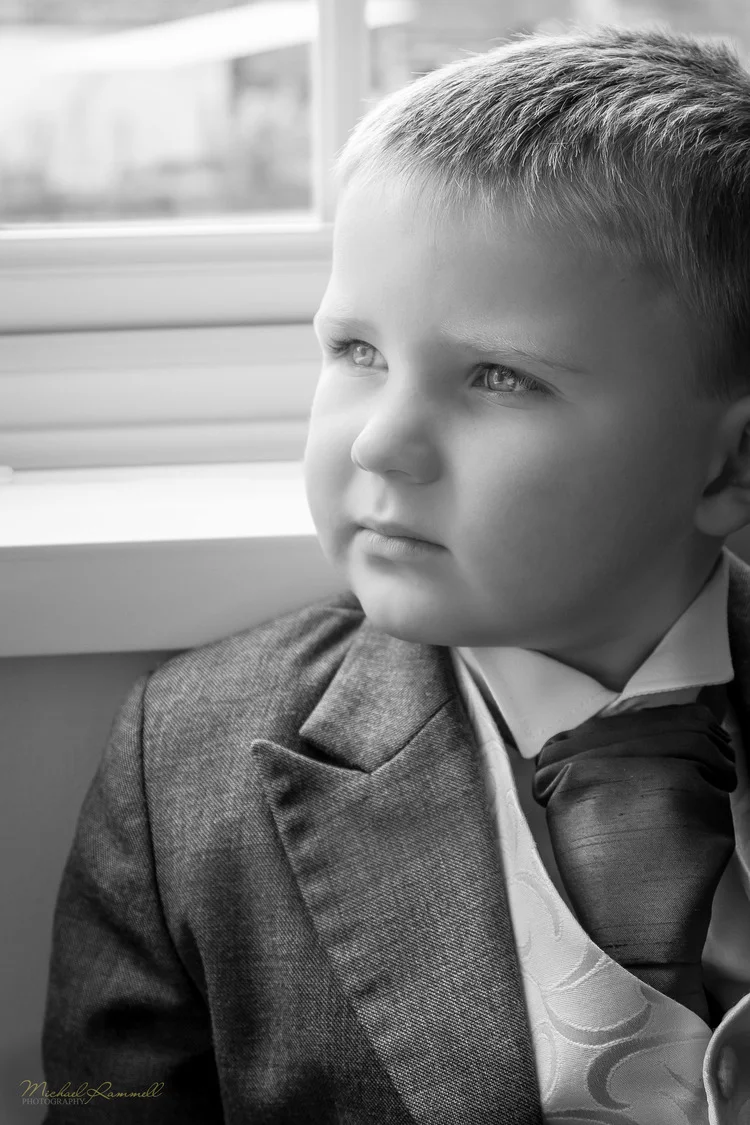
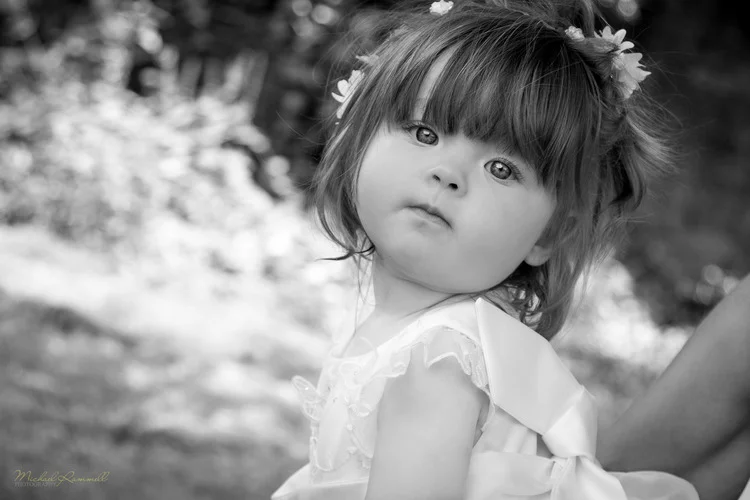


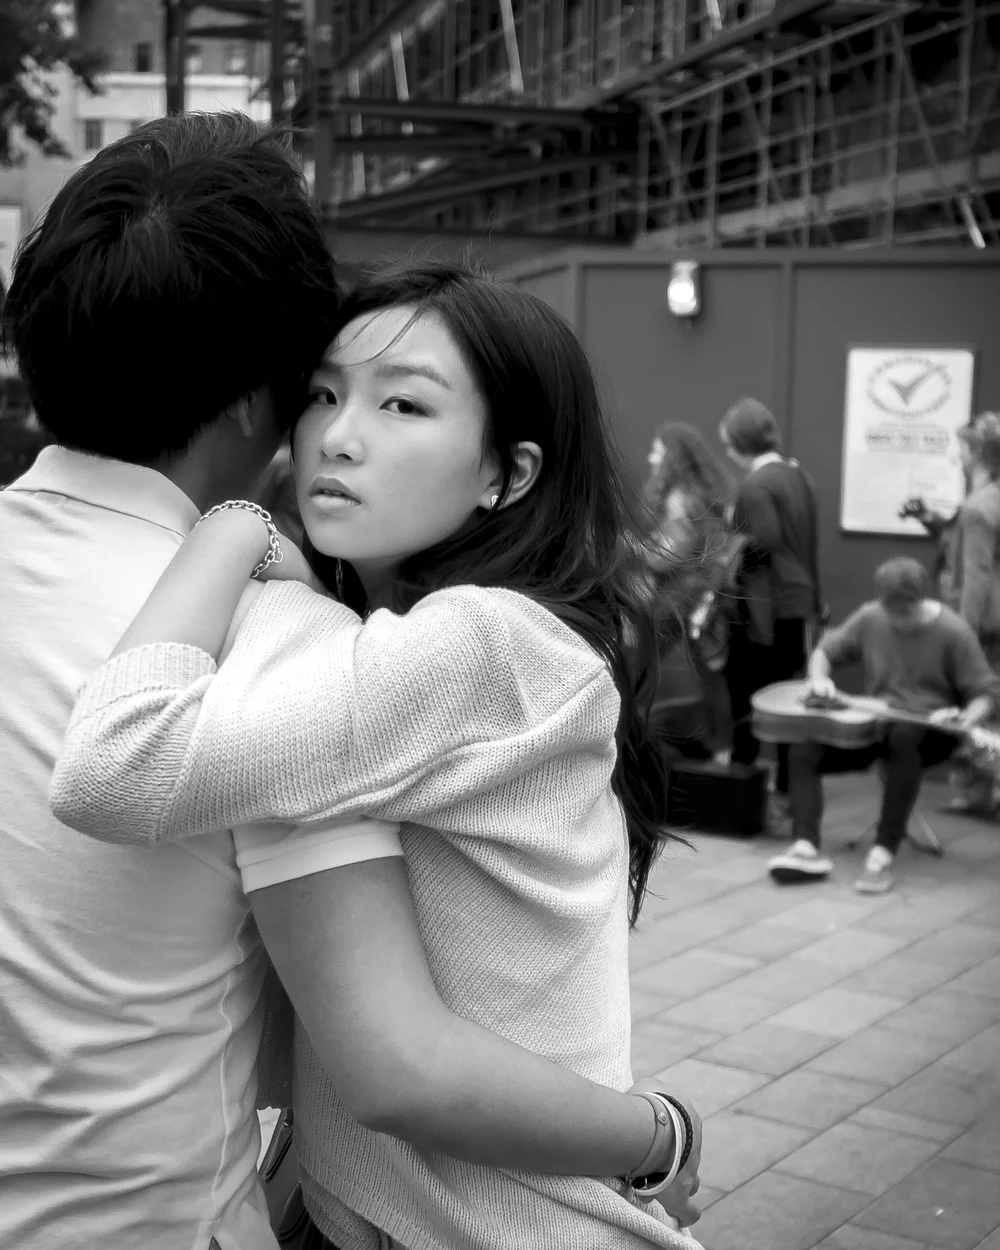
As the definition of the world 'tieless' states "Not affected by changes in fashion": Black and white has been a mainstay in still imagery since photography first came about, whilst these other filters have come and gone, leaving us photographers to look back on them and cringe at our attempts to make them fashionable at the time and then to age. (White vignette anyone?)
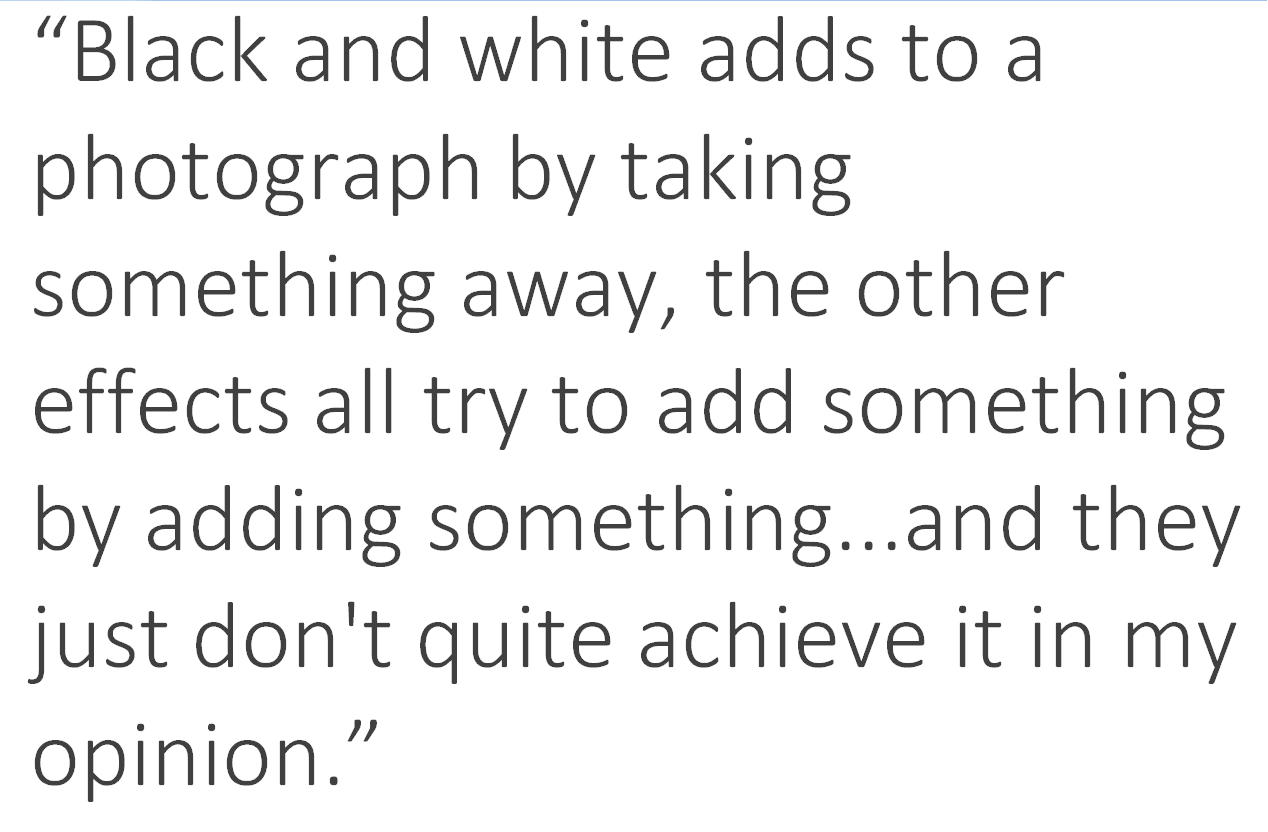
Black and white adds to a photograph by taking something away, the other effects all try to add something by adding something...and they just don't quite achieve it in my opinion.
Drama from shadows, light and texture
There can often be a sense of drama to a black and white that just can't be found in a colour image too. However, as an example of a time when colour is perhaps necassary; it would be almost criminal to convert a photograph of an event such as Holi to shades of grey - after all, it is all about the colour and vibrance and that is what offers that event it's impact and sense of fun...the colour!
On the other side of the coin though (the mono side) a black and white image can be farther removed from reality than a colour photograph without looking or, more importantly, feeling, like it's been heavily processed. The minute you start taking someone's skin tone, hair colour or eyes and saturating them, or adding vibrance the viewer knows that isn't real: the red hair becomes the focus instead of the eyes for example. A dominant colour can become the main draw, instead of your intended focal point, such as the eyes perhaps. A black and white can really help here as they hair will become a darker shade of silver or grey, allowing your subject and texture to become the point of focus, instead of a distracting colour.
Conversely, in the way that increasing saturation and vibrance can make certain colours a distraction in a photograph, darkening blacks and lightening whites (increasing contrast) in a mono photograph will more often than not server to create an image that still has the focus on the subject, yet can have a more impactful feel. You can take the tones of the whites, greys, silvers and blacks to near-extremes and not fall down the same hole you would if you were to push colours to their extremes.
Black and white can also highlight or emphasise textures too and this can often be a great thing when looking at skin and eyes: soft, matte skin set against glass-like reflective eyes are far more obvious (usually) in a black and white photograph, because again you are now focussing on the subject and the texture, as opposed to the colour.
Post Processing
This is of course a matter of opinion, but I like my black and white's to be contrasty, clean and rich all at the same time. I say this time and time again when talking about mono photographs, but I like my white's white and my black's black, meaning I will take the white's to the point of clipping and the same with the blacks. Not all areas of the photograph will clip, but for example in Lightroom I'll make sure that the clipping indicator is turned on and I'll pump up the highlights or decrease the shadows until I see a little bit of clipping in certain areas. For me this seems to set the outer limits of the blacks and whites and the midtones (or shades of grey) in between all seem to fall in line so to speak, so we end up with a beautiful, smooth transition from black, to grey, to silver to white (of course, it's more complex than that). This is why for me cameras such as the Olympus OM-D's offer so much when it comes to black and white photography thanks to their great dynamic range, meaning they're able to show us more of the shades of grey that exist and allow them to blend more naturally into one another. The RAW files from these cameras just seem to hold so much data and can really take a pushing and pulling in post processing programs such as Adobe Lightroom.
Tools & Technique
When it comes to me and my black and white work, I have a very set way I like to work on my photographs:
- Blacks have to be black and white's have to be white. I ensure this is the case by using the clipping tool to make sure at least a little bit of black and white clipping is present in my photographs. This is perhaps somewhat contradictory to what a competition judge would advise, but for me this is the best way to ensure a print comes out as the black and white was intended.
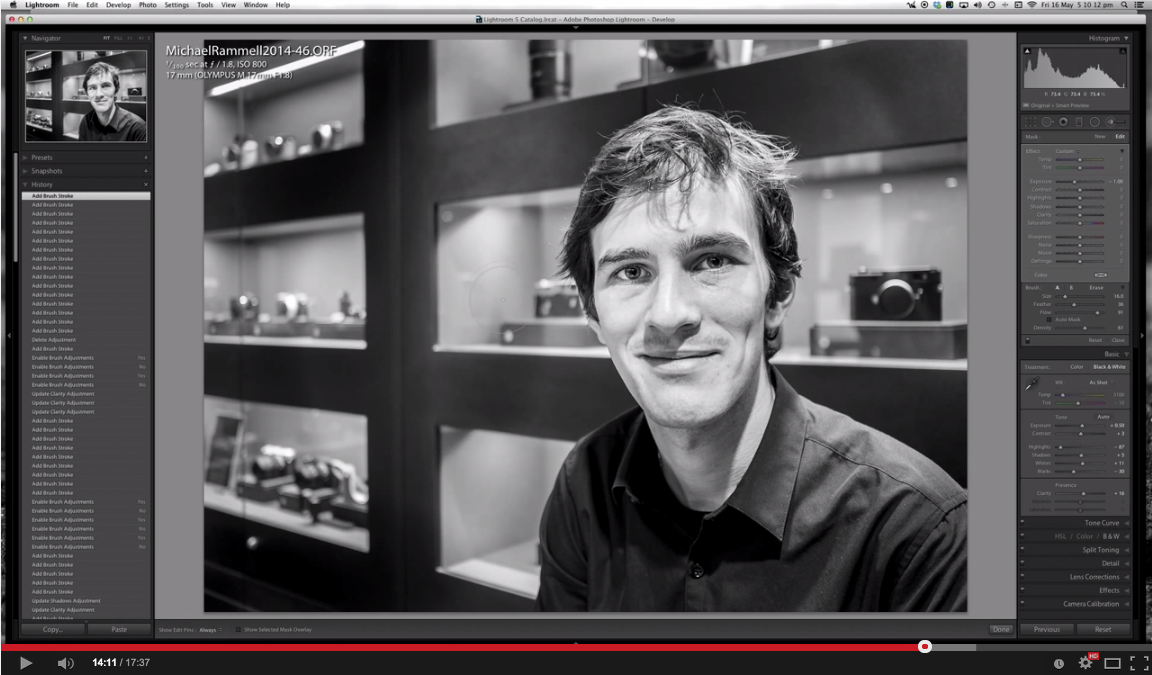
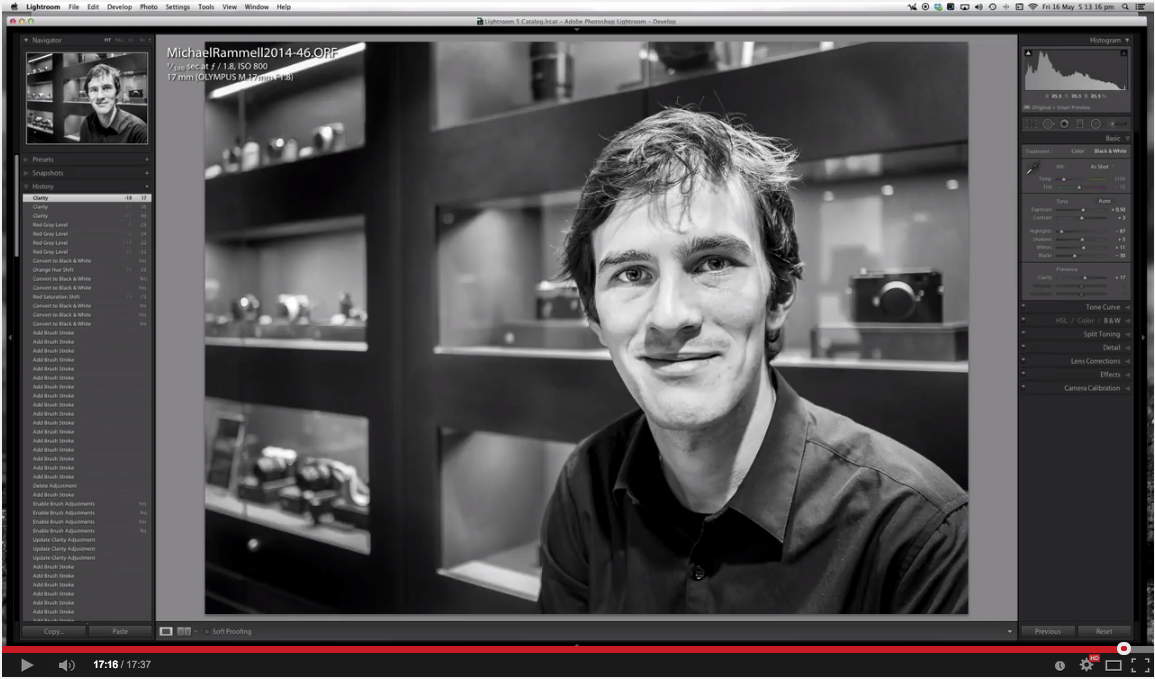
- I use the brush to selectively dodge and burn on many of my photographs and I rarely leave a photograph with global changes to the blacks and the whites. I attempt to use light and shadows to enhance the subject of my photograph and separate them from the distracting elements.
- In-Camera, I expose to the right. This is not just a means to reduce noise, but by having details in the shadows and dark areas of a photograph, I can then selectively choose to darken them in post processing.
- Remember: It's easier to add darkness and remove light, than it is to add light and remove darkness (it's more effective to reduce exposure in post processing than it is to increase it)
Black and White Clipping - Setting the Mono Extremes
In this video, even though it is titled 'Preparing a photograph for print' and the photograph in question is finished in colour, I demonstrate how to set the extremes of the shadows and the highlights so that they clip just enough for the photograph to have the 'pop' that it needs to have an impact on the viewer. The video also contains all sorts of other handy tips, such as ensuring a nice bright print and how to thoroughly check your digital files for dust spots during post processing (key if you're about to print the photograph!)
Using the Brush Tools
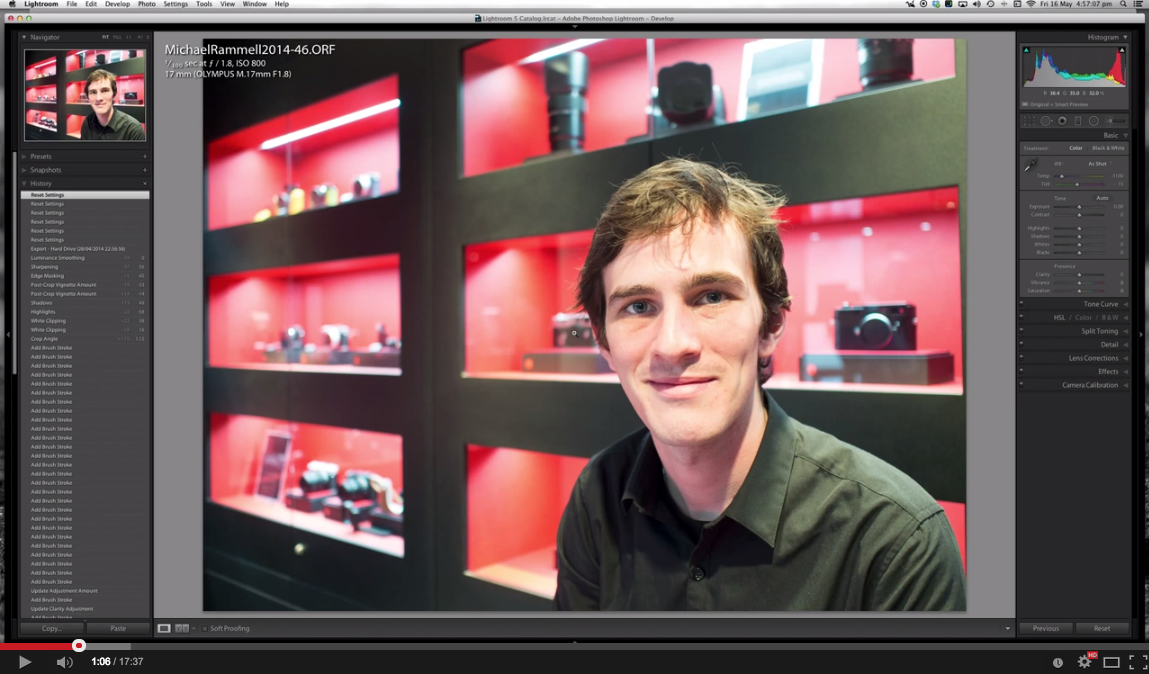
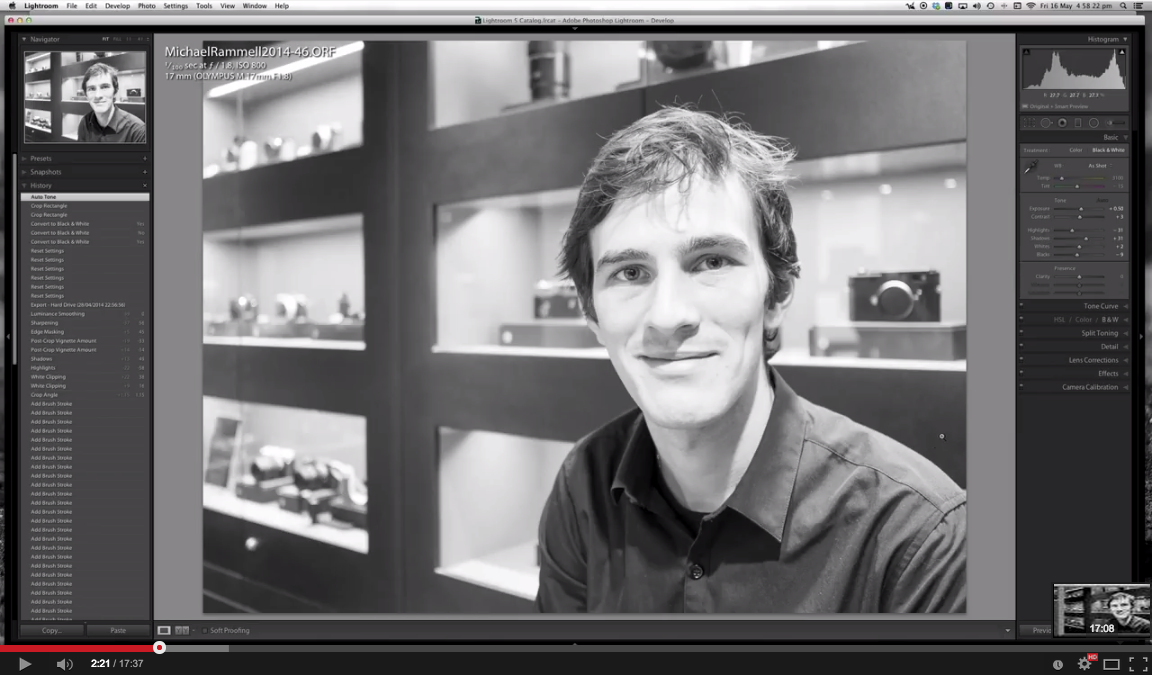
Right here on the blog not too long ago I actually shared this video in which you learn how I take an image, convert it to black and white and then use the brushes in Adobe Lightroom to selectively process my work. You can go from this, to this:


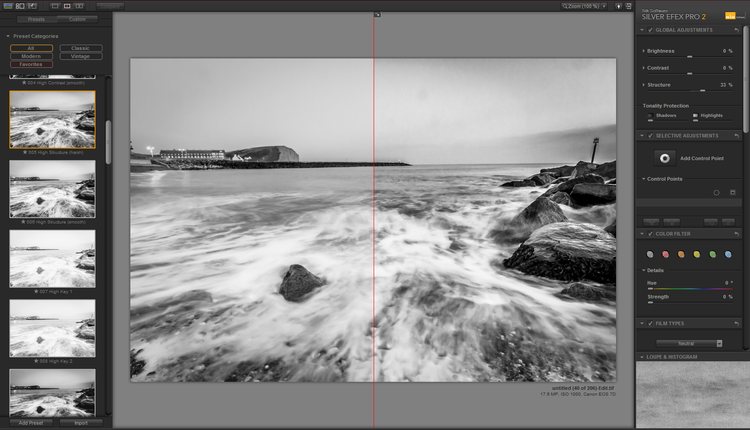
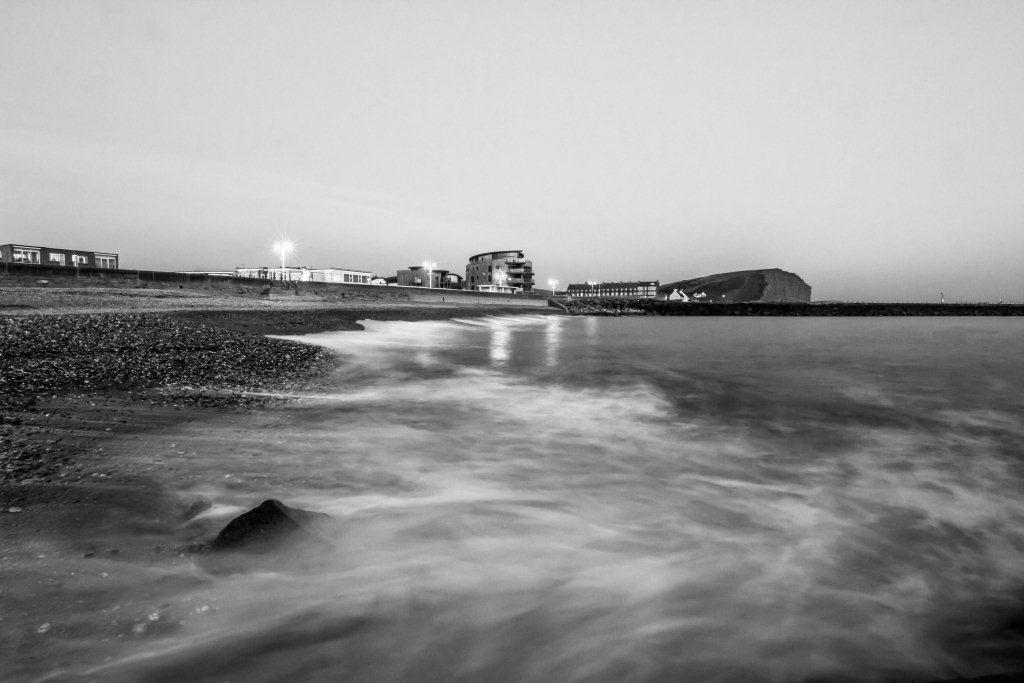
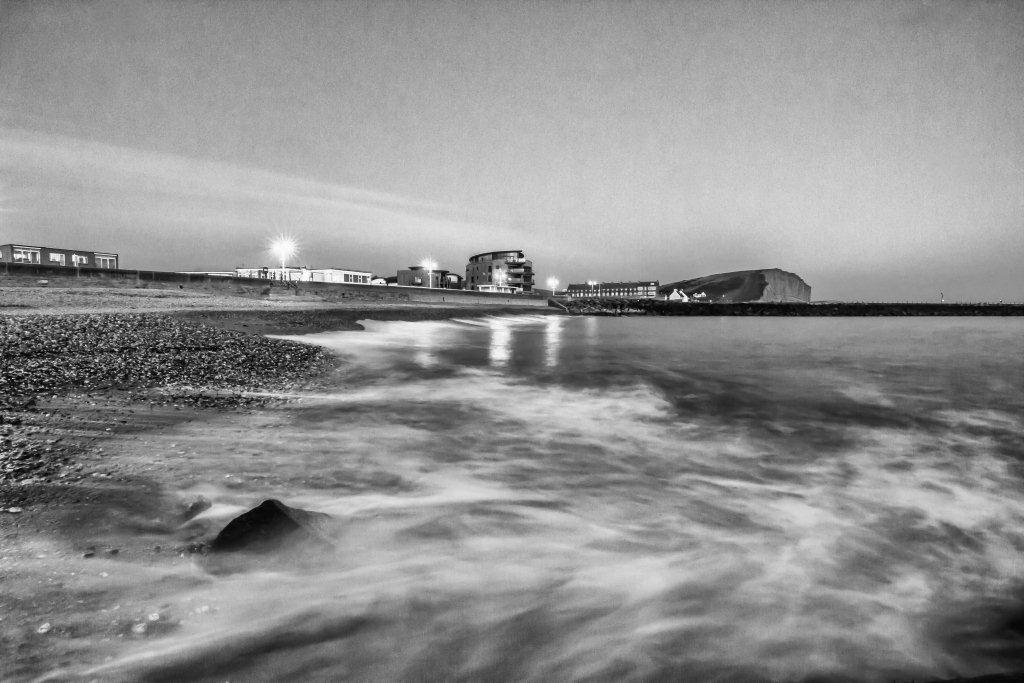
Silver Efex Pro 2
Sometimes, for when you want to just pull 'more' out of a black and white image: Silver Efex Pro 2 should be your go-to software. I find it most effective on subjects that don't include people, such as landscapes and architecture, but in truth, it has the uncanny ability to be able to produce a very pleasing black and white and often reveal textures and shadows you didn't think were present.
I'm not a fan of plugins, presets and actions etc, but Nik Silver Efex Pro 2 is my single exception to this belief because it is so effective. I haven't prepared a video, but I have spoke about Silver Efex Pro 2 before and it's superb qualities. Here, take a look at these side-by-sides, showing my best attempt at a mono conversion, aside a version of the same photograph that has been ran through Silver Efex:


Inspiring Black and White Photographers
To finish this post I thought it only fair that I share with you some of the photographers I adore that are known for their monochrome photography, or, whose black and white work I simply adore. Take a look and let me know what you think.
Alternatively, are there any mostly-mono photographers you admire that you think the world ought to know about? Share them here in the comments and I'll add their names to this list:
Gregory Heisler
Mark Seliger
Fan Ho
Neil Buchan-Grant
Mary Ellen Mark