


High ISO - Don't believe the hype
ISO seems to be a feature of every camera's spec sheet that gets most of the attention these days. All people seem to care about is a camera's ability to shoot in low light!
Now, if you know me and follow my blog you'll agree that I make it pretty clear that I'm a big fan of Olympus' OM-D Micro Four Thirds system. You could then, be forgiven for making the assumption that today's post is going to be all about taking a defensive stance on the ability of Olympus OM-D's and their ability to shoot at high ISO's in low light...you'd be wrong!
I'm not here today to do that at all, but instead, I want to talk about ISO whilst being totally agnostic of camera systems. My reason for wanting to talk about ISO, specifically though, is to clarify what it is and when it should be used. I also want to talk to you about what ISO is NOT.
Most people view a camera's high ISO capabilities in completely the wrong way, or at least - owing to the way we’ve been taught about ISO, to have a singular belief about how and when to use a higher ISO setting.
Most photographers these days appear to believe that you can simply use a higher ISO in place of good quality light, or worse still: that you can use a higher ISO in the absence of any light.
A good quality image is made up of a good subject, great composition and good light, of course. You cannot simply substitute good light for high ISO. High ISO is not some magic bullet to make your images better!
Secondly, it would seem that photographers these days are taught, in a bid to maintain as high a quality image as possible, that you ought to keep your ISO as low as possible. And whilst this is strictly true, there are times and scenarios, such as when there is plenty of light, that you can increase your ISO with little detriment to the end result. This can be used as a means to make use of a faster shutter speed, or a lower aperture of course.
Noise is not bad! I made my point on a recent episode of Camera Aspects, with Paul Griffiths, where I said that if anything, an image that is so totally free from noise tends to resonate less with me. Further to that, in an interview that I did with David DuChemin, he spoke extensively about the 'too perfect rule', and this is something I can only completely agree with; the idea that as humans we resonate far more with imperfection. David said: "you don't see people walking up to images in galleries and then have streams of tears running down their faces because of the complete absence of noise! 'Oh wow, this image is so clean it hits me right here (hitting his heart)".
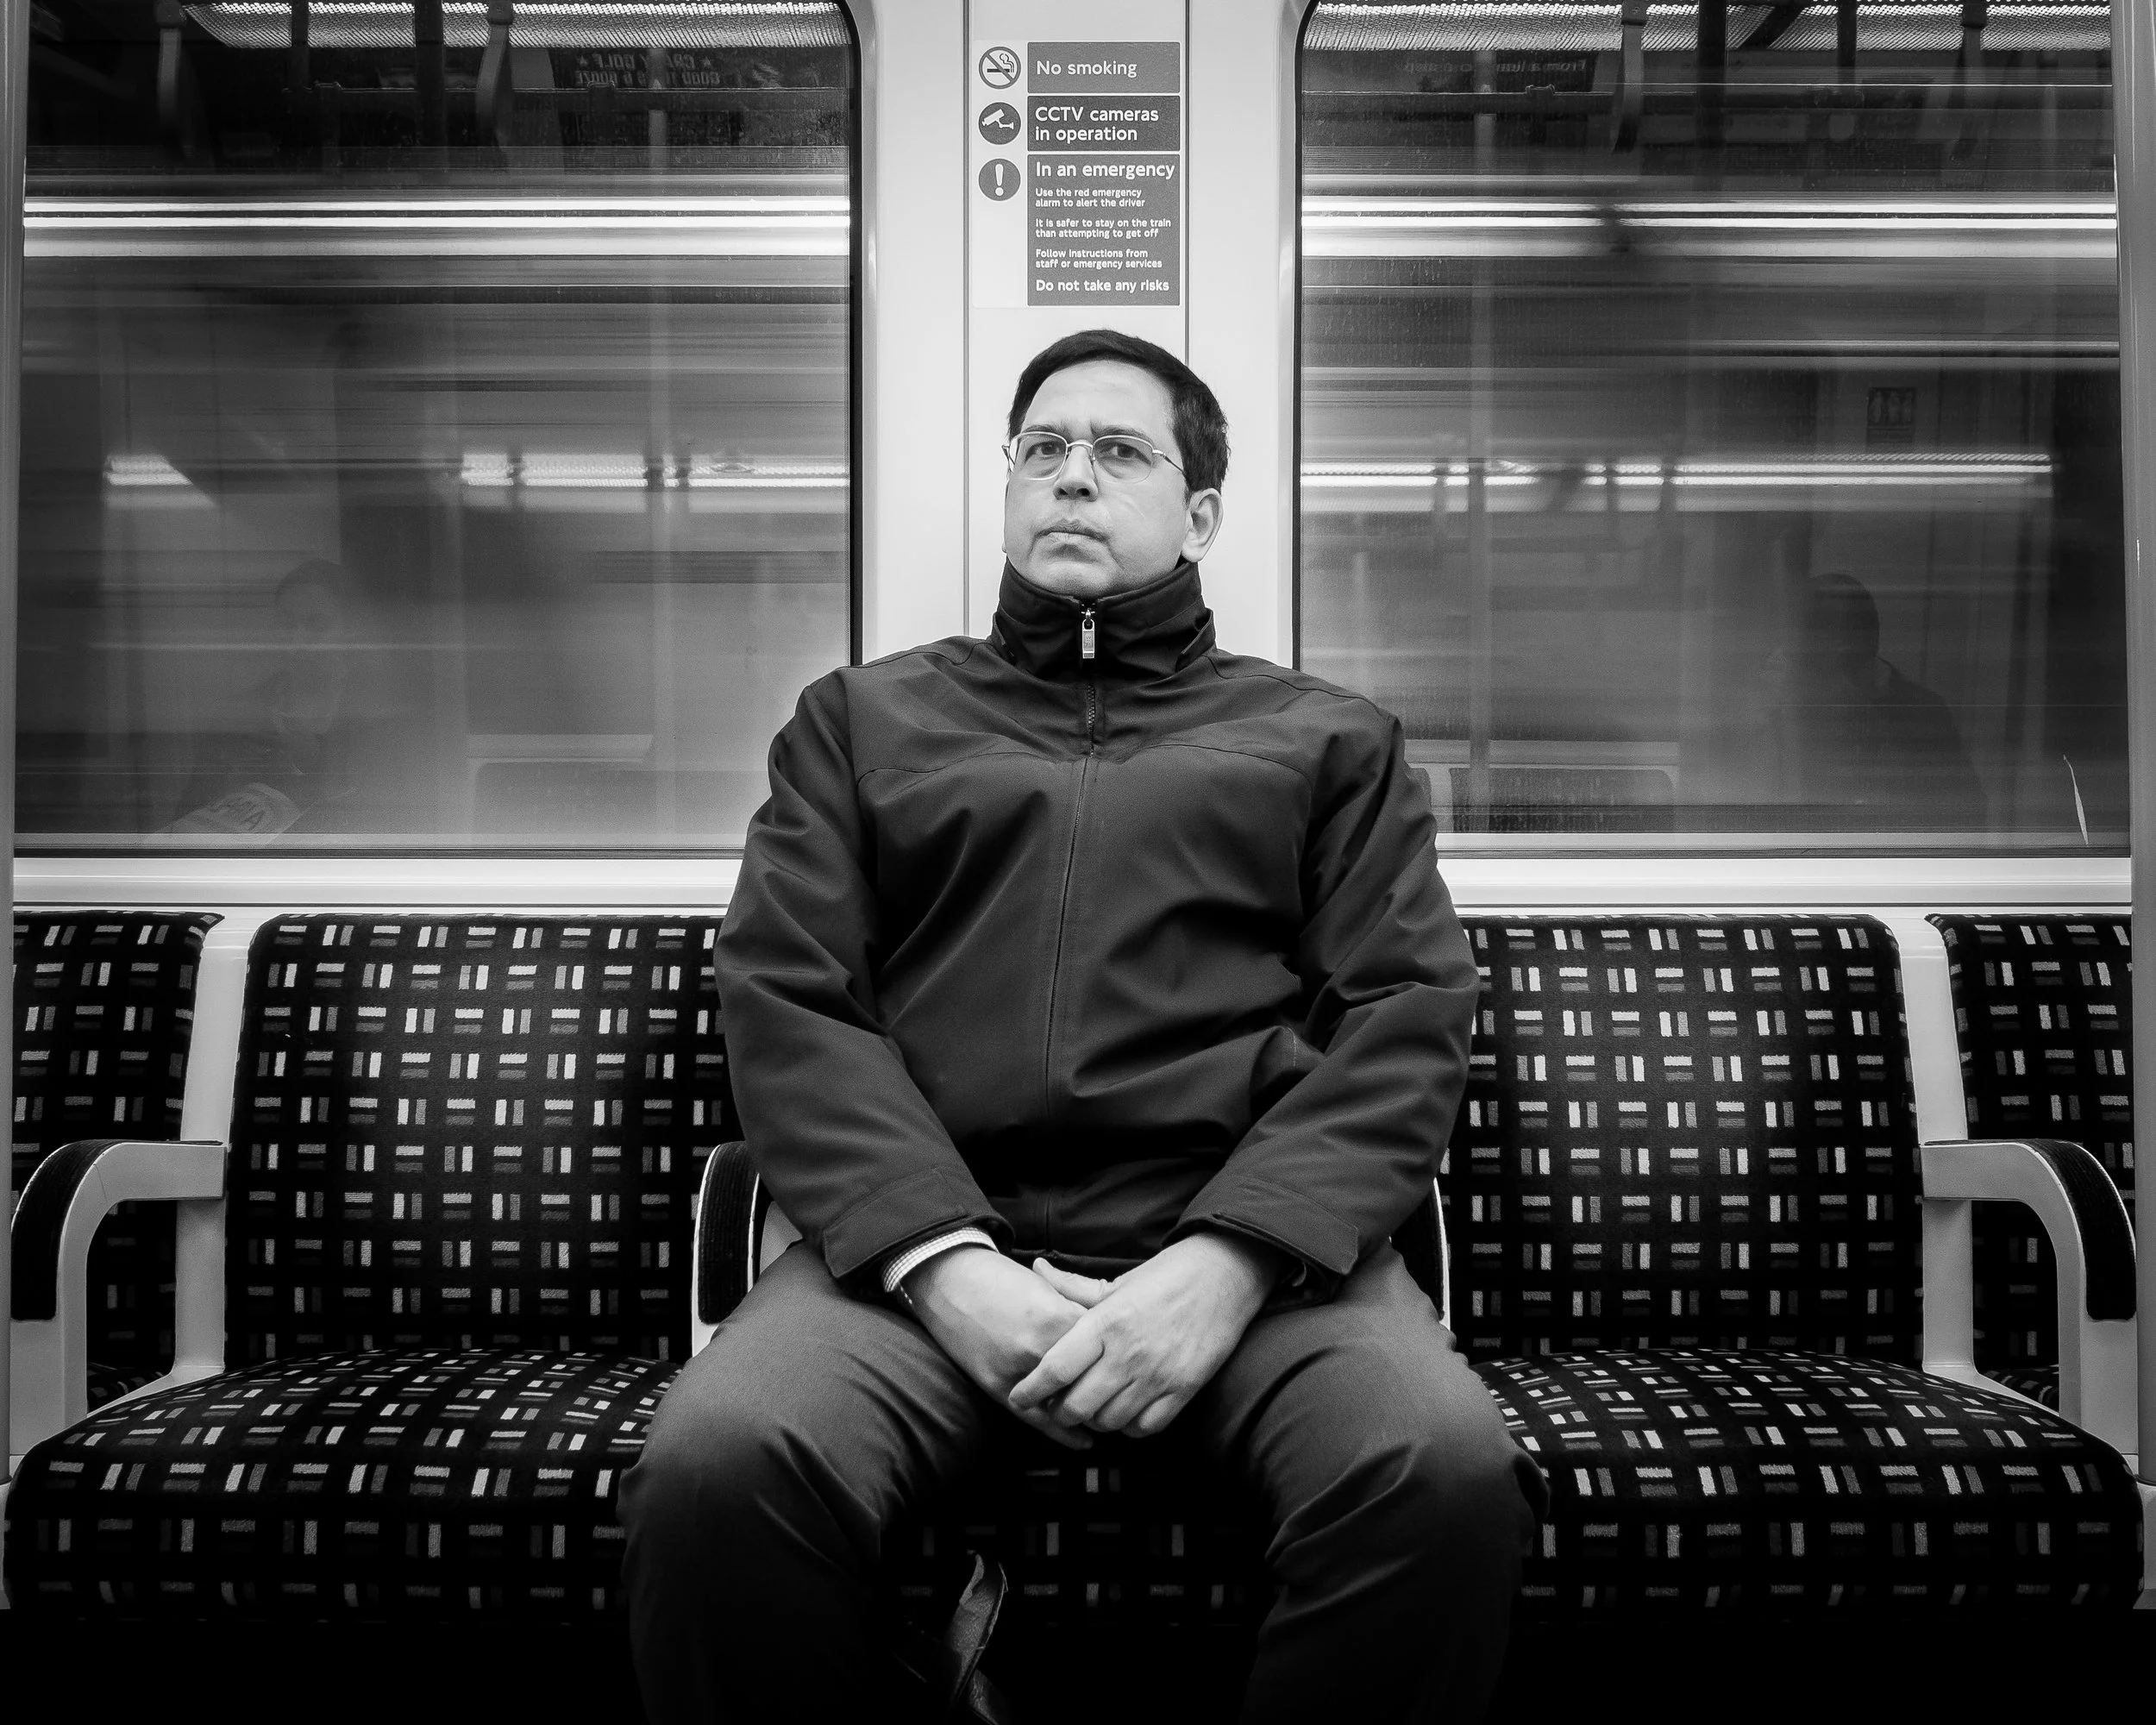
I've no issue shooting at ISO 5,000 on my Olympus O-MD, a camera I'm happy to admit, and I'm sure we all know, is not renowned for its high ISO capabilities. I get asked all the time what post processing I use to clean up my images when I shoot at ISO 5,000. The truth is though, nearly none. My simple answer is that I take my noise reduction slider to about 15-20 in Lightroom (CC) and say no more about it. I embrace the digital grain and accept it for what it is. In a good black and white image, with strong subject engagement, it is easier to look beyond the noise.
Robert Cappa once said; "If your pictures aren't good enough, you're not close enough.". In the same vein, I'd say; "If you notice the noise, the image isn't good enough".
Now, don't get me wrong: I'm not lambasting a clean image. I'm not suggesting a noisy image is BETTER than a clean image, but I am saying that we shouldn't all vilify noise as some terrible thing that detracts from the quality of an image. Noise is not bad!
Now, I'm not saying you simply need to learn to ignore it, or that you absolutely have to come round to my way of thinking and learn to love a bit of noise, because there are actual techniques you can use in camera to reduce the visual impact of noise. Or, in effect, you can shoot in certain ways to make noise less apparent. And I want to touch on this a little today. I shoot using a specific technique all the time, in every scenario pretty much and I've found that it does reduce the amount of noise evident in my images, and perhaps this is why I'm asked so regularly what tools and software I use to reduce my noise.
The first thing you ought to know, if you don't already, is that noise in a darker part of a frame is more prevalent. You will simply see more of it in the shadows than you will in brighter parts of an image. Furthermore, when you brighten an image in post processing you also make the noise more apparent too.
To help tackle this (and generally for a better quality file anyway), I use the Expose To the Right Method.
I had actually been using this method so much by mistake but the first time I realised I was doing it and the first time I realise the benefits was when Martin Bailey release an episode on his blog about using the ETTR method.
When people ask me what it is all about and what the benefits of exposing to the right arm I always use this analogy. It is not a perfect analogy but I think it helps to make the point so
Imagine having a white piece of paper and a black felt tip pen or marker pen try colouring the entire piece of white paper black using that marker pen you should find that given enough time and effort you will be able to cover up all of the white and make the entire page black
On the flip side, however, imagine then having a white pen pencil or crayon and trying to cover up at the black again you will find that you cannot do it as well as you did when making the white paint black some black well almost always keep the weight in places or the weight will be somewhat grey
The analogy in my mind works because if you have a white piece of paper or a bright image it is easier to darken the image. If however, you have a dark image or a black piece of paper it is somewhat harder to lighten or brighten at the image as easily as it was to darken the paper/image.
As a result; the Expose To The Right method teaches us to somewhat slightly over exposed our image by a third or a half stop depending on the scene possibly even a. If there aren't many highlights and then in post processing, you can bring the image back down to the correct exposure. By using the expose it to the right method you are adding detail into the shadow areas of your image and you will be getting a more full and complete histogram too. So when you take your slightly over exposed image into your choice of post processing software, for example, Adobe Lightroom you can see some noise if you were shooting at a higher I SO but of course you now do not need to increase the exposure in postprocessing meaning that you will not be further enhancing or making any existing noise more evident
In fact, when you bring the exposure back down you can even see a slight reduction in the evidence noise in the shadow areas of the image because the detail is in that part of the frame
Now this is a something thing of a contentious technique especially because in the days of Phil you were often actually taught to underexpose in order to increase the saturation of the colour of the film so as you can imagine the Expose To The Right technique is somewhat at odds with the old technique of underexposing by a half a stop. I have even had discussions with relatively successful digital photography is still underexpose by a half a stop in the belief that it will further saturate their colours
However, when shooting in digital bracket if you are shooting roar of course you need not worry about saturating colours anymore because with a 14 bit more image you have something like 28 billion colours on data channels available which allow you in postprocessing to edit their saturation luminance Hugh et cetera
As a result, I use the Expose To The Right method to cram as much data into my digital files as possible to give me more scope and flexibility when it comes to postprocessing
You will find a level on over exposing that works for you over time there is no magic formula to suggest that in every scenario you should be one-third or a half a stop over exposed you will learn using your own intuition and experience which seems are able to handle a certain level of overexposure
The term over expose can often sound quite scary because it suggests that you are doing something wrong or exposing too much or incorrectly or a scene but remember the exposure dial inside your viewfinder is exposing for 50% grey it is taking into account the highlights and shadows in the frame and trying to find a middle ground to satisfy them both what you are doing by exposing to the right is in effect going from something like a 50% grey 60% or 70% grey. As we all know cameras are quite simple in their ability to expose so by using our own human eyes and the ETT are method we are able to more intelligently expose for this scene than the camera is able to do so
Perhaps this is why I enjoy using the Olympus OMD so much with the electronic viewfinder I am very immediately able to see how much I am exposing to the right and whether I need to pull that back a half stop or a third stop or in fact whether the scene can take more over exposing
Now your immediate thought maybe about blown out highlights and if you are exposing to the right my third or a half stop that the sky or brighter areas of your scene will be blown out and yes this is a risk and a trade off with exposing to the right however I would debate that if you are concerned about noise enough to be listening to this post all reading this blog post then you should at least give the exposed to the right method a try to reduce the impact of noise in your images and then simply instead Paul the highlights back in post processing using the highlights and all or in the case of an over exposed sky use the digital graduated filter available in Lightroom alternatively there are more advanced techniques for pulling. Pulling back blown out highlights such as Leo masks and of course brushes in Lightroom but as I always say certain parts of the frame can be blown out without any adverse effects for example if there is a small amount of sky in your frame in a corner and your subject dominates the frame then why not have a small corner of your frame blown out what is worse a very noisy image or a small amount of highlight clipping in parts of the frame
Switching to a method such as exposing to the right does and will call for a slight adjustment to your work that you do in post processing
Four example I used to find when exposing according to my in camera exposure meter that I would often have to boost shadows boost highlights and ever so slightly increase my exposure oh are things that will contribute to increasing and enhancing the evident amount of noise in an image
With the exposed to the right method however I am in effect working in reverse to that I now find that I am reducing my highlights pretty much leaving my shadows as they are and if anything reducing my exposure in price processing ever so slightly these if we think about the paper and pen analogy I gave earlier are all changes that do not contribute to enhancing the amount of evident noise in an image
That is my technique for reducing the amount of noise visible in your pictures
Next up I want to talk about I SO and when to use it most people will understand that to increase your ISO is to increase your sensors sensitivity to light which in turn will allow us to make use of a faster shutter speed and or a lower aperture with the caveat being that the higher the I SO you use the more noise will be introduced into the frame. As such by default logic would suggest and many of us are taught that we should stick to using the lowest ISO at all times where ever possible when appropriate for the scene.
Now whilst this is true…there are plenty of situations that increasing your ISO slightly or even more than just slightly will have nothing more than a minor impact on the end amount of noise at the frame. especially when paired with a technique such as exposed to the right
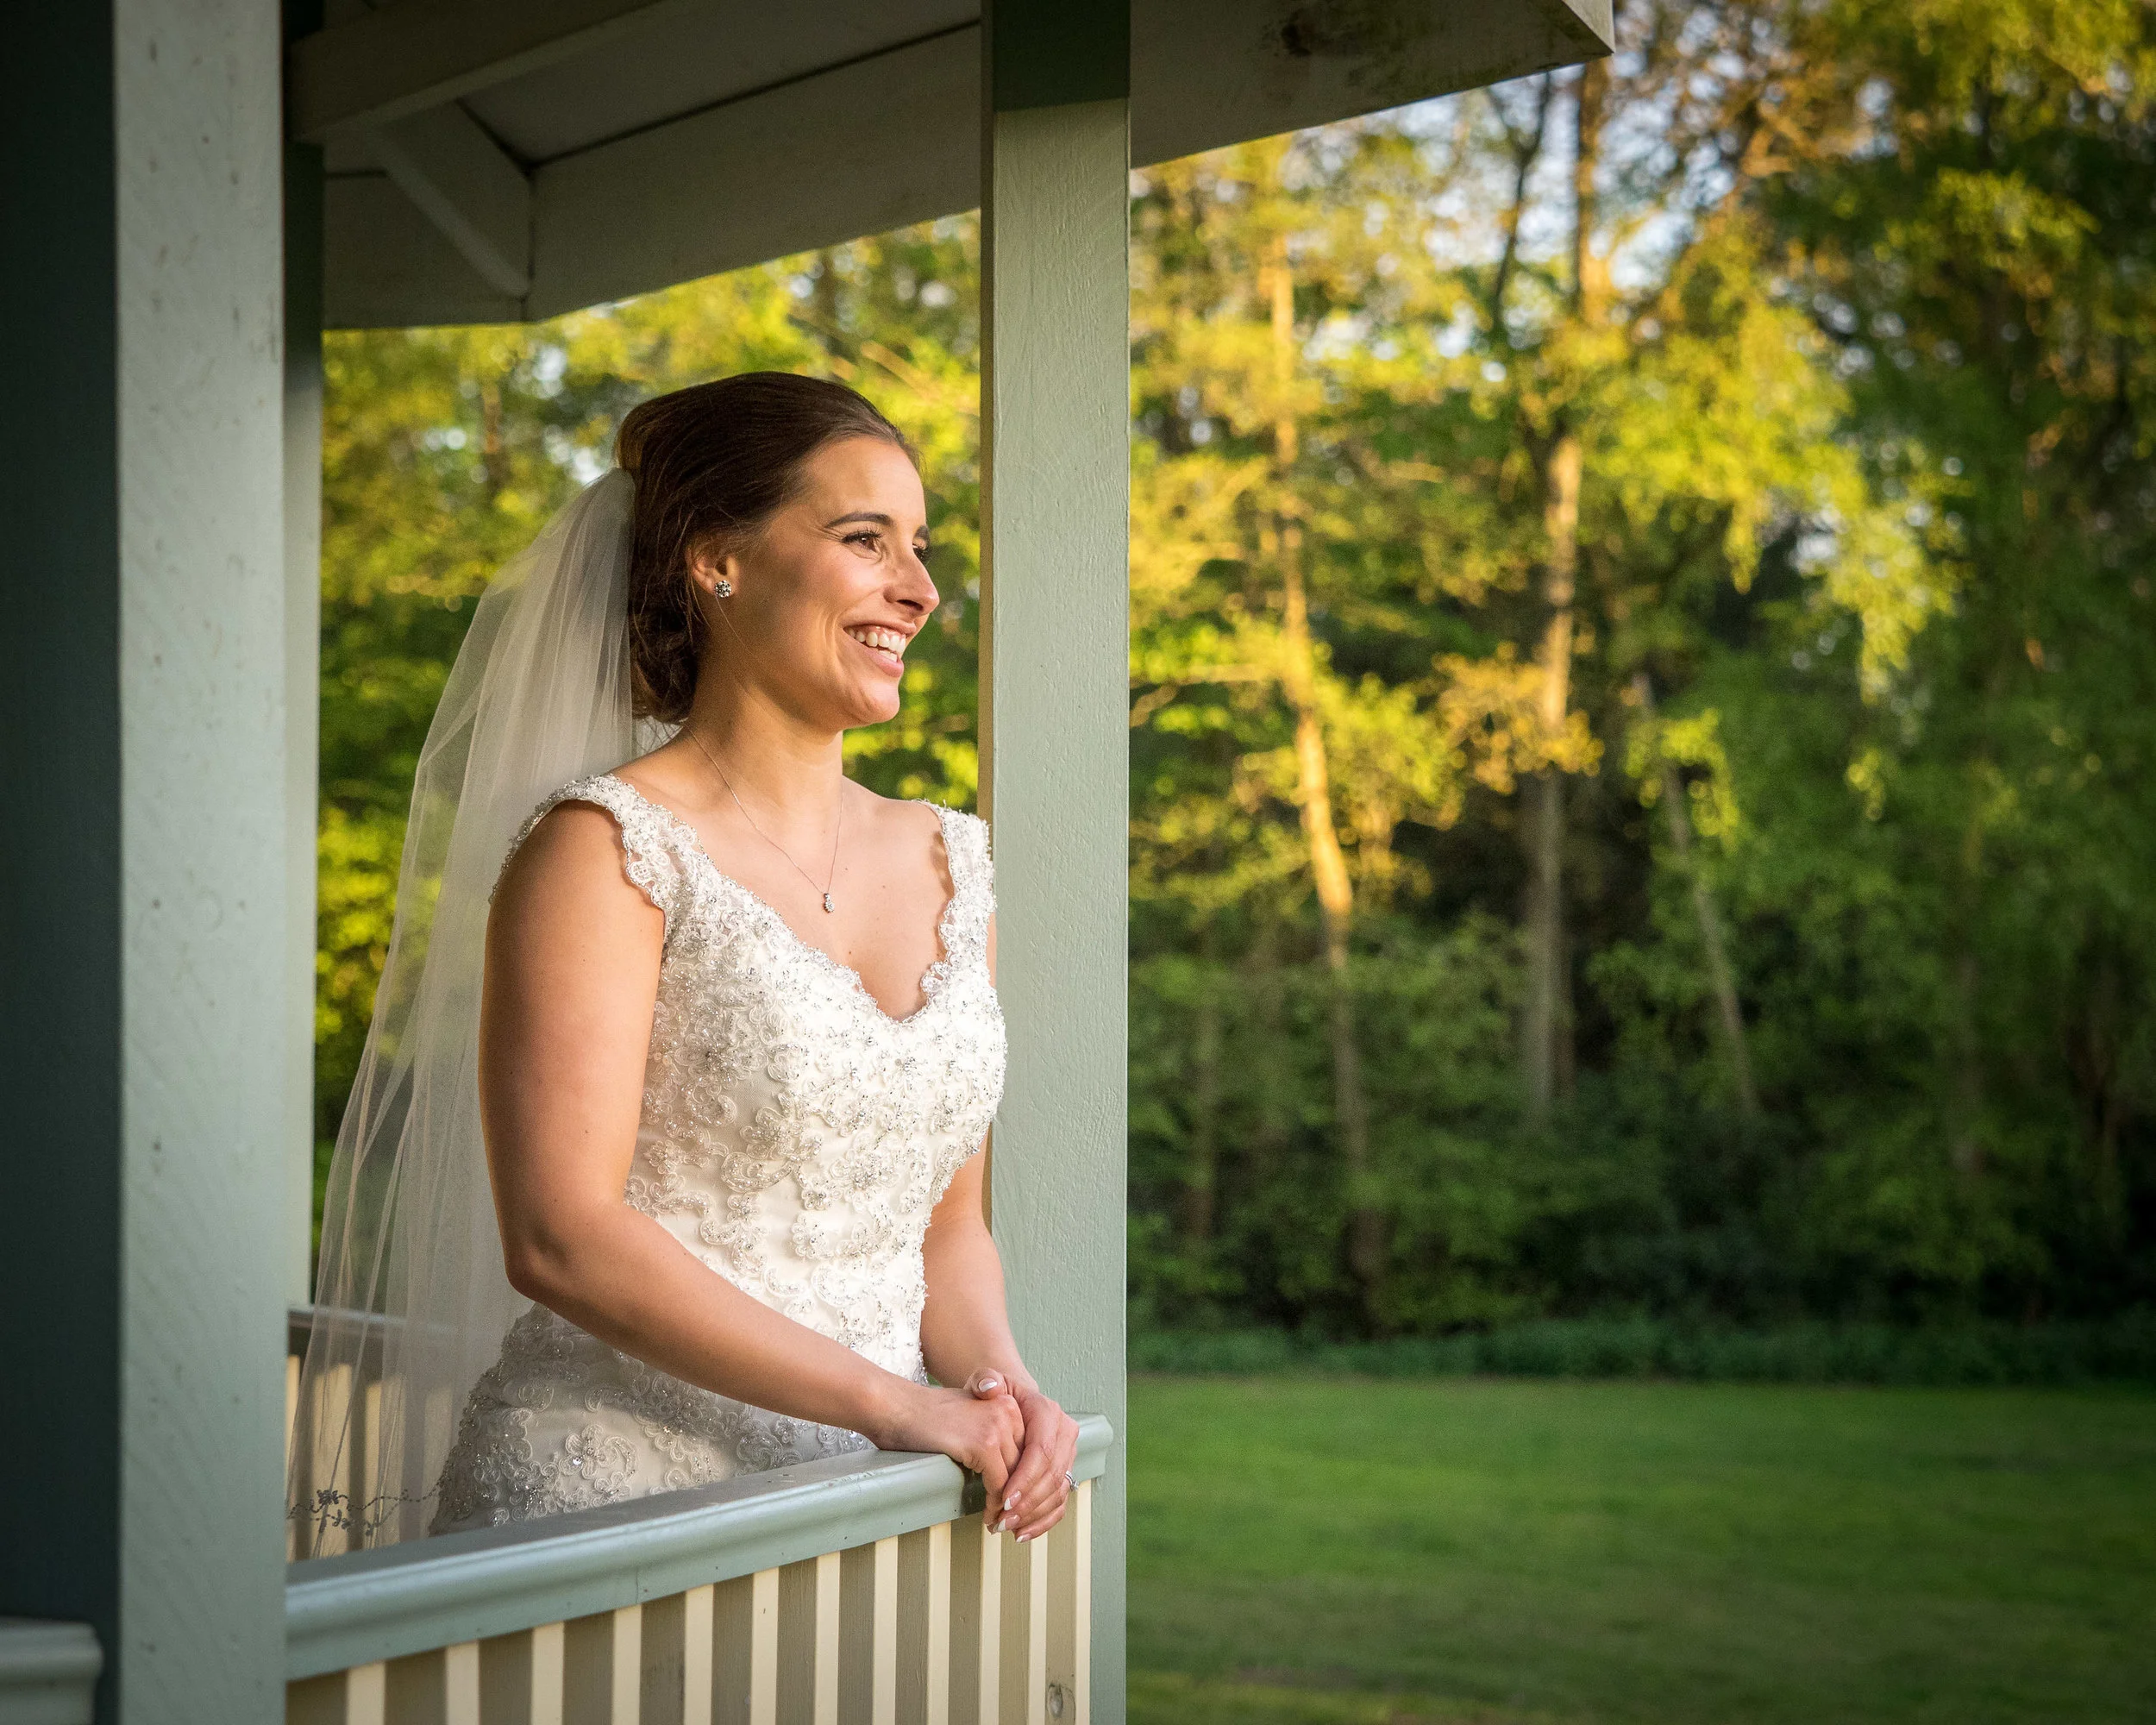
Four example I recently was shooting a wedding and during the evening we took the bride and groom out for some couples portraits. We were in a beautiful garden of the hotel and it was around 7:45 PM there was plenty of light and I could have shot at ISO 100 or 200 aperture F1 .8 .2 .8 and still maintains a shutter speed of around one the 50th to hundreds of a second.
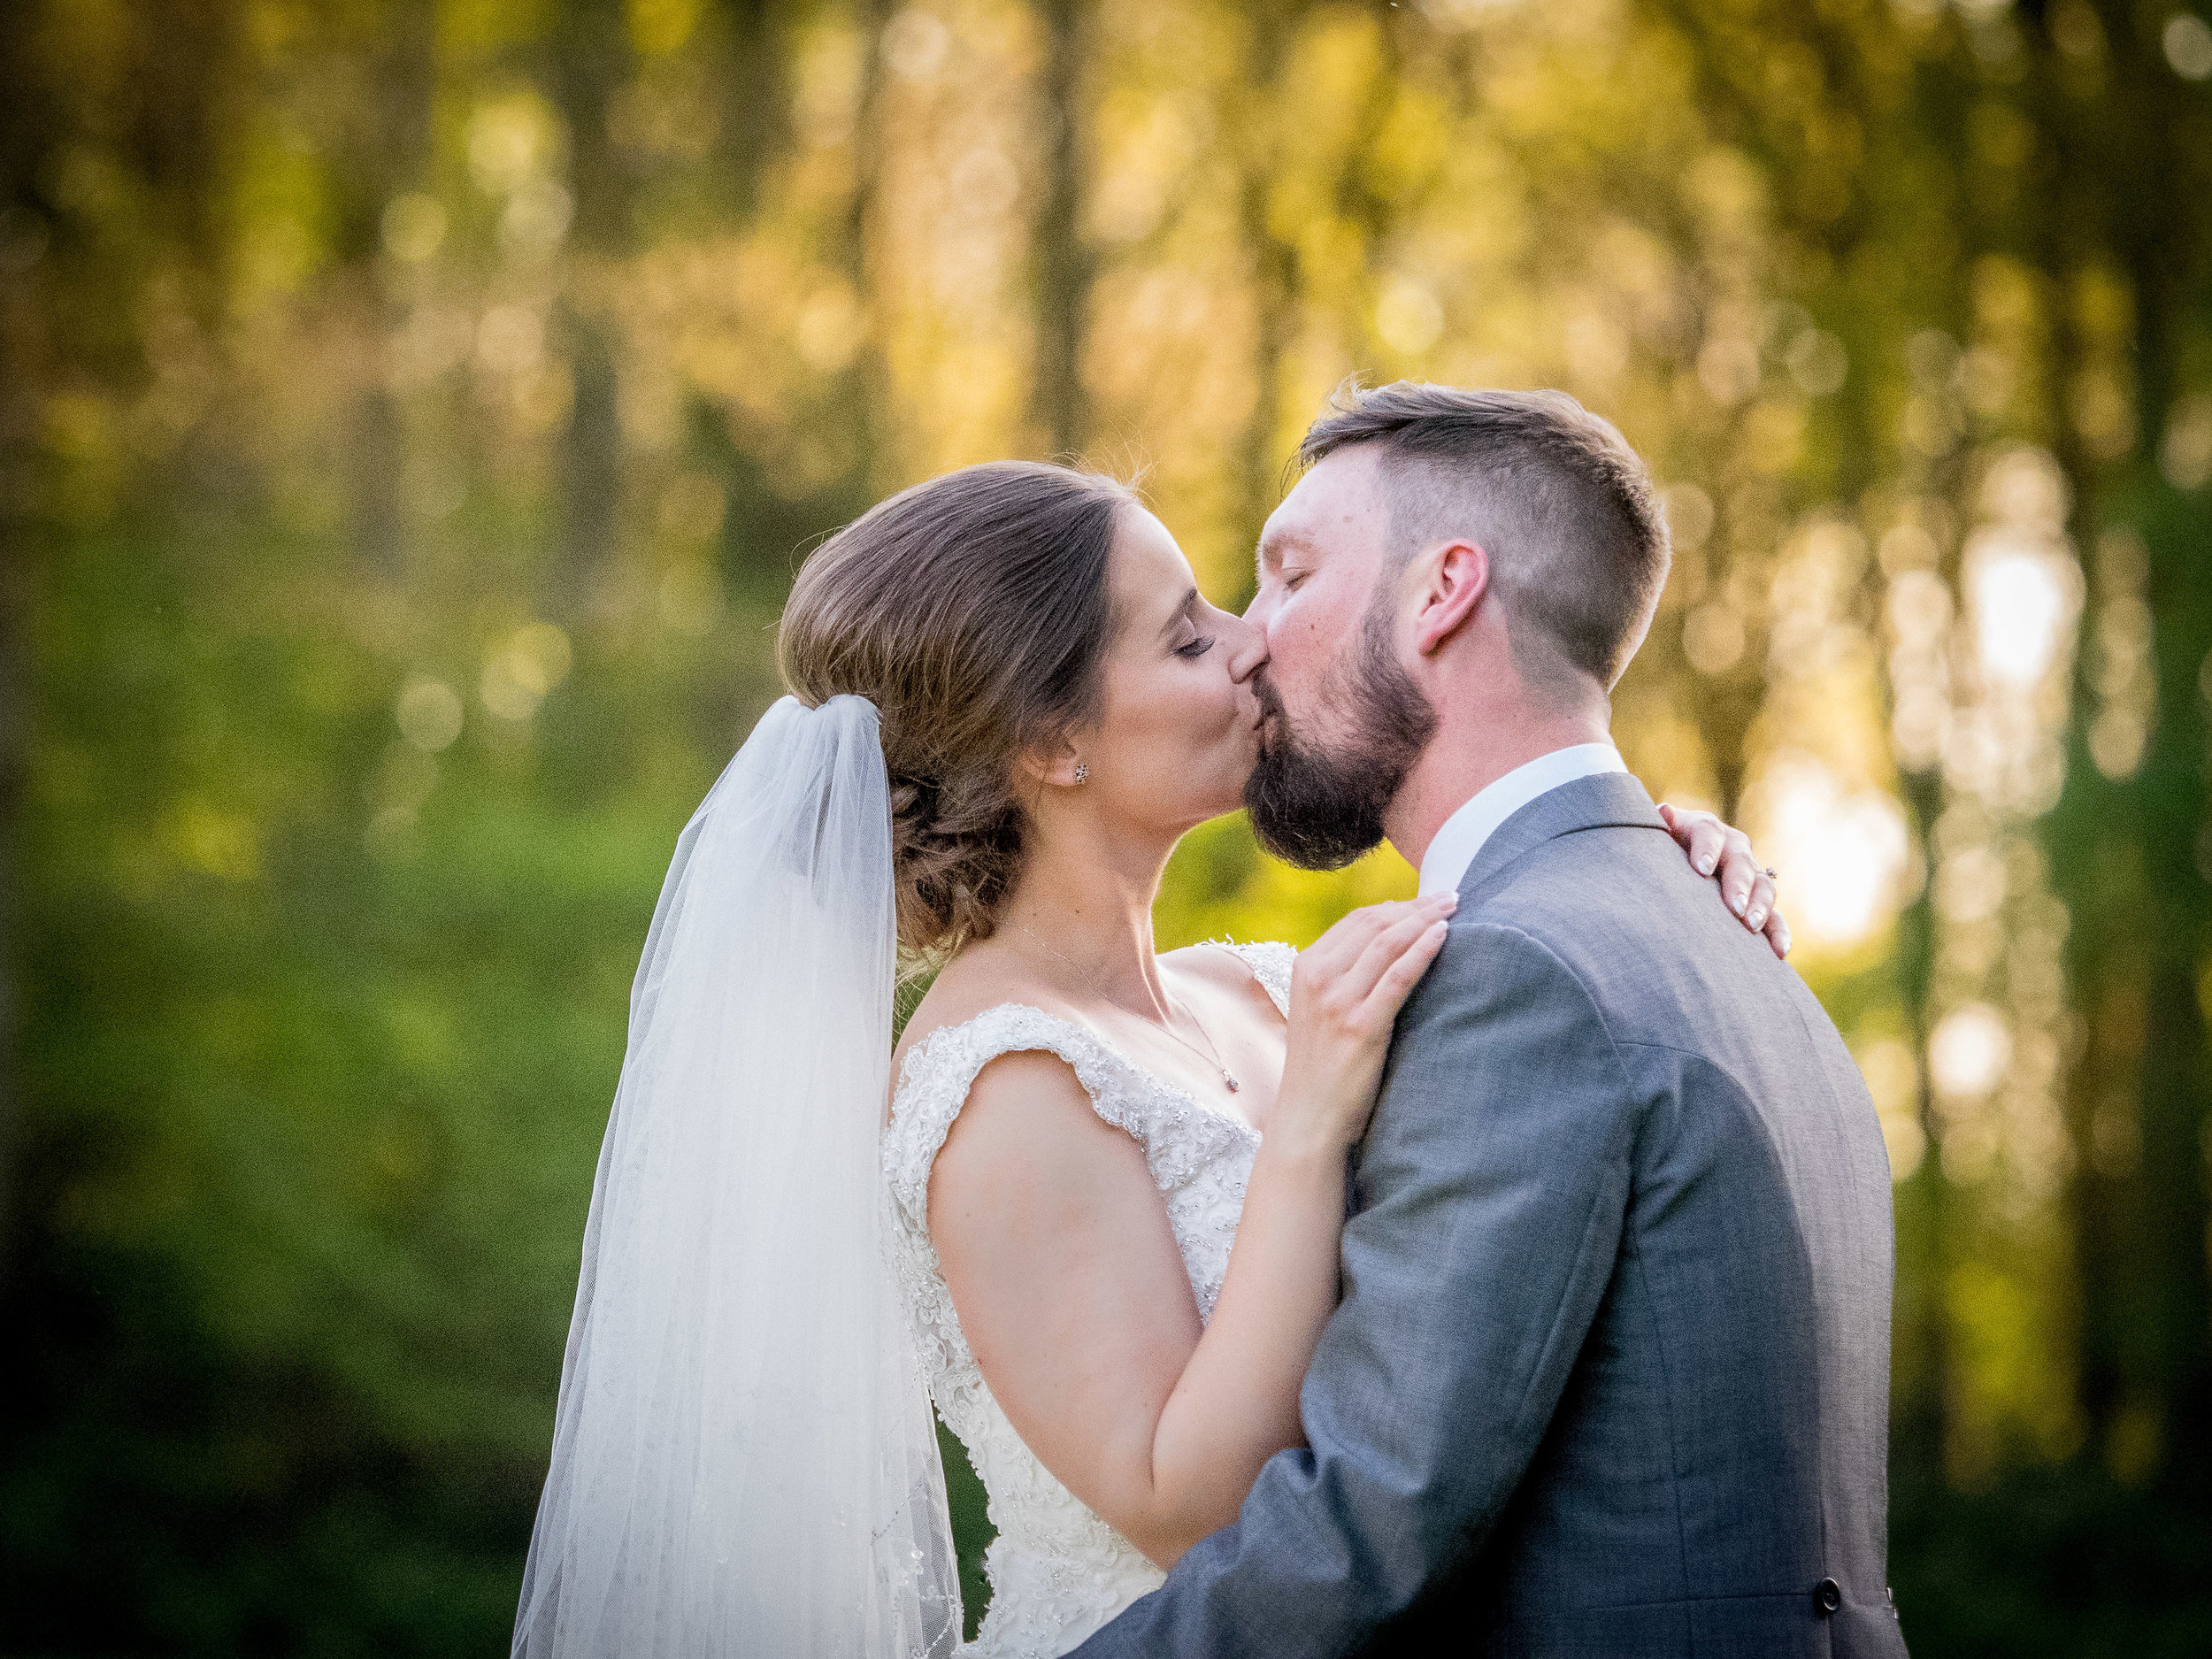
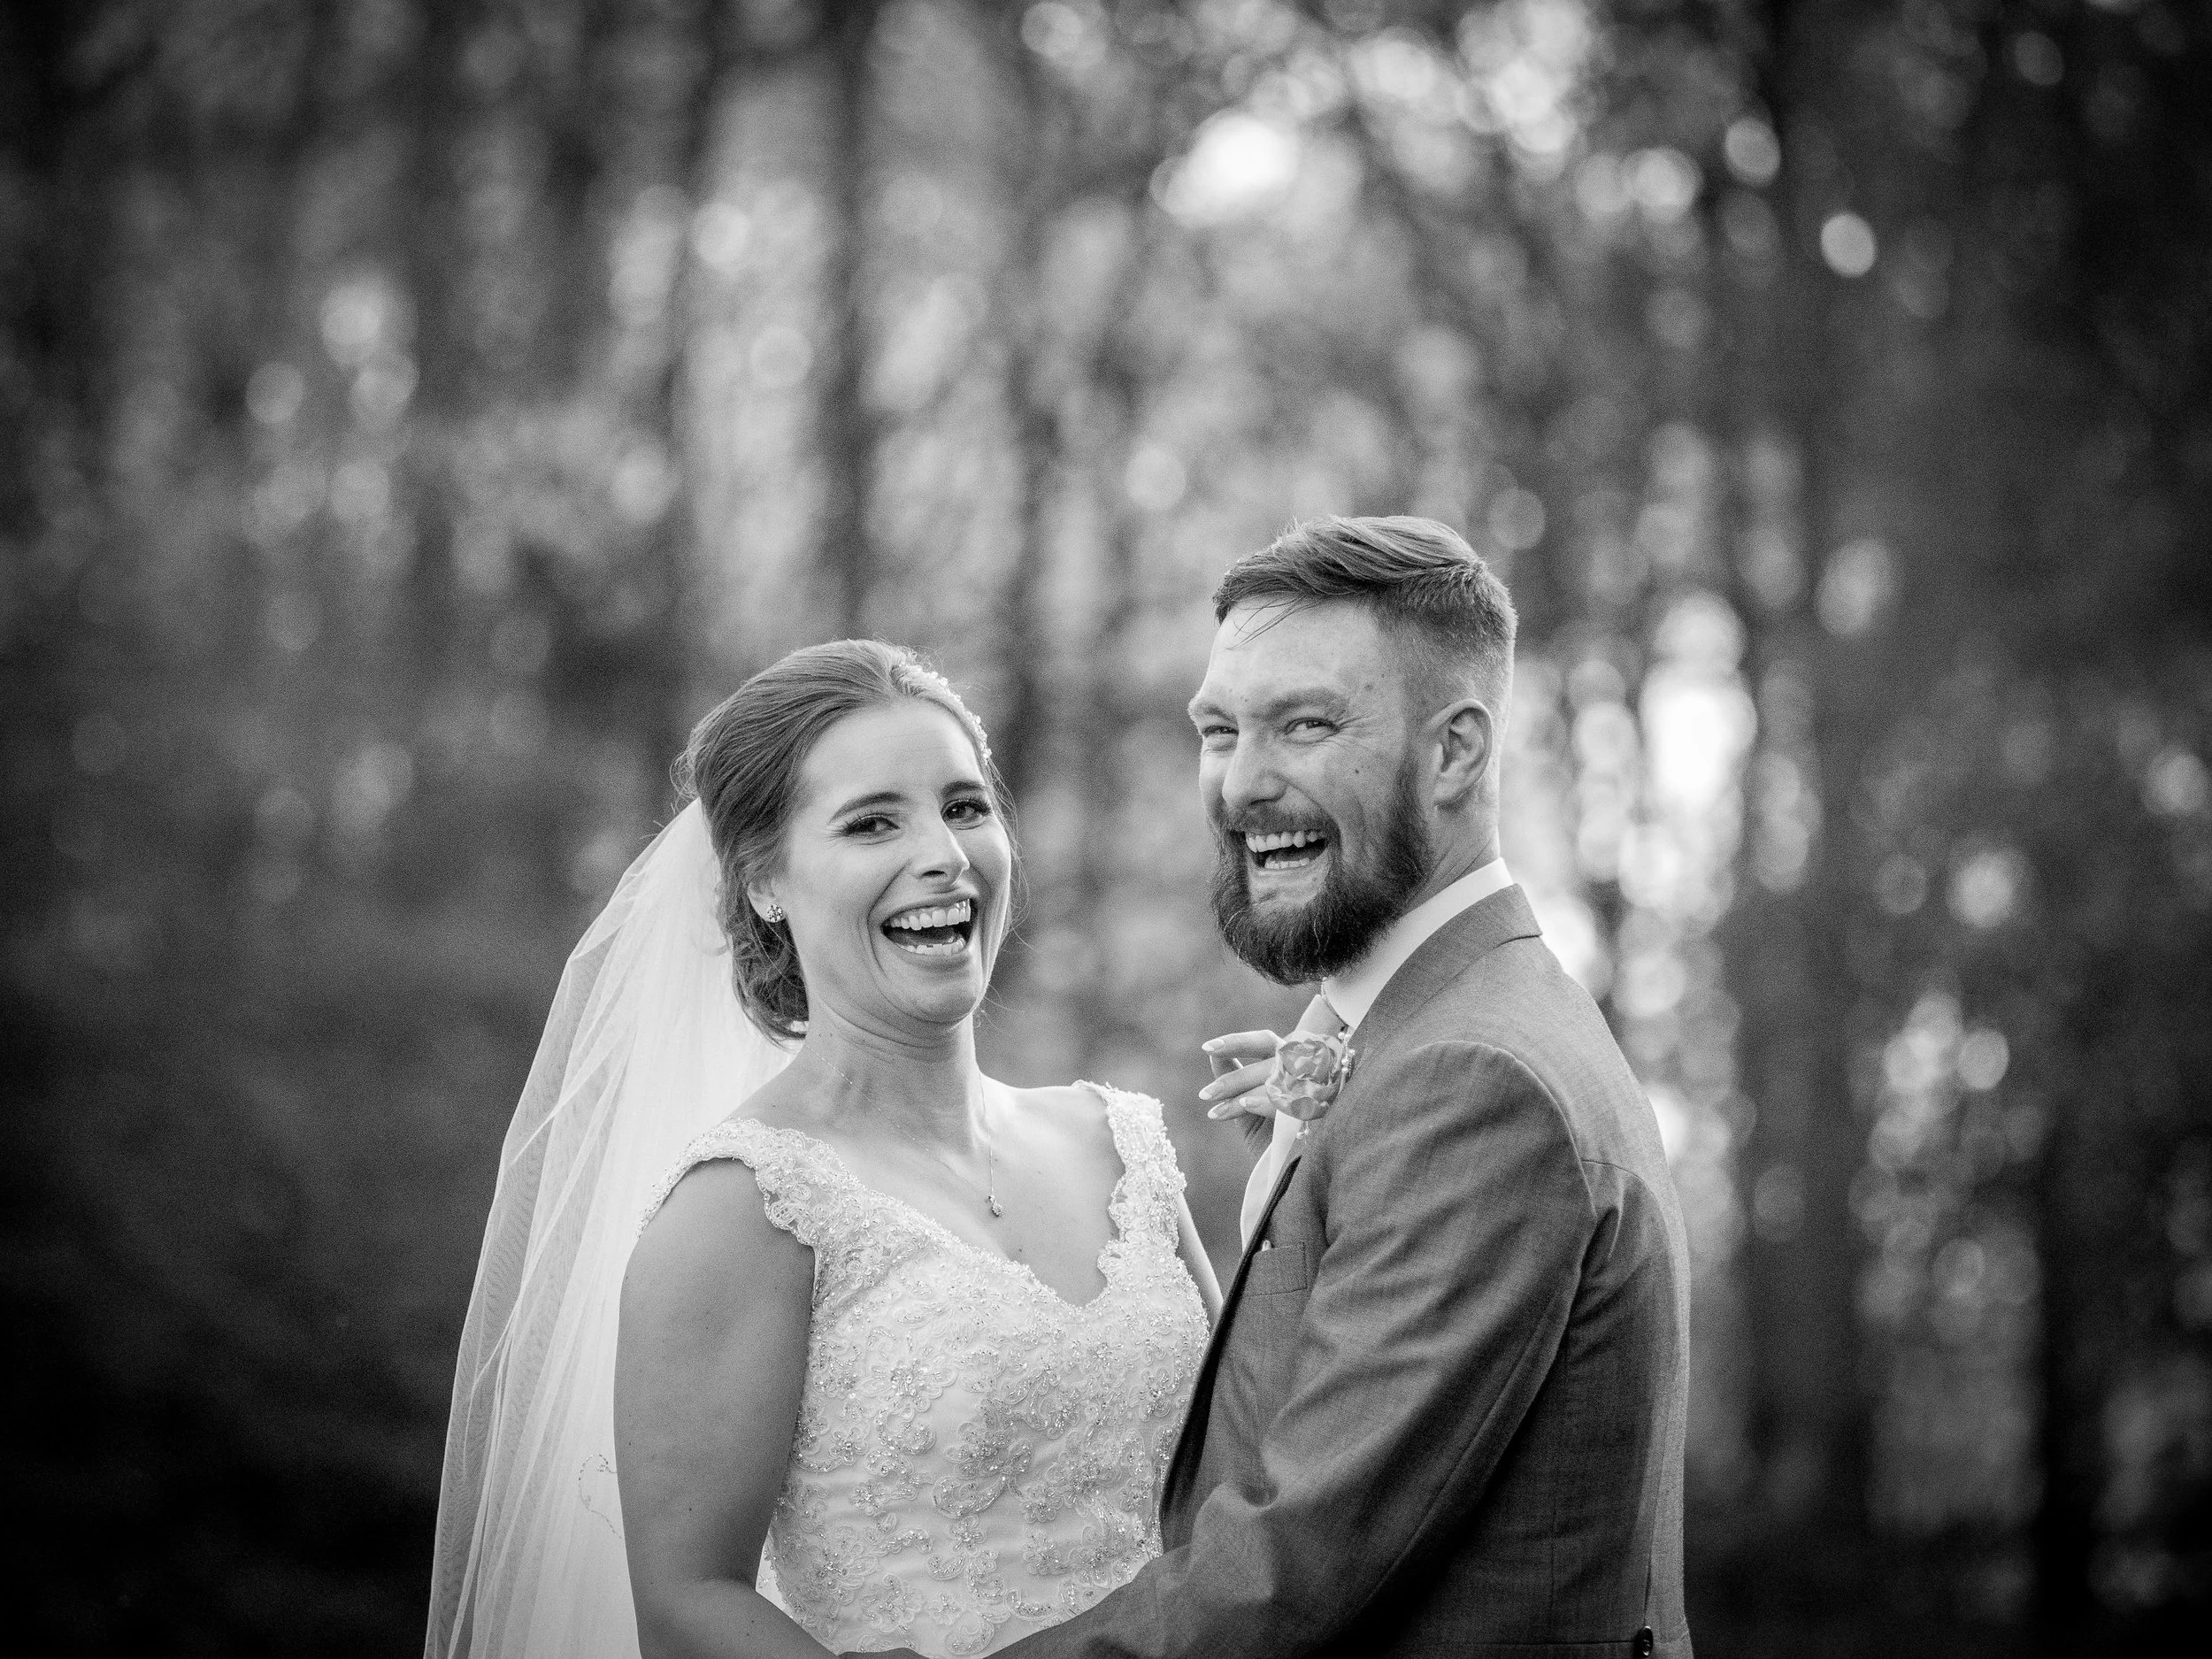
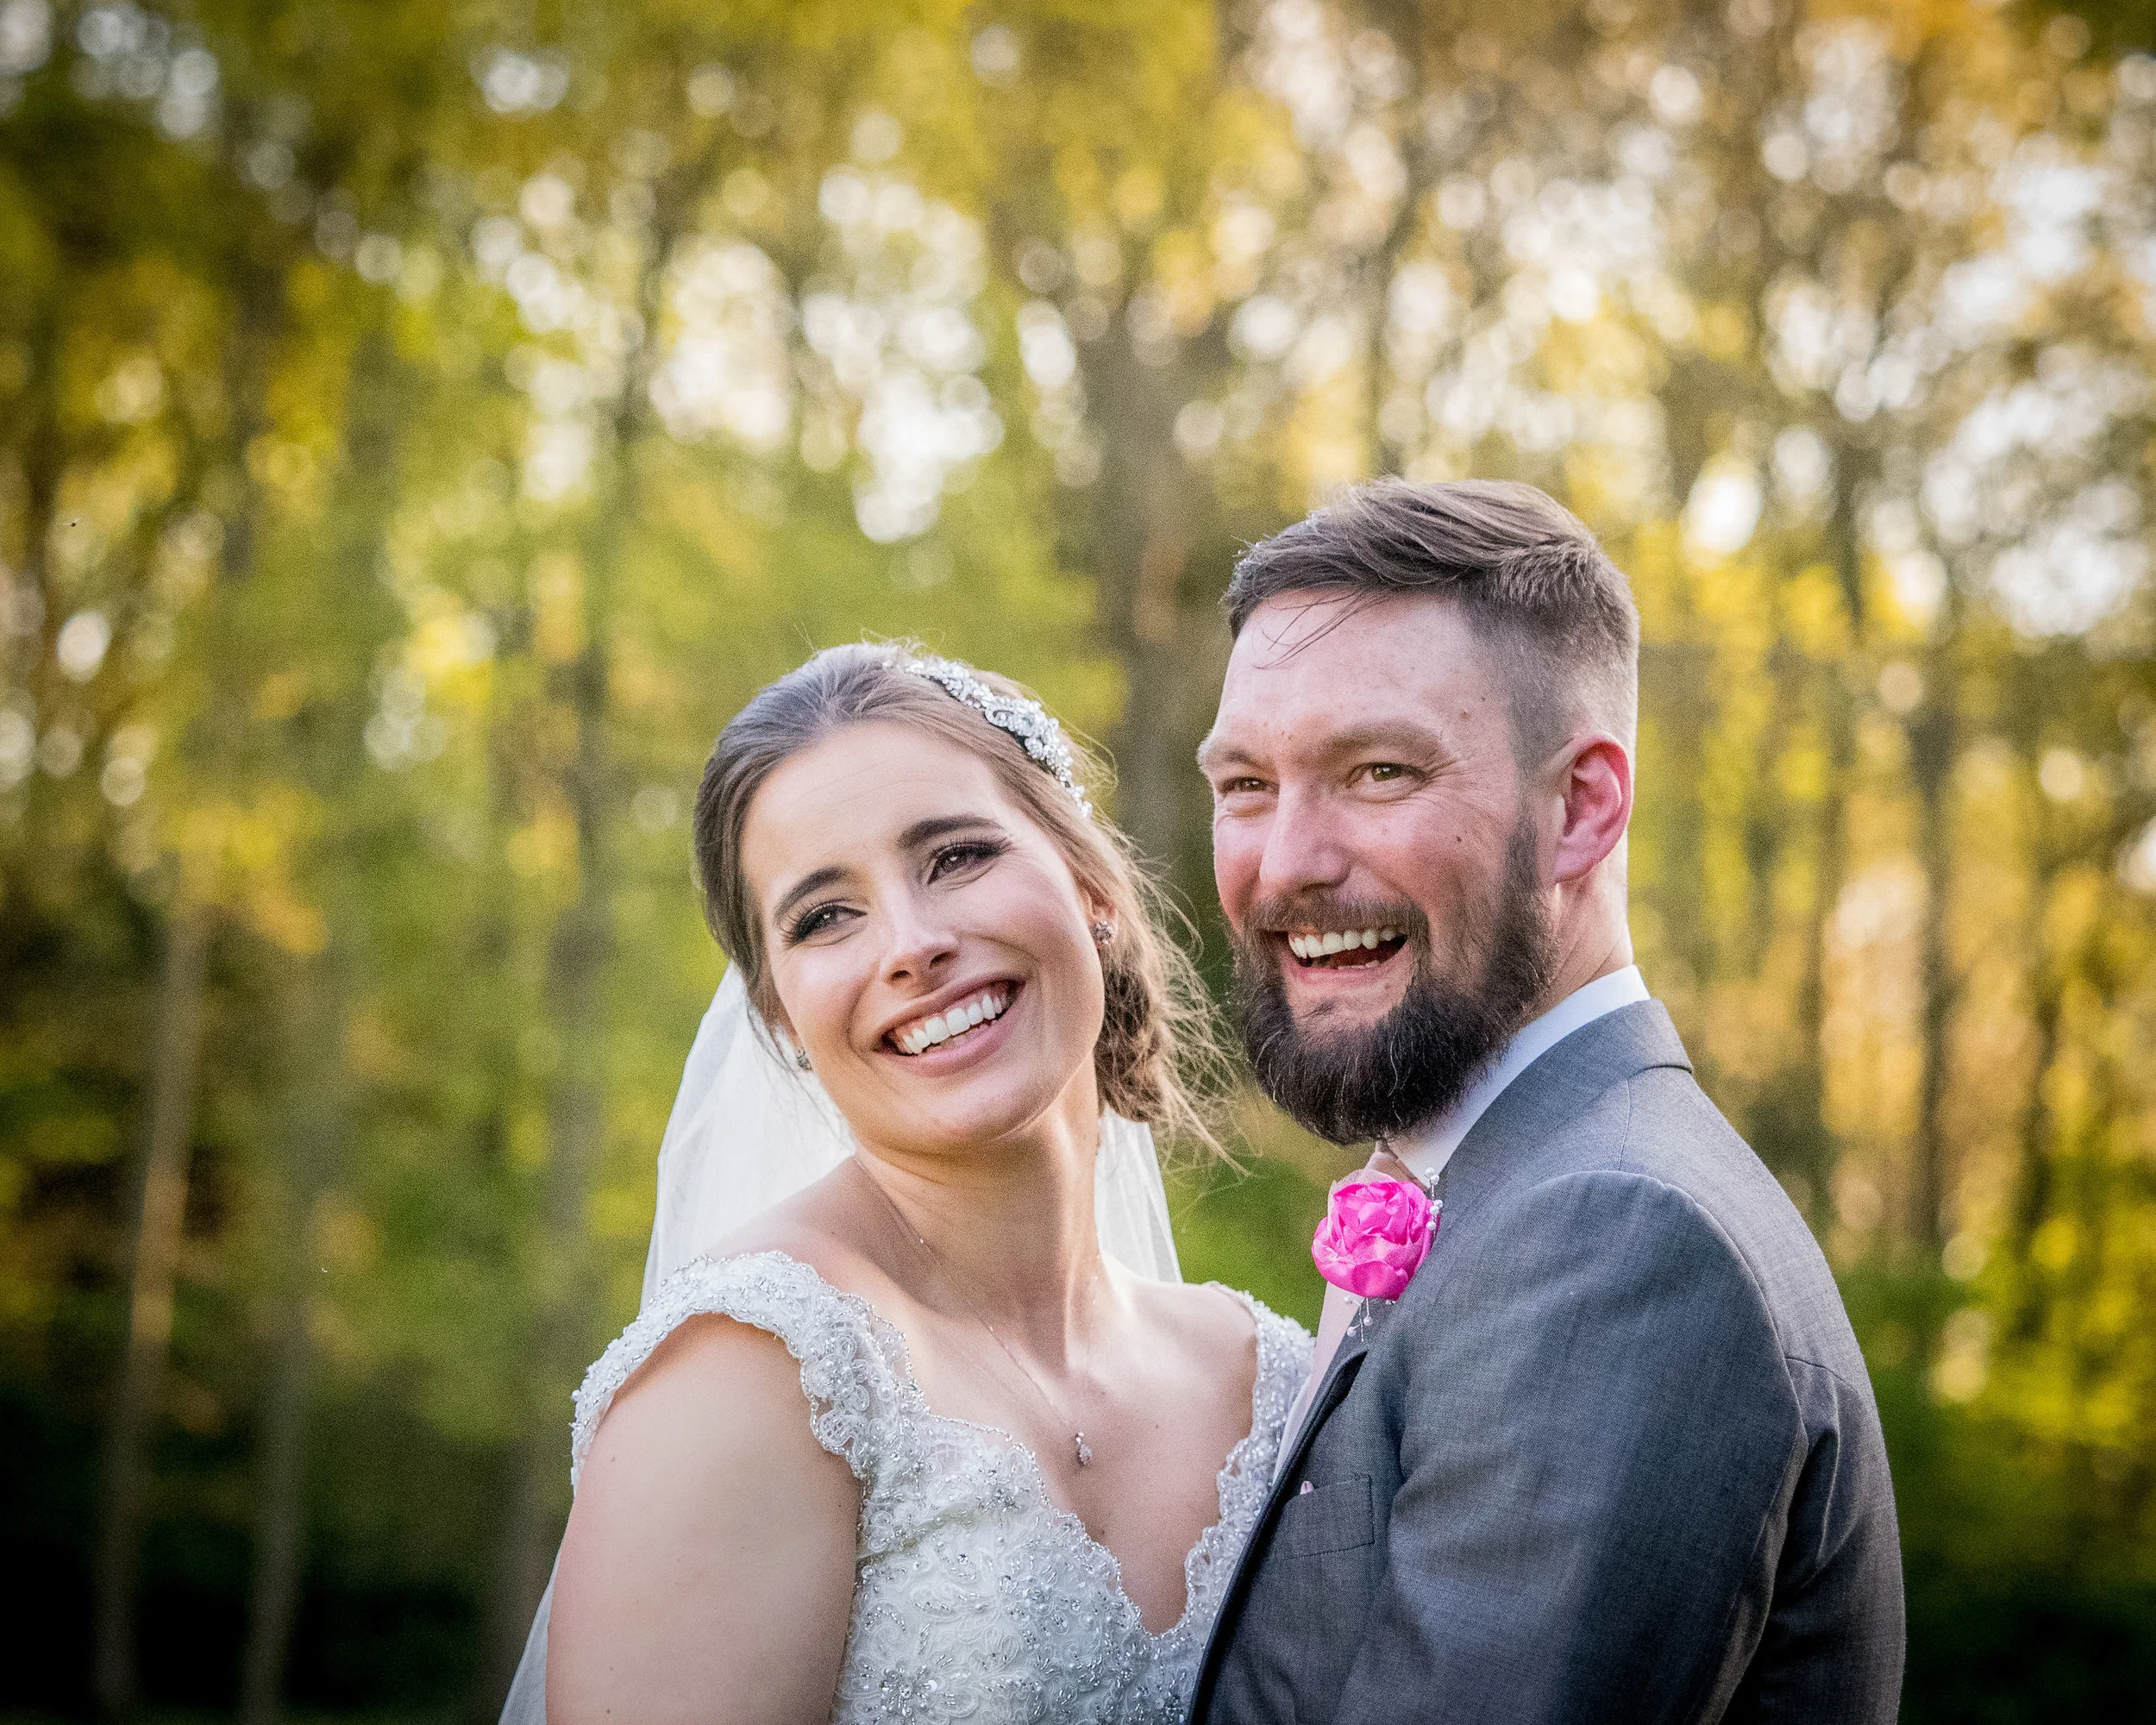
However, When I am shooting portraits my main focus and priority is on then it's about making them laugh smile and be natural. The camera can often be a barrier to helping make that happen and so I don’t want to be seen to be tinkering with my settings. It will kill the mood! Often the moment that is worth capturing will come from a funny remark or something unplanned and I need to be ready to capture that as heads go back with laughter. Or, even those more intimate moments where an unplanned gentle kiss takes place, totally unprompted: if I’m looking at my camera or tinkering with settings: I’ve missed it.
As a result of knowing that and wanting to be ready to capture everything that may happen, I often give priority and preference to a faster shutter speed during portraits, meaning a 50th or even 200th of the second enough for me, especially if I am to achieve a critically sharp image, so to that end and to allow me to make use of a faster shutter speed, I’ll often take my ISO up to 1,000 or more. In the case of the recent evening portraits at Dan and Lauren’s wedding, I bumped my ISO, rather ambitiously, to ISO 5000 and then made use of a shutter speed of over 2000th of a second
This is very much contradictory to what many of us have been told: in that good light scenario I would have perfectly been able to use ISO 800 or 1000 a shutter speed of 500 of a second and maintain a relatively sharp image, however, we were all laughing a lot, having a good time and were generally very animated, so it did call for a faster shutter speed.
If you want to take a look at the results, head on over to the accompanying blog post for this audio, where I share a few images. In that good with my OM-D, I was not in any way concerned about using ISO 5000.
Had I been inside with very little natural light then yes - perhaps I would have considered a lower ISO that was more appropriate for the situation. But given that there was plenty of light and that the sun was setting I wanted to be sure that my shutter speed was fast enough to produce sharp images. In the sample Images I’ve shared with this post you will, of course, notice a little bit of noise, however, I would argue that the noise actually adds to the atmosphere of the image. Without knowing about my Expose To The Right technique and about ISO, you could also be left wondering how there is so little noise considering I was shooting at ISO 5000.
In post processing, the exposure of this image was actually reduced, rather that increased. So any noise you can see has not been made more visible.
Now, for someone to share an image shot at a High ISO and herald it as great isn’t new. What I'm sure we’ve all seen before on blogs, forums and new camera product releases are pictures shot at ISO 12,500 or higher with the main objective being to demonstrate how little evident noise is in the frame and all of that is fine, but what sometimes people often overlook, is that the image itself is actually quite simply very poor. There is no or very little quality of light or the direction of the light is poor and they are instead choosing to 1st look at the technical accomplishment of the frame and our forsaking the actual emotional moment and seen itself.
As photographers and wedding photographers, in particular, it is our job not only to make a technically accomplished image of our clients but it is also our job to capture the right moments that mean something that has sentimental value to the clients. For those photographers still obsessed about gear and everything being technically perfect, there is often a disconnect between what they consider to be a good image and with a client is actually looking for.
I assure you the client will not mind a little bit of noise if you managed to capture that perfect image of them and a husband or a great grandma from New Zealand who has flown over for their wedding who is particularly elderly. I guess what I am saying is what is worse a slightly noisy image or no image at all?
ISO is not simply the cameras ability to see in the dark it is not a night vision setting. It is as the name suggests a sensitivity option so it does not make up for a lack of light or a lack of good quality light
It will, however, help you to capture, with your camera the light you see and envisage, creatively, with your own eyes. Our eyes have a dynamic range that our cameras simply do not.
Even if your camera can achieve relatively clean images at ISO to 12,500 or 24,600, ASK YOURSELF ‘Is there a picture worth capturing here’, even if you were able to shoot at ISO 100. High ISO does not guarantee you a better image. It does not make you a better photographer and it won’t earn you more money.
so, if you ask me, high ISO is not the be all and end all. I’m not just saying this because I shoot Olympus, because believe me if I had an issue with ISO I would follow suite like most other photographers and go pick up a Sony A9 or a Nikon D800 etc, but as I say - it won’t make me any more money and ultimately, it is highly unlikely to make my images dramatically, or even noticeably better.
High ISO. It’s the camera manufacturers way to sell you last years camera, a little bit better. Don’t believe the hype.
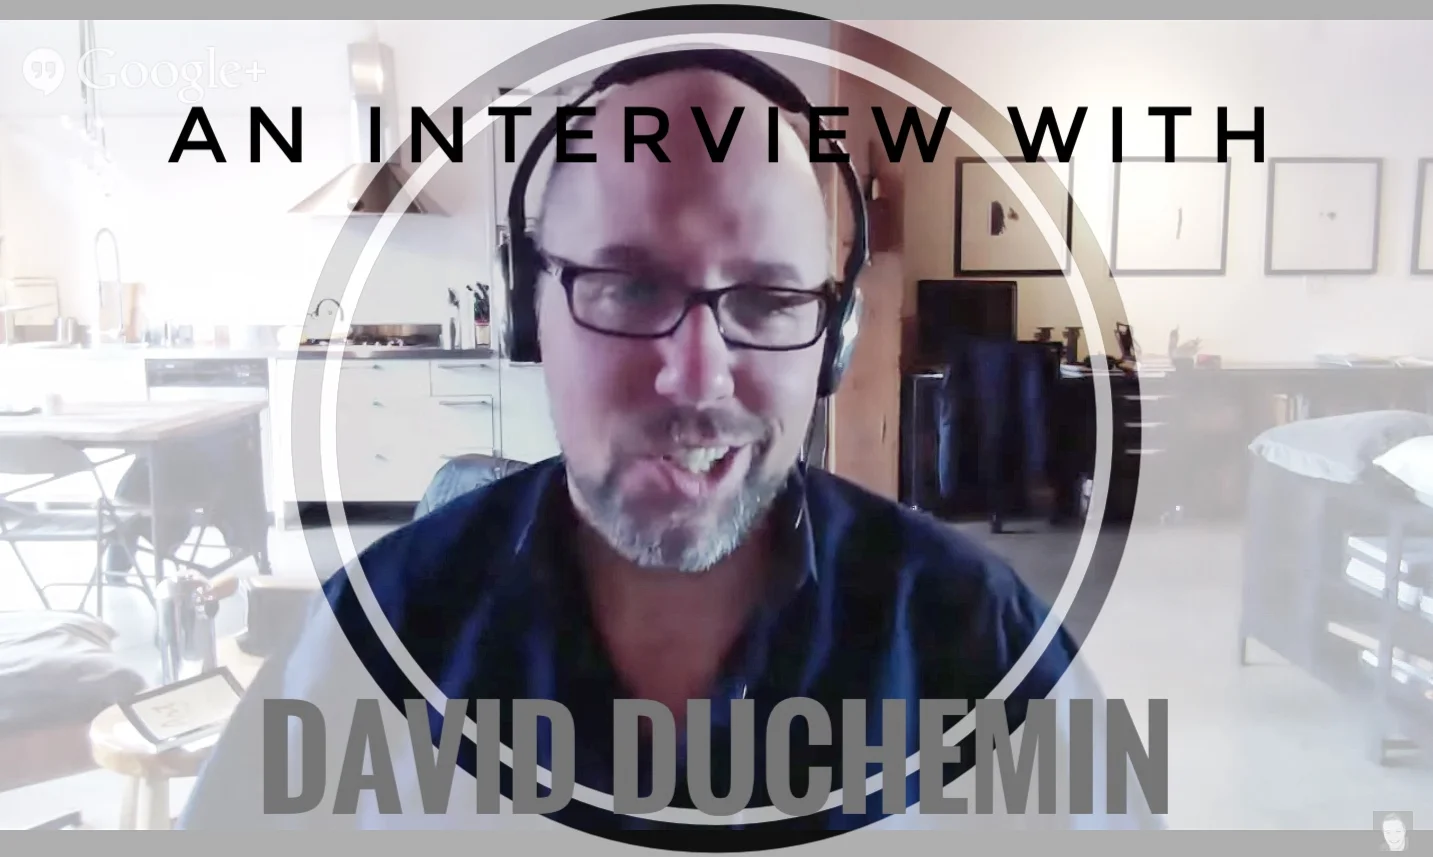
An Interview with David DuChemin
Back in 2014, I had the absolute pleasure of interviewing the one and only David DuChemin for the now discontinued Ready Steady Pro Photography Podcast.
Now, before you go ahead and listen or watch the interview, I just want to say that David DuChemin is an absolute hero of mine. Not only is he a fantastic photographer, but his words are also incredibly thought provoking too. Whenever an email from David DuChemin lands in my inbox, I'm almost always guaranteed to spend the next couple of hours mulling over his points, comments and opinions.
He is a fantastic artist in every sense of the word and has helped me to form many of my opinions on the world of photography and the process of making a photograph too. Through books from his company Craft & Vision, he has been hugely influential in my photography education so far.
Because of all of this, and because of the high esteem in which I hold him, this could possibly be the reason I was so incredibly nervous when hosting this conversation! So, please do forgive my nerves in the early stages of this episode!
This conversation was hosted live on YouTube as a Google+ Hangout, way back when in March 2014, but that makes this conversation absolutely no less relevant today. In this episode, David and I discuss
- Your vision matters more than gear
- You should invest more in your creativity than you should in gear
- The 'best' camera is the one that fits you most comfortably, rather than the camera that is fastest / biggest / etc
- Be financially sensible. Think; "Will this purchase make my work noticeably better".
- David's own experience with Bankruptcy.
The belief that we all need to just get on with shooting doesn't just end there though. To hear the wise words of David DuChemin, you can watch the full interview below or over on YouTube or tune into the podcast: Here's how:
- Stream or download iTunes or over at Stitcher Radio (you can also use the audio player below)
- Hit play on the YouTube video below or head on over to my YouTube channel to watch the interview
All I ask is that whichever your preferred method of enjoying this episode, that you leave some love for by commenting, sharing and leaving a review.

David duChemin is a world & humanitarian assignment photographer, best-selling author, digital publisher, and international workshop leader whose nomadic and adventurous life fuels his fire to create and share. Based in Victoria, Canada, when he’s home, David leads a nomadic life chasing compelling images on all 7 continents.
For all of David's work and to follow his blog, check out his website: http://davidduchemin.com/
If you're interested in the great books on offer from Craft & Vision, some of which are totally free, whilst many others are just $5, checkout the Craft & Vision website: https://craftandvision.com/

London Photo Walk 2017 - An Update
I've had a few emails and Facebook messages this past couple of weeks about my Photo Walk happening on April 30th, so today I've written/recorded this episode to give you all the details you'll need when you attend.
It's FREE to attend so if you want to join me and over 50 other photographers in London for a day of Street Photography and lots of laughter, just head on over to the signup page.
You have 3 ways to enjoy this post:
- Listen to the audio on iTunes, Stitcher Radio or using the audio player below!
- Head on over to YouTube to watch the video
- Read on below if you're in a place where you can't watch or listen...
Your Questions Answered
Q: When will I receive confirmation of my place on the photo walk?
A: If you've signed up successfully using the signup form with a genuine email address, then chances are that's how you're seeing this email. Your email address was added to my mailing list to ensure that you get all my updates, just like this one! If however you signed up, but you've found this post some other way and not as a mail in your inbox (or Junk), then be sure to re-register again at MichaelRammell.com/events.
I will be sending a direct mail to all those on the list the week before the walk to make sure that I know final numbers and to answer any final, last-minute questions that may have come through. To make sure you're on that list, be sure to register. If you're in doubt or unsure, simply register again. Don't worry, you won't start getting emails twice, the system is pretty smart and should detect if your email address already exists.
Q: Can I borrow a camera on the day?
A: Last time I was asked this question, my answer was a straight up 'no'. However, I have been working behind the scenes to see if I can get a representative from Olympus to come along and lend some gear for a few hours on the day. I spoke to a couple of the Olympus team members at The UK Photography Show and they were very positive about the idea. Now, that's not 100% confirmed right now, so please don't count, or rely on borrowing a camera.
That said, I wouldn't rely completely on loan gear for the entire day and would suggest you bring your own camera. Not just because at some stage, you'll have to give it back, but mostly because I would recommend you use the camera you are most familiar with - Street Photography often calls for quick reactions - so you'll need to know your camera well.
In all seriousness - an iPhone (other phones are available) would be an absolutely fine camera to use for the day. I'll be using mine to compliment what I do with my OM-D E-M1, that's for sure.
Alternatively, you could also arrange to borrow an Olympus camera using the Test & Wow Service (Check it out online and be sure to make your booking as soon as possible to ensure the equipment you want is available). Basically, you can borrow a camera and/or lens for 3 days. Handy right!

Q: Are there details about the route anywhere online?
A: For those of you that have registered, you should already know about the route given that it's on the signup page itself. But, if you're reading this post for the first time today, then the route is pretty much as follows: Carnaby Street > Leicester Square > China Town > Soho > Covent Garden > Trafalgar Square > South Bank, where we will decide what we're going to have for dinner. The route we take between these locations will be determined pretty much by the group on the day and where we end up.
Q: What do we do if we get lost?
A: You will get lost and you will break from the group! I would suggest you use Google Maps on your phone to get yourself back to one of the points on the route as mentioned and wait for us to meander through that area. On the day of the walk I will be giving out sheets with some contact information on it, as well as places to wait to catch up / meet up with should (when) you break from the group. The fact is, with 50+ photographers attending, I would actually encourage people to take a random walk down a random street, rather than all staying together in a pack. Street Photography is often about being incognito. A large group of people with cameras isn't exactly subtle!
Q: Can you suggest any accommodation in London?
A: I've had a handful of emails about where to stay when in London that weekend. Well, naturally those who have asked have had varied budgets available. As such, I would suggest an Air BnB booking, where you can set your budget, choose from renting a single room or an entire home and there are plenty of locations. Perfect if you have a particular diet or food requirement as you would also be able to cook for yourself if you book a place with a kitchen too! Many of these locations will feature WiFi too, which is always a bonus if you're looking to get online and share the images you've made on the day

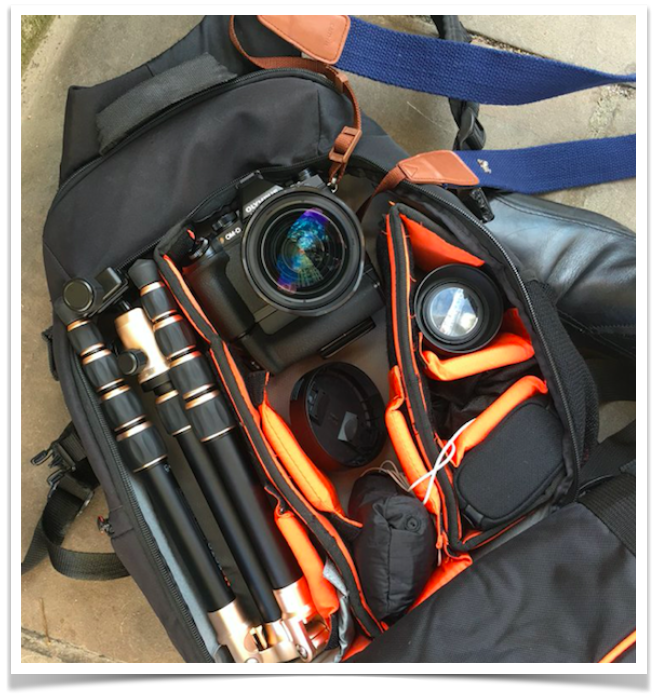
Q: What should I bring with me in my bag?
A: This is a very popular question! The temptation is to overpack and throw in everything except the kitchen sink. But, in truth, you simply need comfortable walking shoes, your camera, some spare batteries and perhaps a light waterproof just in case it rains (this is London after all!). If you want to pack your own sandwiches, then go for it, but we will be walking past a dozen small shops where you can buy sandwiches, or a panini or whatever it is that you fancy. Ultimately though, pack light and you can't go too wrong. Pay attention to the weather forecast in the days leading up to April 30th and pack what you think you'll need to stay warm, dry and comfortable. We'll be out on the street for a few hours.
On my very first London Photo Walk, back in 2013, it poured down for about an hour. We go caught in the rain for a short while, but then we all went into Somerset House, had a coffee, compared cameras and images and discussed photography in general. Whatever the weather has in store for us on April 30th, we'll be sure to make some great images.
In the next post in my blog, I'll be sharing with you exactly what I'll be packing in my camera bag (and which camera bag I'm taking). Be sure to subscribe, if you haven't already, and you'll get that post direct to your inbox. Perhaps you can take a few ideas from me and what it is I'm bringing on the day.
So, those are all the questions I've had so far. If you've not yet registered for the walk and want to come along, be sure to make your way to the sign up page and drop your details in the form. I'll be in touch the week before the walk to give you all a final update.
Otherwise, I thanks for stopping by! Be sure to subscribe here on the blog, over in iTunes to the podcast and also on YouTube too. I'm producing more and more videos at the moment and would love if you would hit that subscribe button to keep up to date with everything I'm up to.
Any other Questions?
Do you have a question that I haven't yet answered? Drop a comment down below or get in touch via email: michael@rammellphotography.com
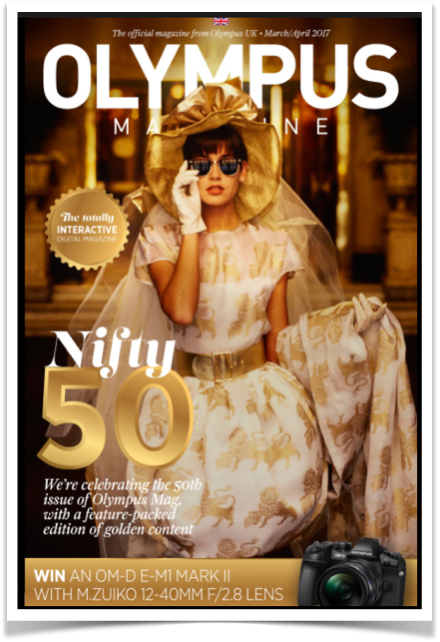
Win an OM-D E-M1ii and 12-40mm f/2.8 PRO Lens With Olympus Magazine
I'm very humbled and grateful to have been asked to write another feature for the Olympus Magazine, particularly in this, the 50th Edition! As always, the magazine is bursting with features, including my contribution for '5 Of the Best'. Best of all, though, in this edition, you could be in with a shout of winning an Olympus OM-D E-M1ii + M.Zuiko 12-40mm f/2.8 PRO. How about that for a giveaway!

Want to listen to this post instead of reading? Great! You have 3 options:
- Head on over to iTunes, Subscribe, Leave some feedback and a review
- Don't like Apple? Then check out the Stitcher Radio Podcast App!
- Listen right here on the blog: Click play below on the audio player.
In my '5 of the best' feature, Olympus wanted me to share some of my thoughts on what it takes to be a wedding photographer as well as sharing my experiences in shooting with the Olympus range of cameras (hint: I love 'em! But you already knew that). I give a run-through of some of my kit and some tips on marketing and relationship building. So if you're thinking of getting started in wedding photography, this could well be the article for you.
The article features a picture of a rather chubby looking me too (of all the images OlympusUK had to choose from eh! ;) ) so if you want a laugh, be sure to stop by and take a look and have a read.
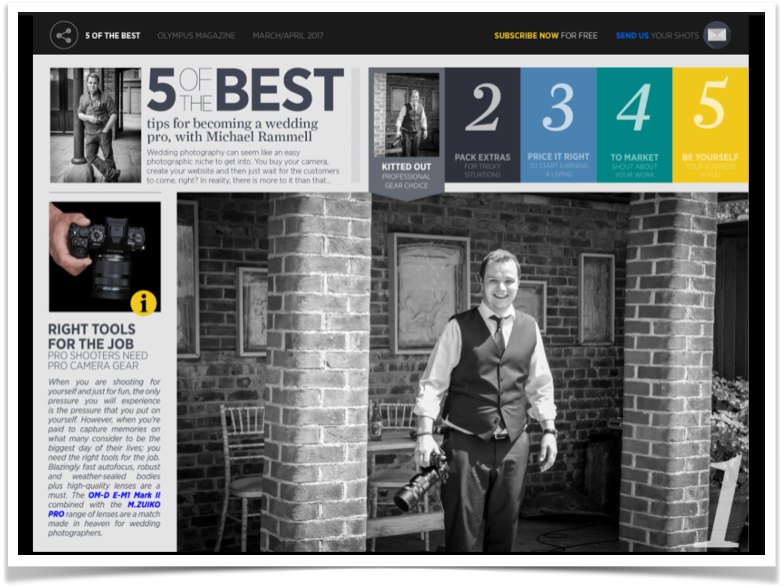
Oh, and whilst you're there why not enter the competition to win your own Olympus OM-D E-M1ii + M.Zuiko 12-40mm f/2.8 PRO lens.
The UK Photography Show - March 18th - March 21st
This weekend (Saturday 18th to Tuesday 21st is) the UK Photography Show, the UK's largest Photography trade event. I will be there, of course. I'm heading up on the Tuesday to see David Alan-Harvey give his talk on the superstage. I'm excited about that! I will otherwise be having a mooch around the Olympus stand and the Guild of Photgraphers booth and getting my cameras cleaned for free :). I'll also be there to catch up with my good friend and fellow photographer Paul Griffiths. We'll be doing some blogging and vlogging.
It's become very much a social event too since it's inception. This will be the 4th time I've been to the show, missing a year.
If you want to meet up though and discuss photography, cameras or even cycling, then get in touch with me today by email: Michael@RammellPhotography.com. Or, use the contact form if you prefer
London Photo Walk - April 30th
Lastly, I just wanted to remind you that my totally FREE London photowalk is taking place this year on April 30th, starting out in Carnaby Street. Sign up now to make sure I have your details so that I can keep you posted about any possible changes to the plan or itinerary.
There isn't a limit to the number of people that can attend as it's a public place, however I would just ask that you register so I can contact you should I need to. You can register right here on the site
On that note, I have had a few emails from people who have signed up asking when they would receive confirmation of their place on the photo walk. Well, if that's you and you've signed up and you're wondering if your place is secured - then yes! You're coming. Just turn up at the meeting place on the day and say hi, just so we don't leave you behind. Again, details on how to register, the route and the meeting place can all be found over on the events page
The Camera Aspects Show
Lastly, in my quest to produce as much content as time will allow me, I've joined forces with my good friend Paul Griffiths to get a project off the ground that we've been discussing for the best part of 18 months now. 'The Camera Aspects Show' is now live.
If you're thinking you may have heard the name Paul Griffiths before, it's likely you've come across Pauls show and blog: Photography Live & Uncut.
The idea behind the show is that Paul and I will meet on a weekly basis to discuss all things photography, from gear to business and everything in between. We'll be recording the episodes live on location in London, using the various bars and restaurants that we like. We've already recorded and posted episode 1 up online to YouTube. The audio version will also be available shortly through iTunes and Stitcher Radio too.
Don't worry though folks, the Camera Aspects Show doesn't mean that this blog is ending, it's just another feather in my cap.
Otherwise, that's all for now. Be sure to head on over to iTunes and Stitcher and subscribe, just search for my name 'Michael Rammell' or use the links right here in the post. Oh, and please do check out my YouTube channel too. I've finally got that into a decent shape and I'm posting VLOG's every couple of days, so if you want to know more about me and what I'm up to regularly, check out that channel: