


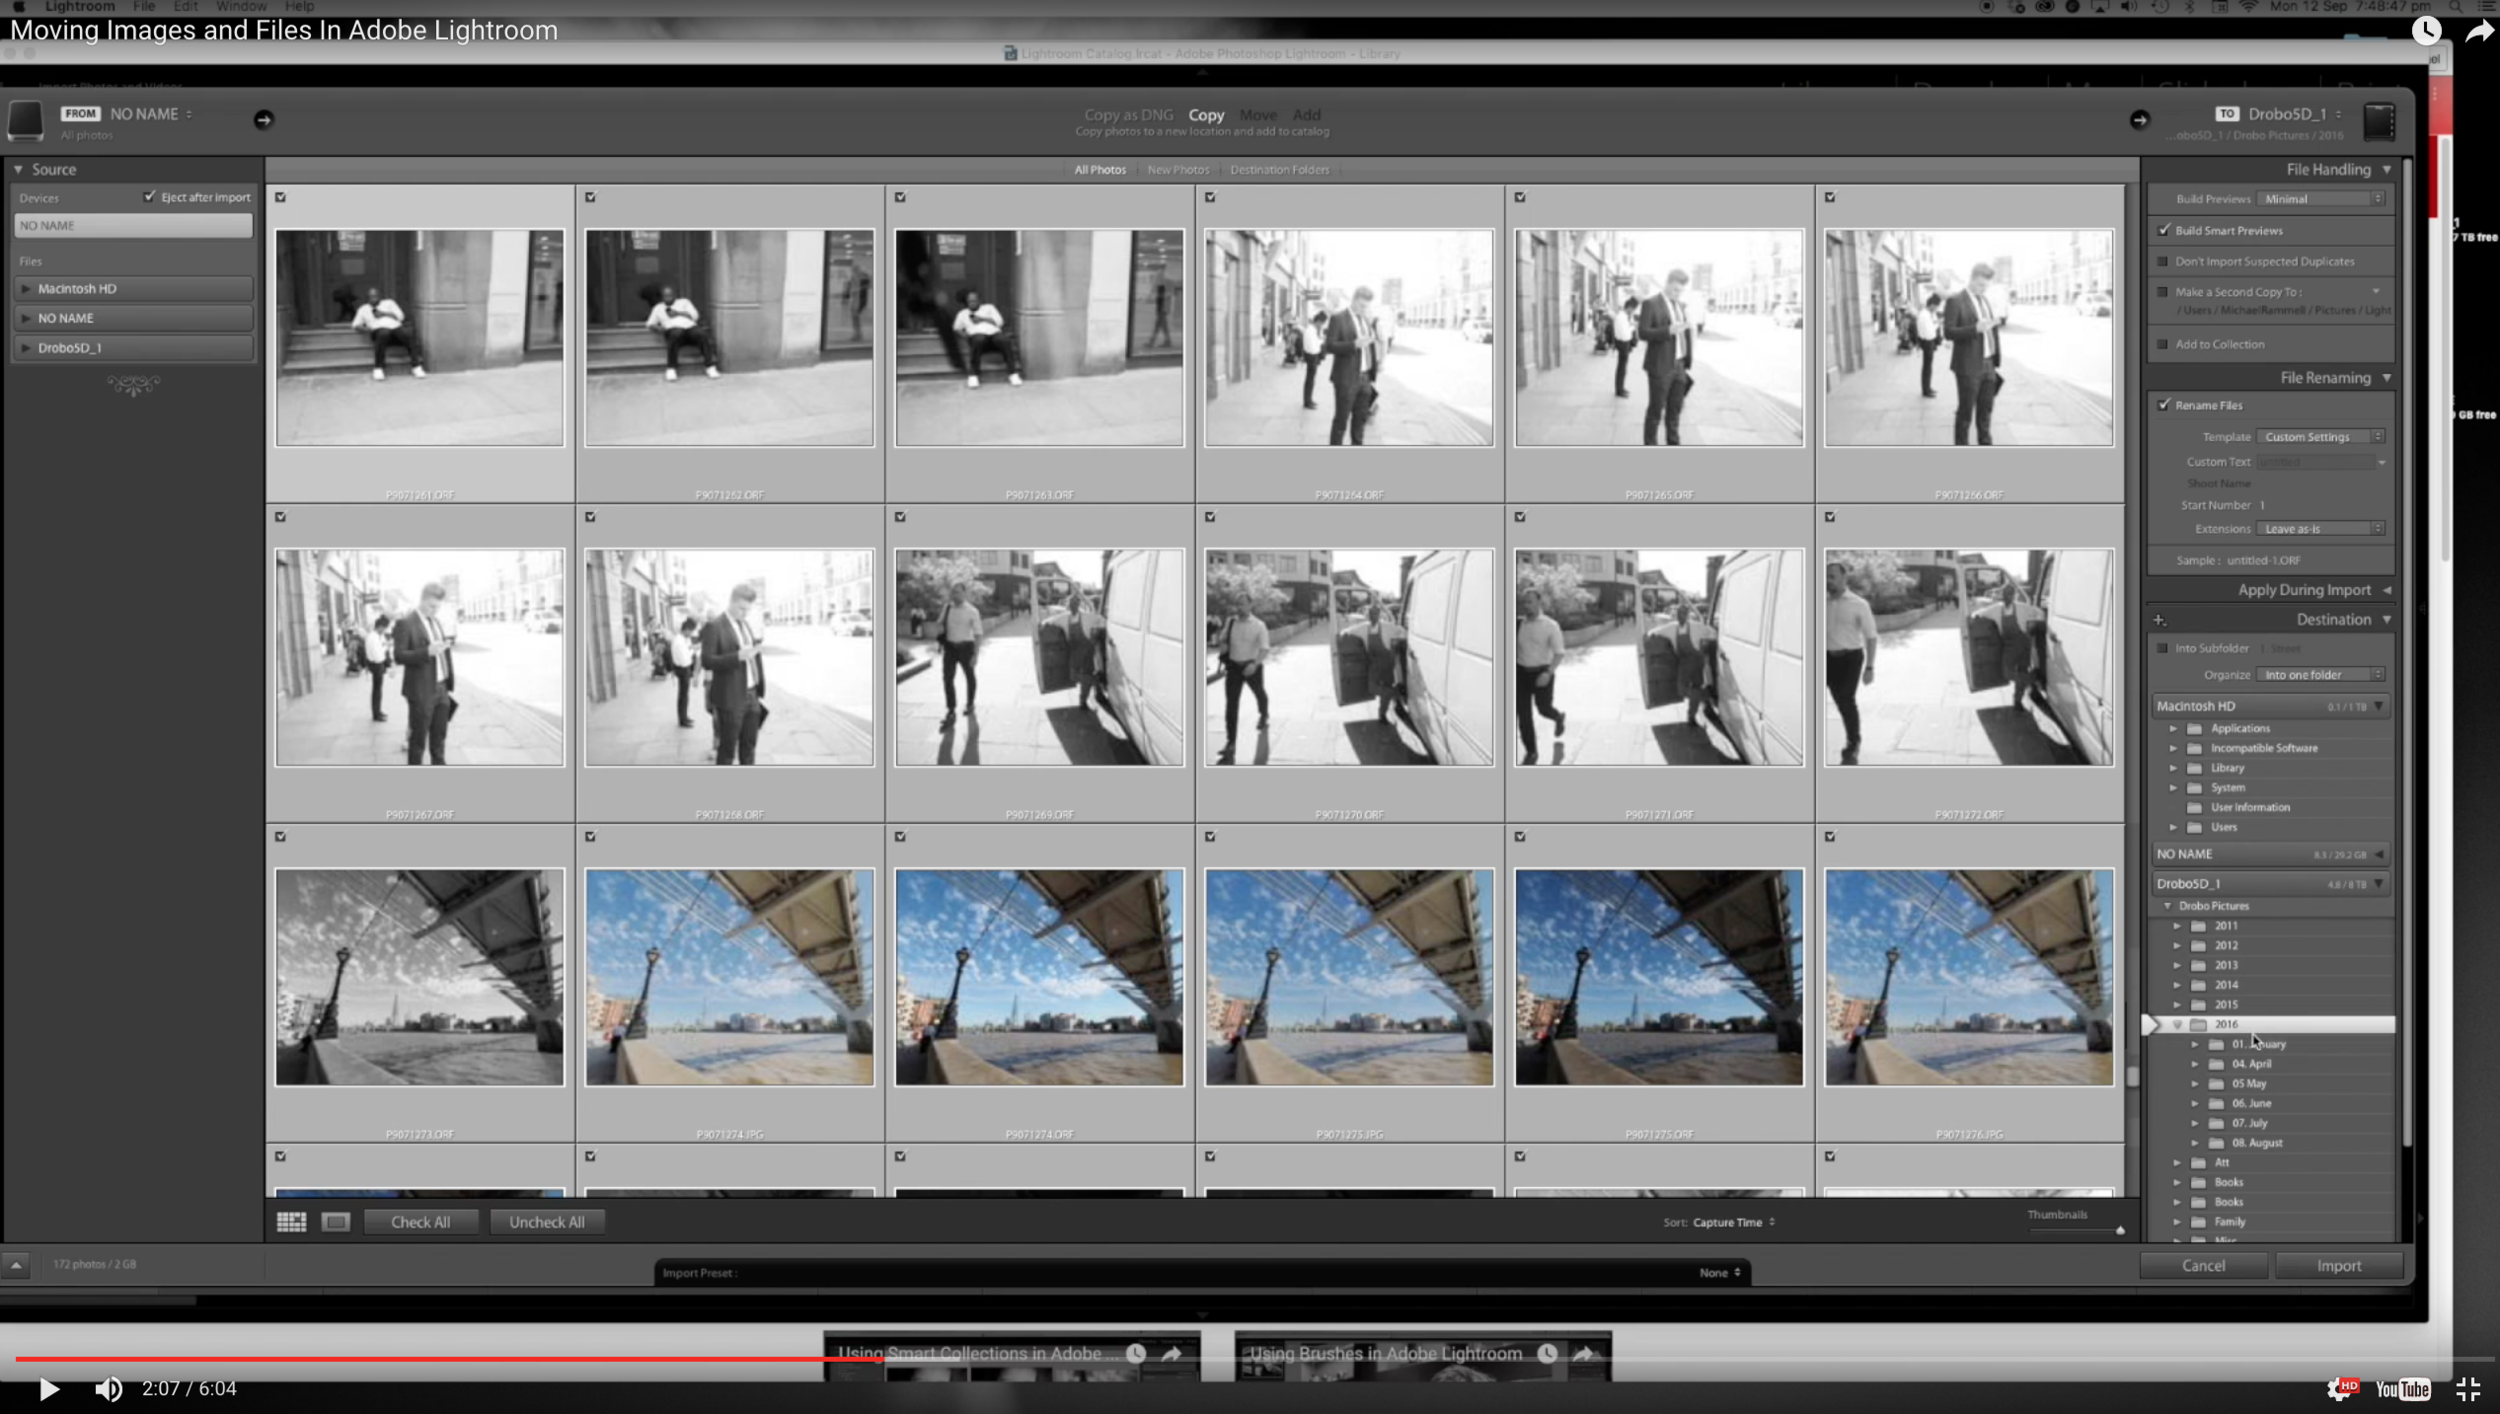
Moving Images and Folders inside of Lightroom
Lightroom has become such a popular post-processing tool; helping to really lower the barrier to entry to post-processing. No longer do we all need to know about layer masks. Global changes are made easier in Lightroom and the management and processing of large batches of photographs has been made easier!
But, as many of us have adopted Lightroom as our go-to tool it's also fair to say that many of us have not yet adopted what Adobe consider to be the 'best practise' way of doing things and we often eschew the tools and methods available to us in Lightroom and find a way to 'bodge' things instead. One such thing I hear about all too often is the way in which people move their files and folders around.
It's been a while since I put together a Lightroom video and so this week, following a discussion I was having with a good friend of mine, I've put together a short video to explain the quickest and easiest way to move files and folders inside of lightroom - the way Adobe intended and designed!
This is appropriate for Mac and PC users, so, whichever you use click the link to watch the video and learn how to do one of the most simple things ever in Lightroom.

Let me know if you found this video useful by dropping a comment below. Remember, if you have a question about Lightroom or want to know about my work flow in anyway - just get in touch!
Next week on the blog I take a question from a subscriber about using an OM-D to shoot Football (Soccer). Keep an eye out for that one!
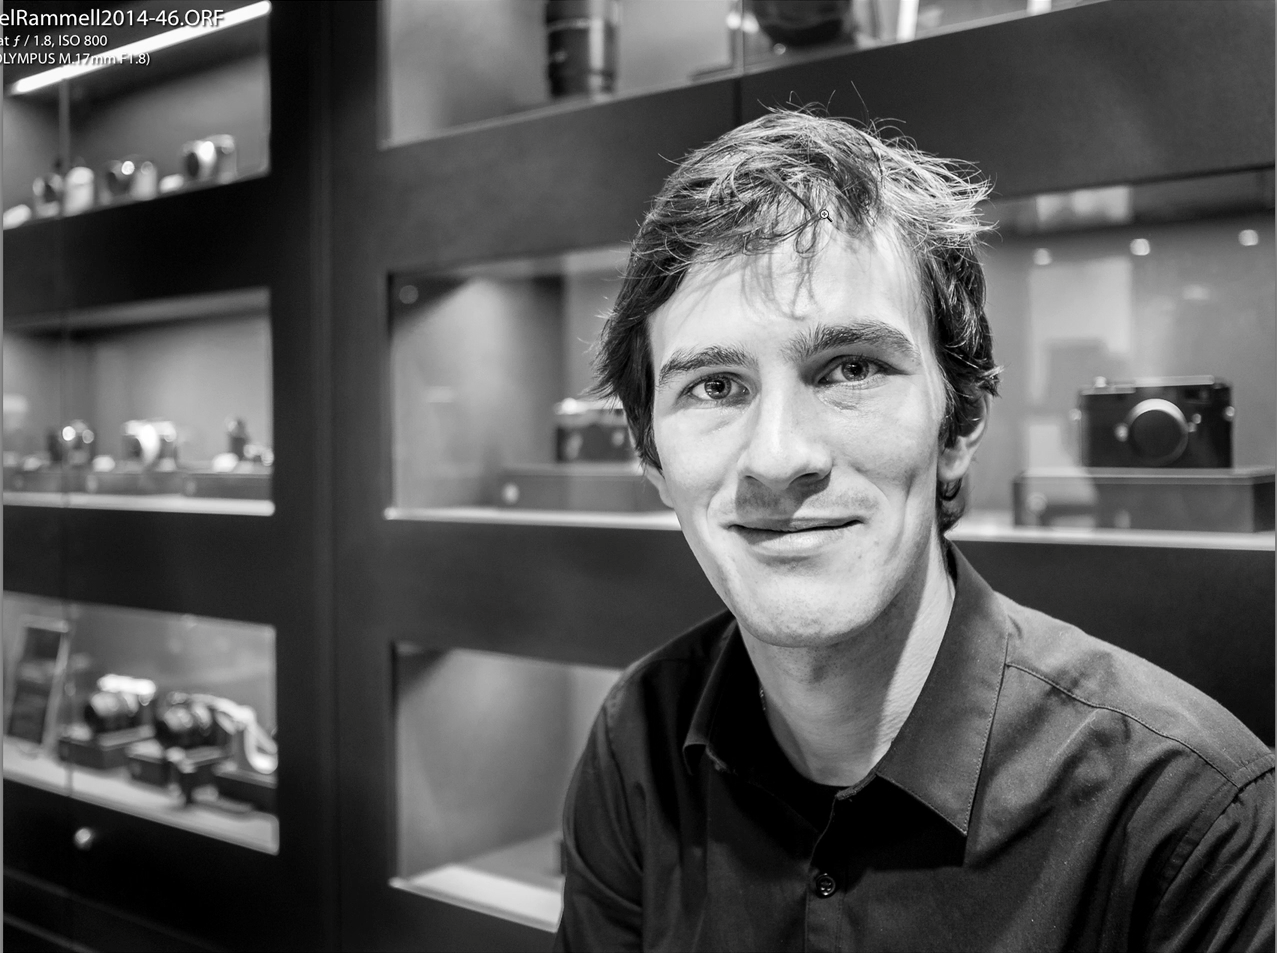
Free Resources & 2016 Portrait Project
I've had a bit of re-jig over at MichaelRammell.com and I have some great news and updates I wanted to share with you all.
There hasn't been a major overhaul or anything like that, but I have made it far, far easier to get to all of the great FREE resources that I offer, such as FREE hi-res wallpapers, tutorial videos and even access to older blog posts that you may find useful. I'll also be re-launching my portrait project and putting dates in the diary for 2016!
Read on to find out more:
The Portrait Project (Let's try that again!)
I launched my portrait project back in 2013 with the aim of photographing 50 portraits of fellow photographers and friends that I've met through Social Media and the Internet. I received well over 30 applications from people wanting to take part and come to meet me to have their portrait made, but I couldn't get the project off the ground with other commitments limiting the time I had available for the project (moving house again, second child on the way and changing jobs) but now life is somewhat settled again I'm keen to finally kick this off and start making photographs of those people that applied and also to fill the final 20 or so remaining spaces!
If you applied the first time round I will be reaching out to you via email in the coming days and weeks to get things moving again and hopefully to arrange a date with you to make this happen. Of course there is no obligation at all to take part if you have previously applied.
If this is news to you and you weren't aware of the portrait project from the first time round then you can head on over to the portrait project page and apply now. Your name will go into my portrait project mailing list and I'll get in touch to arrange a date with you that suits us both.
Please note that if you're local I'll meet you halfway, however those slightly further afield from Virginia Water in Surrey where I live will likely have to travel to me. But I promise tea and good fun! (and of course, I hope, a great photograph or two!). I'll be at lots of events in 2016, including The Photography Show as well. If you're going to be there, or if you're coming along to one of my Photo Walks, we could even arrange to make your portrait then.
All of the details as to why I am doing this project, what I'll do with the photographs and more are included over on the launch page for the project along with details for who to apply.
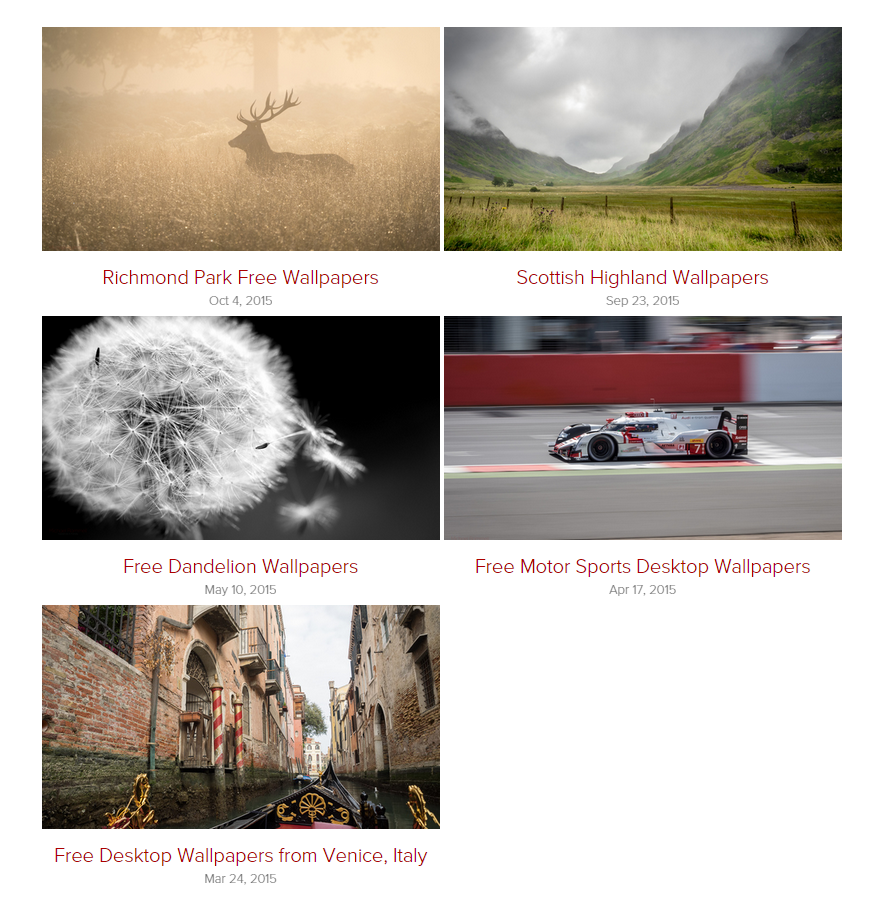
Wallpapers
As a subscriber to this blog (If you're not already a subscriber you can sign up here!) you may have seen me release a series of photographs for download as desktop wallpapers throughout 2015. It's something I plan on doing much more, especially as I travel more around the world and the UK. It's my way of saying thanks to all those who subscribe, visit the website and interact with me online (and at photo walks as well!).
You can now find all of the wallpapers I make available in one place over on the wallpapers page. I've set this page to update itself automatically, so whenever I publish a new blog post with new wallpapers they will appear over on the wallpaper page. Available wallpapers include some breathtaking photographs from the Scottish Highlands, memories from Venice and also some photographs I shot recently during quite possibly the most amazing golden hour at Richmond Park (UK).
Tutorial & How To Videos
Not many people know this - mostly because I haven't promoted or advertised that I actually produce them - I have a small but growing series of videos available for you to view for FREE online. The videos mostly refer to how to do certain things in Light Room, such as using the adjustment brush to full effect, creating effective smart collections and generally the way I edit and post-process my own photographs to create my look.
What's more if you have a question about Light Room or my post processing that you want to ask you can complete the form over on the Tutorial Videos page and I'll produce a video showing you exactly how I do it.
Access to the Blog Archives
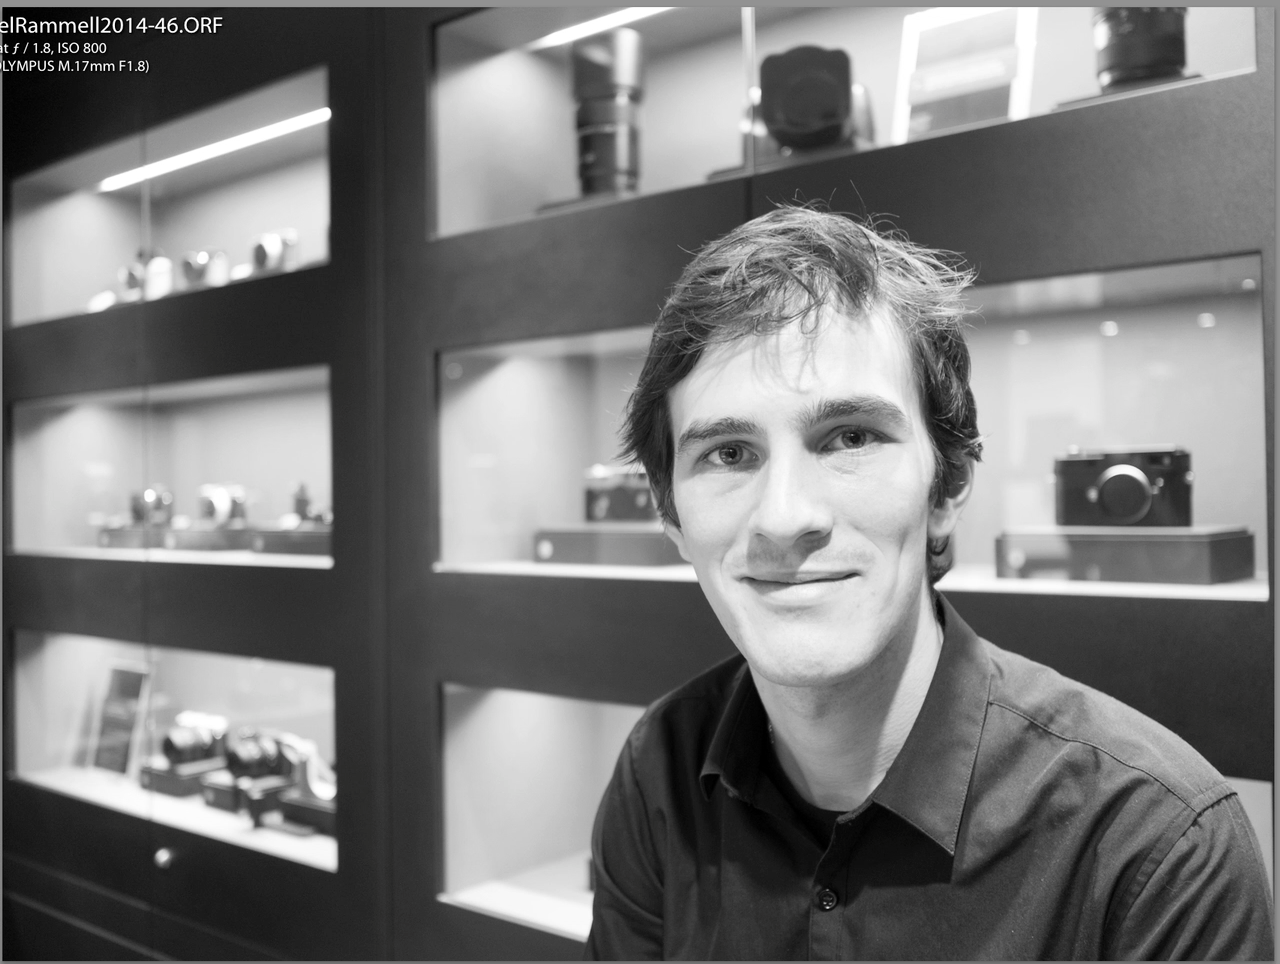
On a regular basis I get asked questions about photography, my approach and Olympus cameras. Often, I'll write a full reply (like I have done previously for Gavin Hall) but on occassion it may be that I have already written an article on a subject or given my thoughts on a topic and so I'll link to that instead. To make older blog posts easier to find I have created a page that shows older blog posts all in one place. You can take a look at the Blog Archive right here, or of course you can scroll to the bottom of any page on my website and click the 'Blog Archive' link.
I hope that these changes and adjustments will make the content and resources I put together easier to find and easier to access.
iPhoneography - Editing with Snapseed
I'm often asked how I get my iPhone photographs to look the way they do. It's a compliment for me and I love to share how I achieve my results. So today here on the blog I'm going to share which apps I use, how I shoot with the iPhone and also, I've put together a video showing you what I do within my chosen iPhone photo editing software: Snapseed.

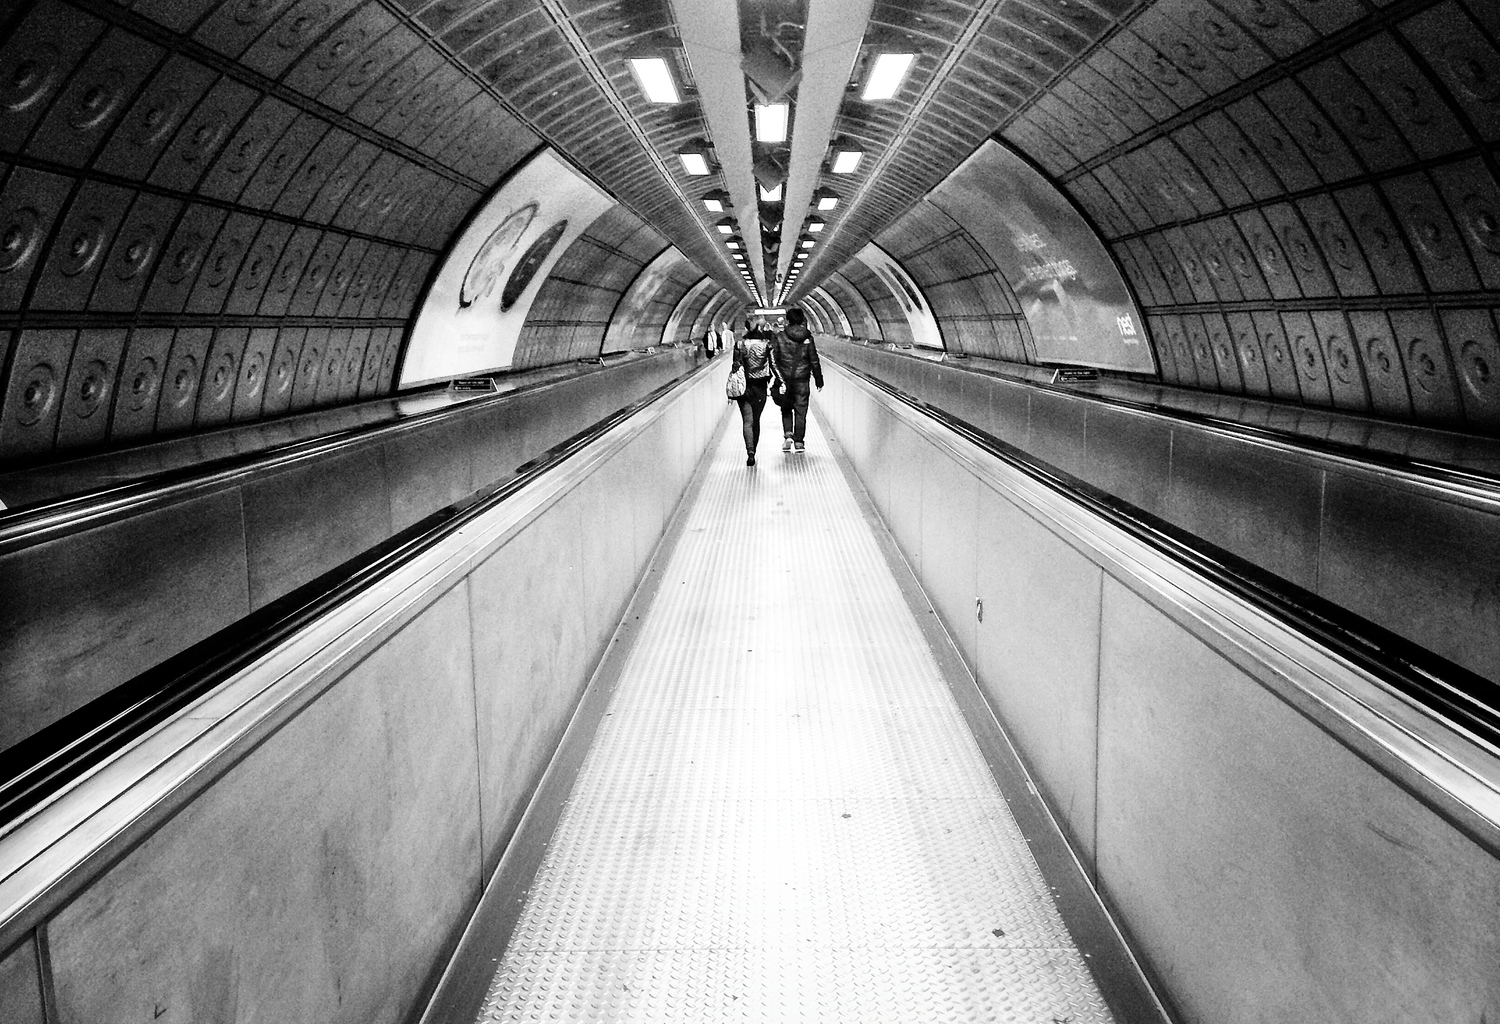
Richmond Park, London UK.
iPhone 6Plus
I've used the iPhone since the 3Gs, then moved to the 4s, the 5s and now the 6Plus. With each model the camera has gained a little something and has gotten better and better (see my iPhone 6 Plus review), but the one thing that remains the same for anyone using the iPhone as a camera is the persons ability to spot a moment and to use the light to get a clean, sharp image as well.
As you can see in the Richmond Park photograph above: I was still up early at Golden Hour, I made the effort to be somewhere where there was the opportunity to make such a photograph with such great light.
The iPhone has a limited set of controls right out of the box, but there are camera apps available to help you make more of the iPhone as a camera and apps to allow you to edit your photographs:
My Apps
Personally, I stick with the out-of-the box standard Apple Camera App that comes with the phone. It's fast to load up, available with a swipe from the bottom of the screen, which is how I often access the camera app) and allows you to control focus points and brightness. It has all the settings I need to enable to me to make a better photograph.
On occasion I may use Camera+ or Camera Awesome, but typically for me it's the standard app.
My Technique
I've got a way of working now that I apply to every scene I shoot:
- Tap on a dark area of the scene to brighten it up (tell the sensor the scene is darker and that it needs to add brightness)
- Get in closer than you think you need to with your feet and by getting closer.
- Pinching to zoom and cropping kill the file's quality. It's not quite like with a RAW file where you have a lot of leverage and scope to recover photographs and heavily crop - the iPhone files do tend so suffer when you start cropping them.
- Take a small burst of images by holding down the button to take pictures. I like to have at least a couple just incase something flies into the scene, or I'm shaking etc.
Editing
I don't use VSCO or film filters. I find them gimmicky. I do upload to Instagram, but I don't apply any of their filters either. I'm not a photography snob or anything like that, it's just that Instagram has millions and millions of people using it and just a limited number of filters - the last thing I want to be doing is choosing from a pre-defined set of filters that the millions of of other users have, making my photograph not stand out among the others.
My choice of App for all my iPhone photograph editing is Google's Snapseed App:

9 out of 10 of my photographs are converted to black and white. If you look at my portfolio here on the website you'll see this is the case with nearly all of my photographs, no matter what camera I'm using. I just love the atmosphere that mono adds to a photograph. But, rather than explain here in writing how I achieve my look time and time again, here's a video to show what settings I apply within Snapseed to make my photographs look the way they do:

The Gallery
This website (and my wedding website too) are built using Squarespace. One of the great features about the galleries is that you can give them an email address and then email photographs, videos and content up into the gallery. For iPhoneography this is ideal as I can now shoot a picture, edit in Snapseed and then from inside the snapseed app I can send that directly into my iPhone gallery. The file never touches my iMac (until it's time to backup my iPhone using iPhoto of course).
So, there you have it. That's how I make all my photographs that you see in my iPhone gallery.
Here is the gallery, in case you wanted to take a look:

Using brushes in Lightroom
Don't you just love Adobe Lightroom? It's neat and simple: no need to worry about layers and all that jazz (If that's not your kinda thing). It contains most of the tools you'll need to really polish a good photograph and improve it.
Adobe Lightroom, more than anything, is really designed to help you batch process images quickly and If you ask me it does it very well, but if you're just looking at a small selection of images it can still be tempting to sometimes whizz through them and rely 100% on the sliders. Again, if that's your style that's fine. But Adobe Lightroom is more than just sliders and batch-processing...
Brushes
Adobe Lightroom's brush tools are effective! Please don't forget about them. There are often occasions where you don't want to apply a change to the entire photograph through a slider: for example clarity, sharpness or even exposure. But, at the same time taking that photograph over to Photoshop can feel like a real chore, so this is where Lightroom's brush tool is your friend: selectively lighten the eyes, selectively brush some clarity onto a face or even just brush a little vignette to two of the corners, instead of all 4. The brush tool unlocks a whole set of other possibilities for post processing to compliment the use of sliders.
In this video I talk about how I use brushes to further enhance a photograph that you wouldn't otherwise be able to do with sliders alone. I show you how to go from this, to this:
Please note that I know that brushes may not be to everyone's liking and the brush work demonstrated in this video is rough and fast, but for those who don't have Photoshop or prefer to stay within Lightroom - this may be just the thing you need to take your editing to the next level.
Enjoy!
