iPhoneography - Editing with Snapseed
I'm often asked how I get my iPhone photographs to look the way they do. It's a compliment for me and I love to share how I achieve my results. So today here on the blog I'm going to share which apps I use, how I shoot with the iPhone and also, I've put together a video showing you what I do within my chosen iPhone photo editing software: Snapseed.
Richmond Park, London UK.
iPhone 6Plus
I've used the iPhone since the 3Gs, then moved to the 4s, the 5s and now the 6Plus. With each model the camera has gained a little something and has gotten better and better (see my iPhone 6 Plus review), but the one thing that remains the same for anyone using the iPhone as a camera is the persons ability to spot a moment and to use the light to get a clean, sharp image as well.
As you can see in the Richmond Park photograph above: I was still up early at Golden Hour, I made the effort to be somewhere where there was the opportunity to make such a photograph with such great light.
The iPhone has a limited set of controls right out of the box, but there are camera apps available to help you make more of the iPhone as a camera and apps to allow you to edit your photographs:
My Apps
Personally, I stick with the out-of-the box standard Apple Camera App that comes with the phone. It's fast to load up, available with a swipe from the bottom of the screen, which is how I often access the camera app) and allows you to control focus points and brightness. It has all the settings I need to enable to me to make a better photograph.
On occasion I may use Camera+ or Camera Awesome, but typically for me it's the standard app.
My Technique
I've got a way of working now that I apply to every scene I shoot:
- Tap on a dark area of the scene to brighten it up (tell the sensor the scene is darker and that it needs to add brightness)
- Get in closer than you think you need to with your feet and by getting closer.
- Pinching to zoom and cropping kill the file's quality. It's not quite like with a RAW file where you have a lot of leverage and scope to recover photographs and heavily crop - the iPhone files do tend so suffer when you start cropping them.
- Take a small burst of images by holding down the button to take pictures. I like to have at least a couple just incase something flies into the scene, or I'm shaking etc.
Editing
I don't use VSCO or film filters. I find them gimmicky. I do upload to Instagram, but I don't apply any of their filters either. I'm not a photography snob or anything like that, it's just that Instagram has millions and millions of people using it and just a limited number of filters - the last thing I want to be doing is choosing from a pre-defined set of filters that the millions of of other users have, making my photograph not stand out among the others.
My choice of App for all my iPhone photograph editing is Google's Snapseed App:
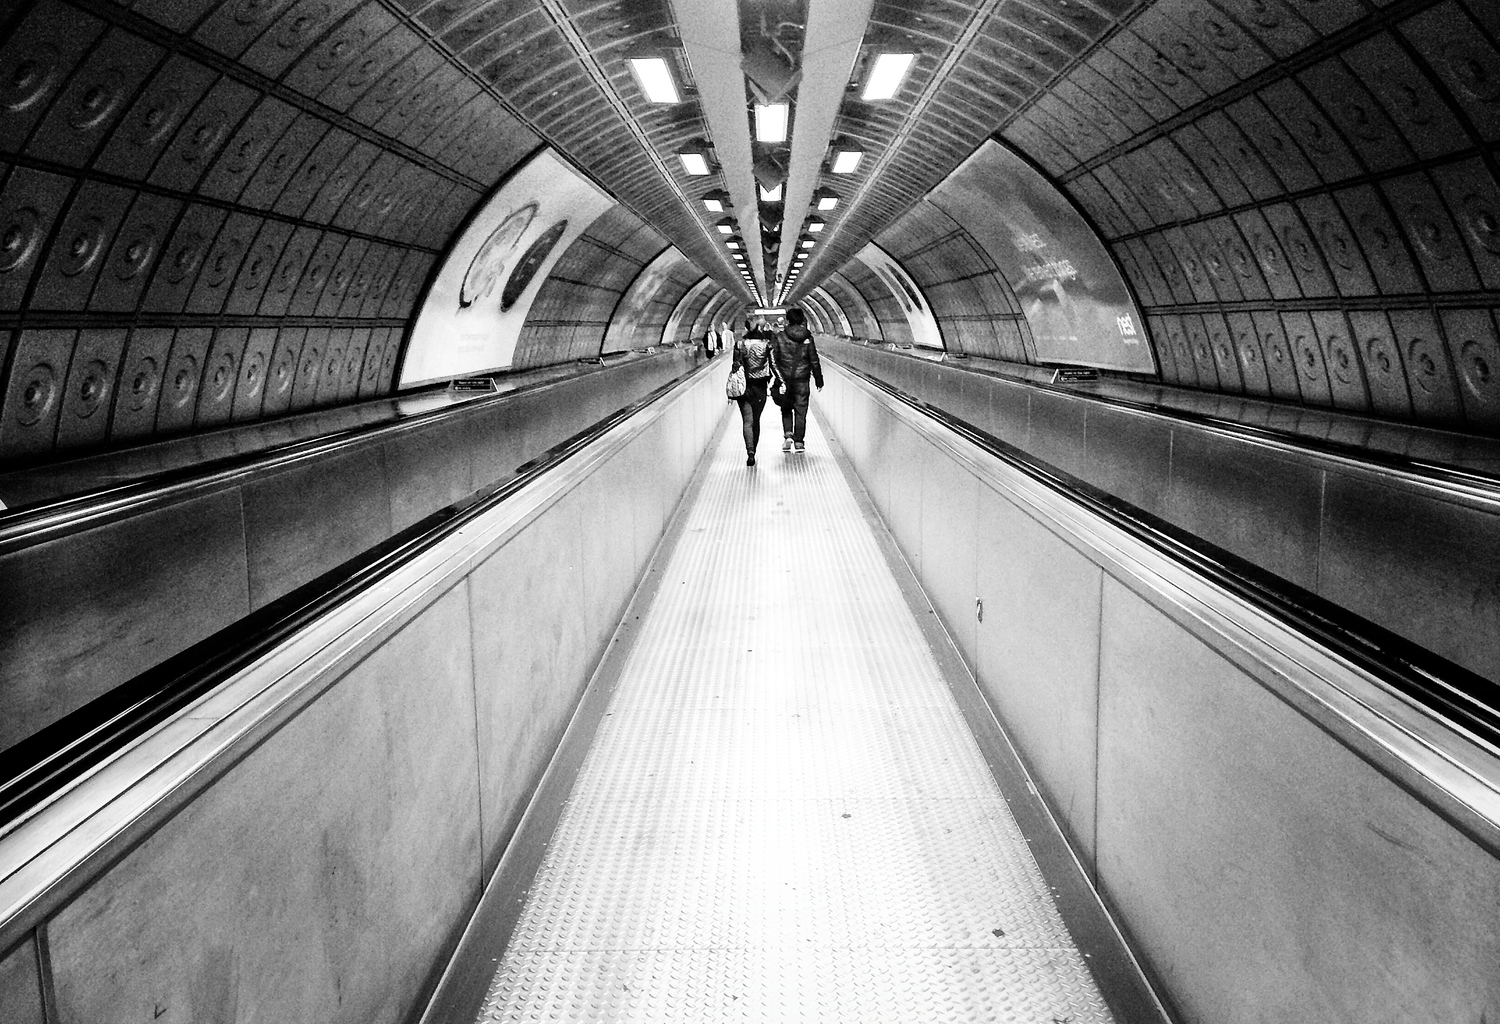
9 out of 10 of my photographs are converted to black and white. If you look at my portfolio here on the website you'll see this is the case with nearly all of my photographs, no matter what camera I'm using. I just love the atmosphere that mono adds to a photograph. But, rather than explain here in writing how I achieve my look time and time again, here's a video to show what settings I apply within Snapseed to make my photographs look the way they do:
The Gallery
This website (and my wedding website too) are built using Squarespace. One of the great features about the galleries is that you can give them an email address and then email photographs, videos and content up into the gallery. For iPhoneography this is ideal as I can now shoot a picture, edit in Snapseed and then from inside the snapseed app I can send that directly into my iPhone gallery. The file never touches my iMac (until it's time to backup my iPhone using iPhoto of course).
So, there you have it. That's how I make all my photographs that you see in my iPhone gallery.
Here is the gallery, in case you wanted to take a look:
Using brushes in Lightroom
Don't you just love Adobe Lightroom? It's neat and simple: no need to worry about layers and all that jazz (If that's not your kinda thing). It contains most of the tools you'll need to really polish a good photograph and improve it.
Adobe Lightroom, more than anything, is really designed to help you batch process images quickly and If you ask me it does it very well, but if you're just looking at a small selection of images it can still be tempting to sometimes whizz through them and rely 100% on the sliders. Again, if that's your style that's fine. But Adobe Lightroom is more than just sliders and batch-processing...
Brushes
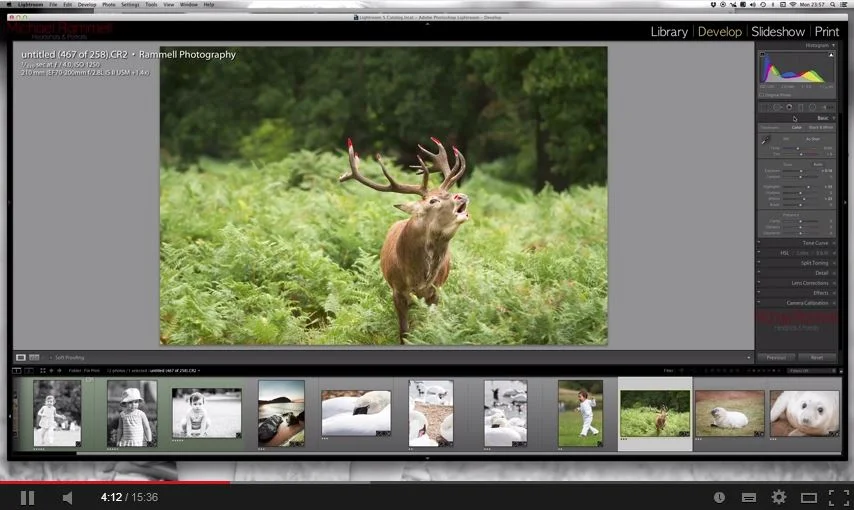
Adobe Lightroom's brush tools are effective! Please don't forget about them. There are often occasions where you don't want to apply a change to the entire photograph through a slider: for example clarity, sharpness or even exposure. But, at the same time taking that photograph over to Photoshop can feel like a real chore, so this is where Lightroom's brush tool is your friend: selectively lighten the eyes, selectively brush some clarity onto a face or even just brush a little vignette to two of the corners, instead of all 4. The brush tool unlocks a whole set of other possibilities for post processing to compliment the use of sliders.
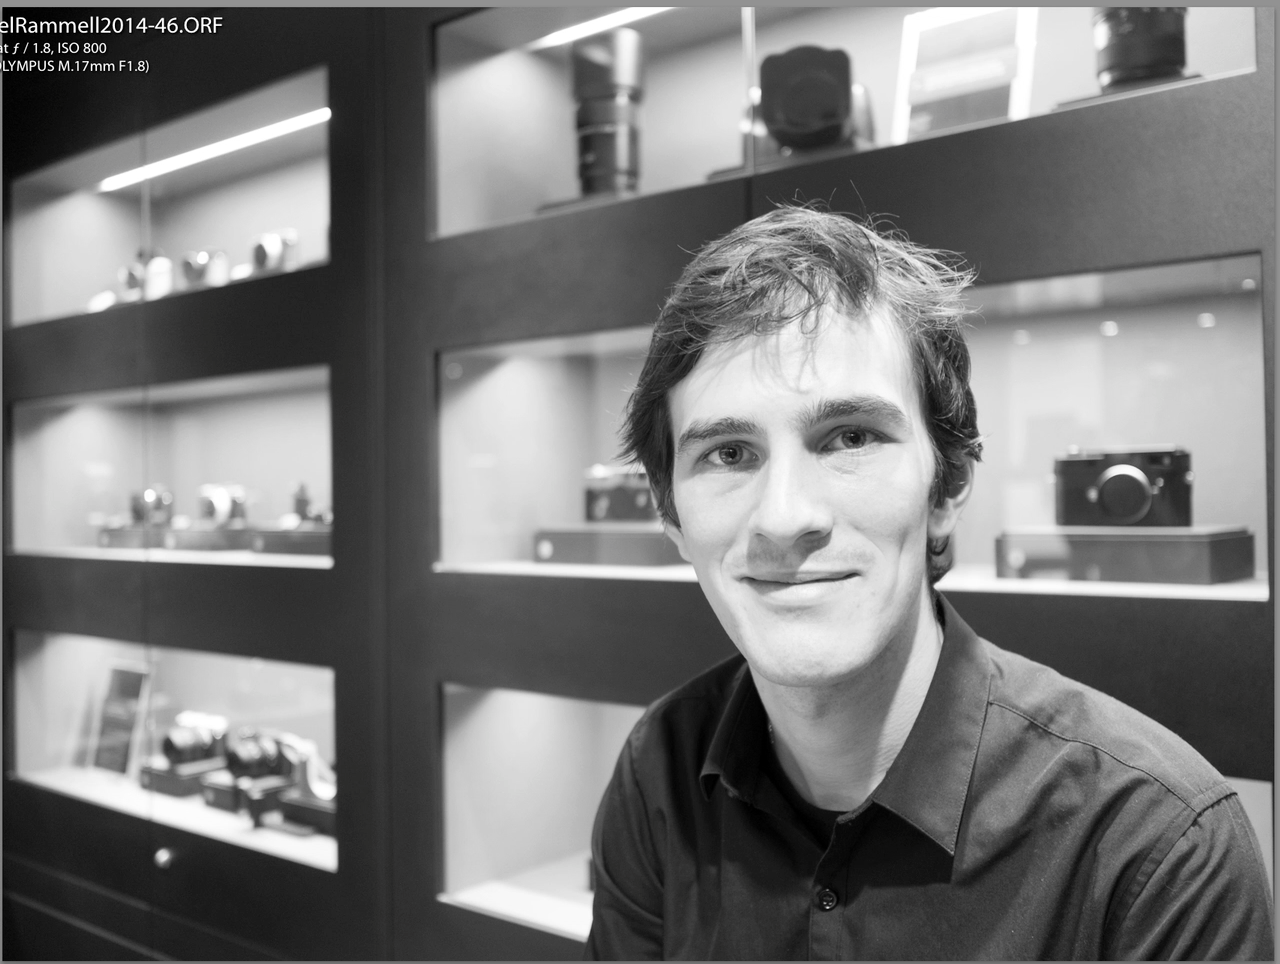
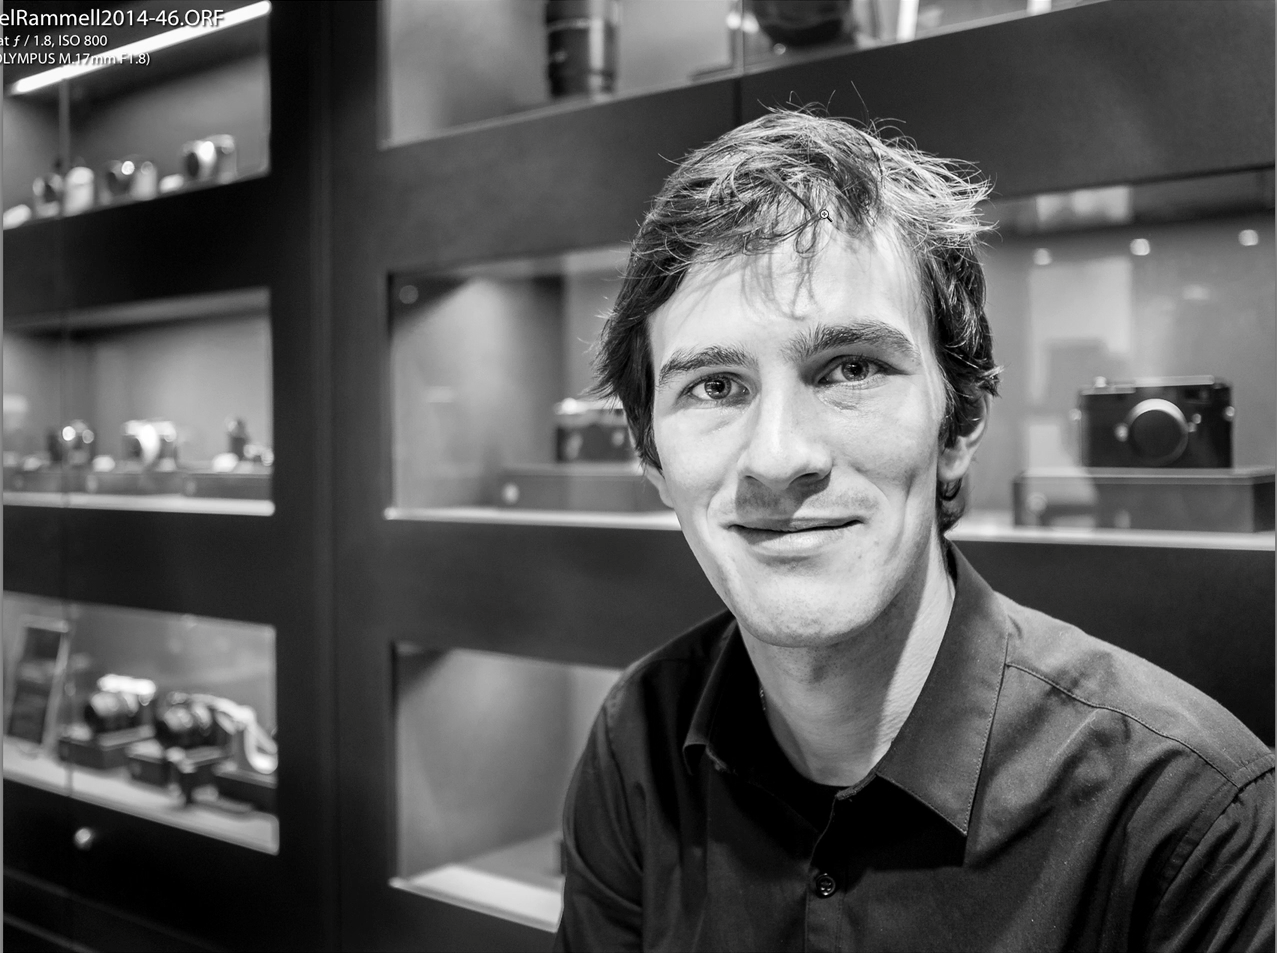
In this video I talk about how I use brushes to further enhance a photograph that you wouldn't otherwise be able to do with sliders alone. I show you how to go from this, to this:
Please note that I know that brushes may not be to everyone's liking and the brush work demonstrated in this video is rough and fast, but for those who don't have Photoshop or prefer to stay within Lightroom - this may be just the thing you need to take your editing to the next level.
Enjoy!
VIDEO: Preparing a Photograph for Print
Printing is considered by many to be the final step in making a photograph. It’s a sentiment I agree with.
The ‘problem’ with printing though is that people often think it’s expensive or that prints never come out quite right:
- Prints can sometimes come out too dark
- Prints are sometimes not as sharp as they were on screen
- The colours can be wrong -
- Too warm or too cool is a common issue
- Skin tones being innacurate and people appear either Orange or Pale
- I’ve also heard on many occasions that prints can appear ‘washed out’ with blacks appearing slightly grey.
Well today I want to share with you a short video to guide you through the basics of printing and to avoid these common issues. If you’re printing your photographs this is, in the most basic way, the very least you should be doing with your photographs in Lightroom to ensure they come out as bright as you intended them to be, to have rich blacks and brilliant whites and to be clean from spots. Take a look:
So, try applying the clipping method and adjusting your screen brightness before editing your photograph and see how different the results are.
If you have any questions please do get in touch with me via the contact form, or over in theFacebook community


